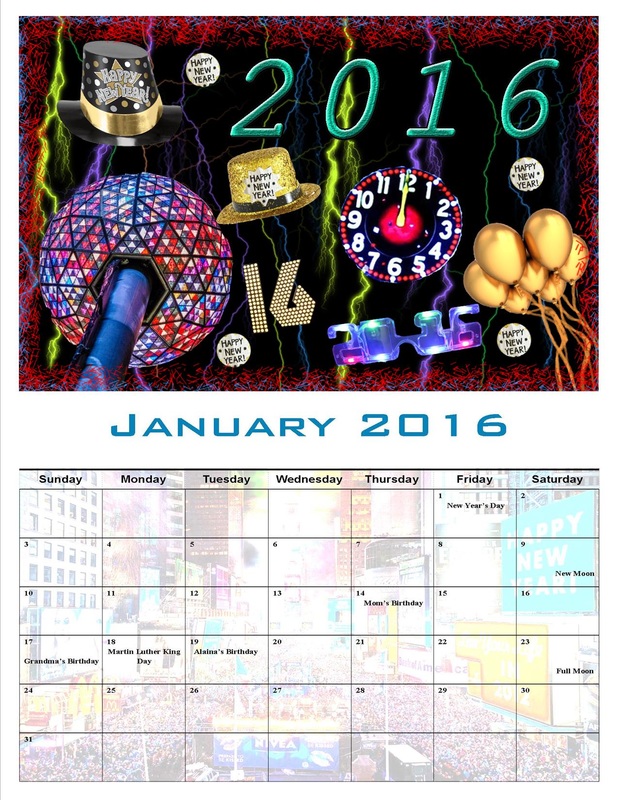
January 2016

January-Original Images
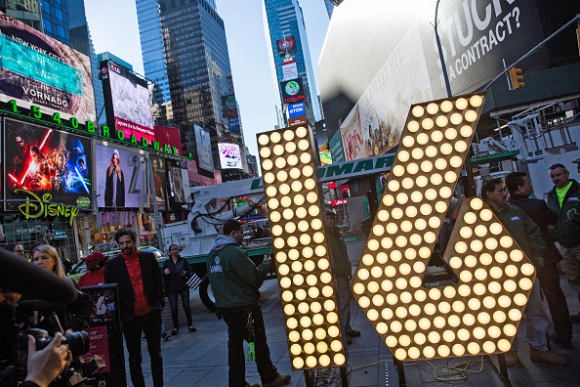
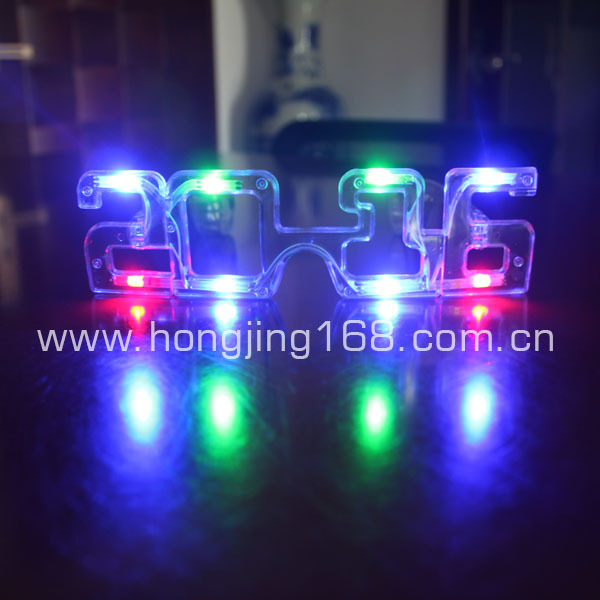
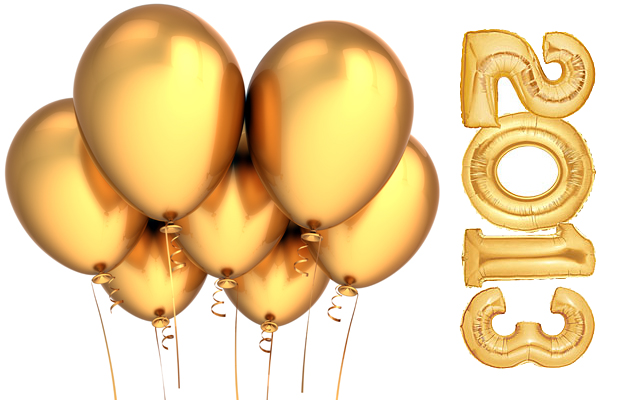
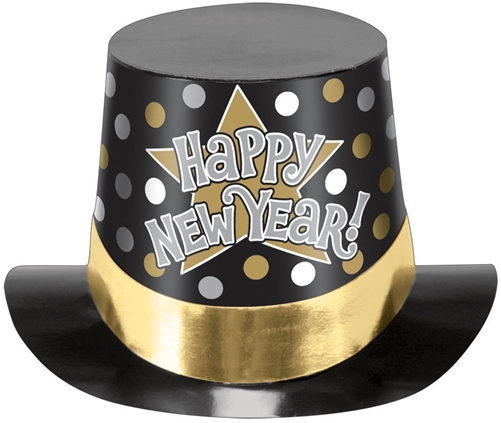
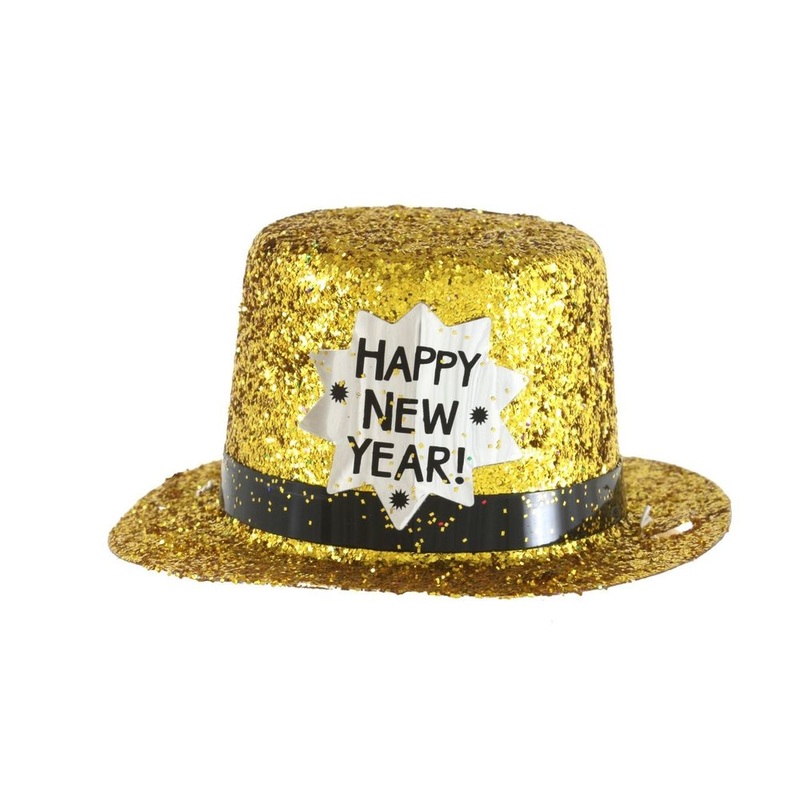
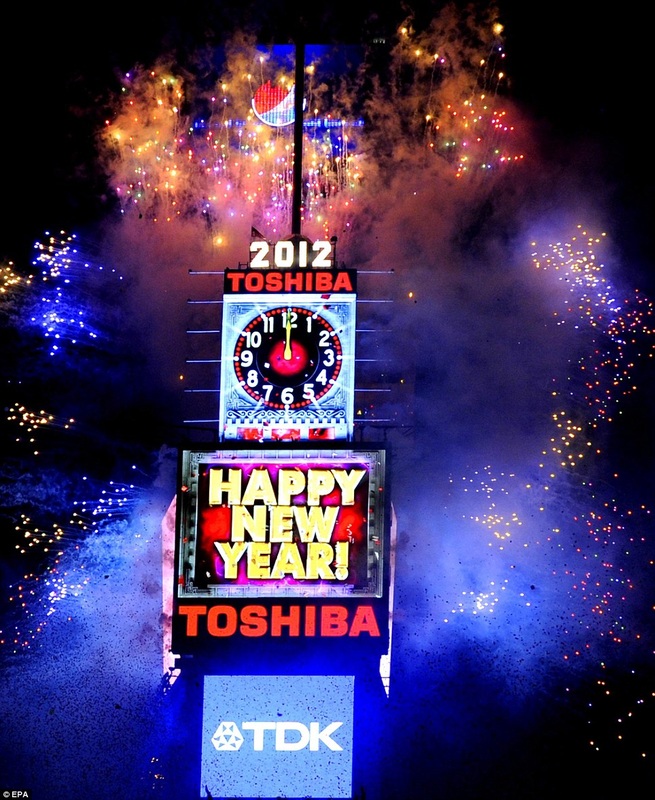

For the first photo (16) I used the polygonal lasso tool to crop it out of the picture, I also did the same for the 2016 glasses, gold balloons, the happy new years hats, the Times Square ball, and the Times Square clock. For picture of entire Times Square, I used it as the background for my grid. I lowered the brightness and messed with the contrast so it would have a washout look to it. I took the Happy New Year text from the gold hat, and used the clone stamp to put it throughout the whole artwork piece for more decoration. I also downloaded brushes from Brusheezy.com. I used a lightening and confetti brush for this month.
February

February-Original Images


I also used the polygonal lasso tool for the pugs 'n kisses photo, the roses, and the pug with the roses and it's mouth. For the pink hearts wallpaper, I lowered the brightness, contrast and sent it to the back of the grid to make it the background for this month so it wouldn't be just white. For the rose petals shaped into a heart photo, I eliminated the rose across the heart by using the content aware tool. I also downloaded a border brush and a Valentines Day set from Brusheezy.com
March
March- Original Images
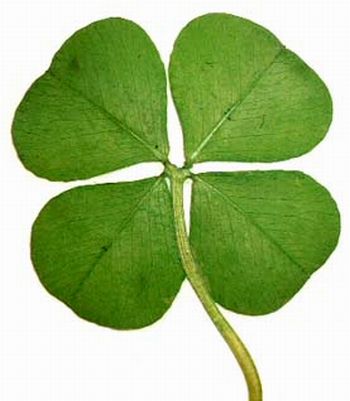
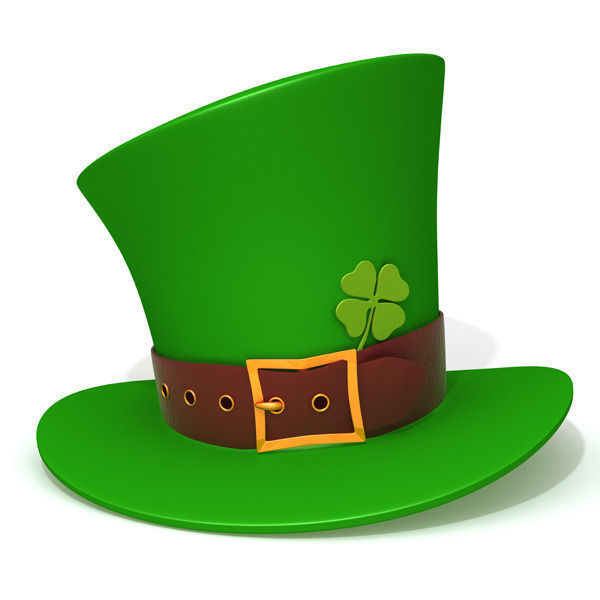
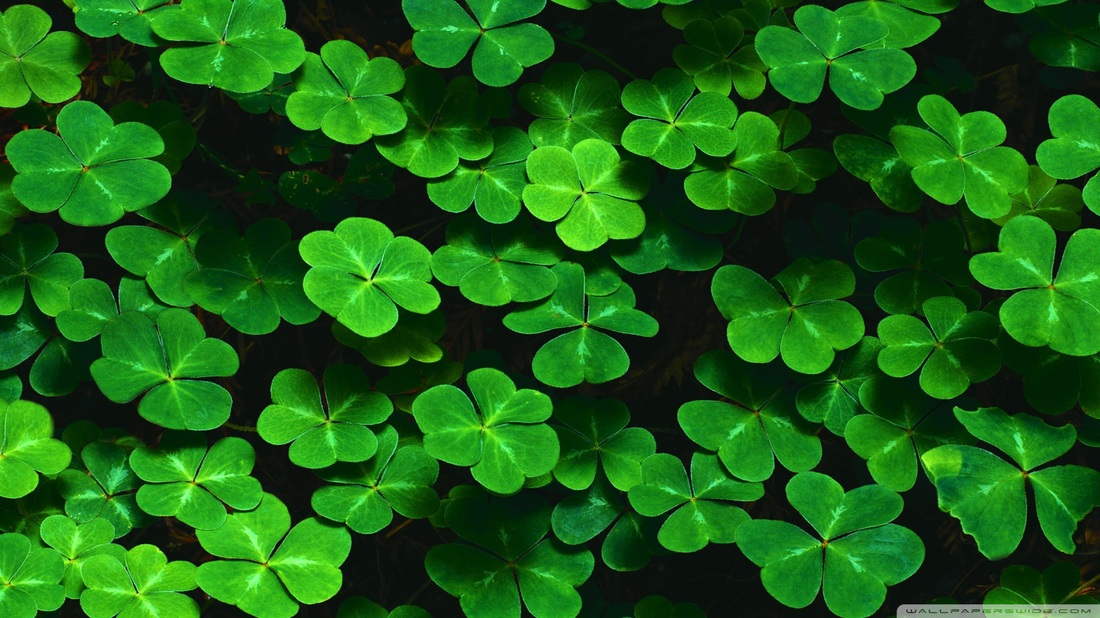
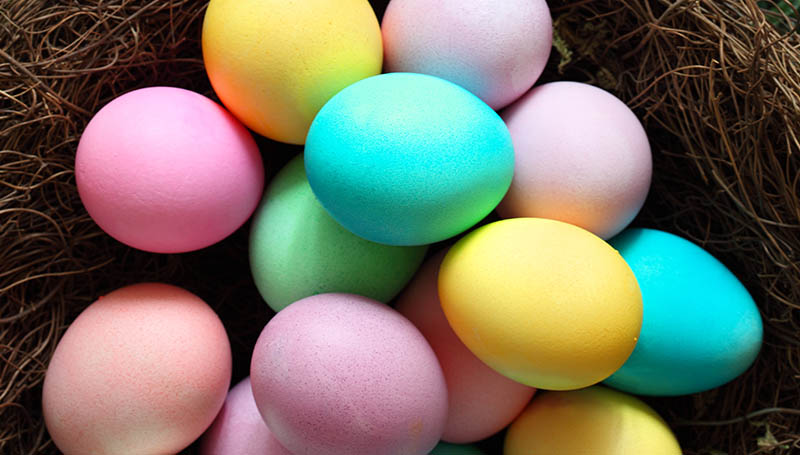


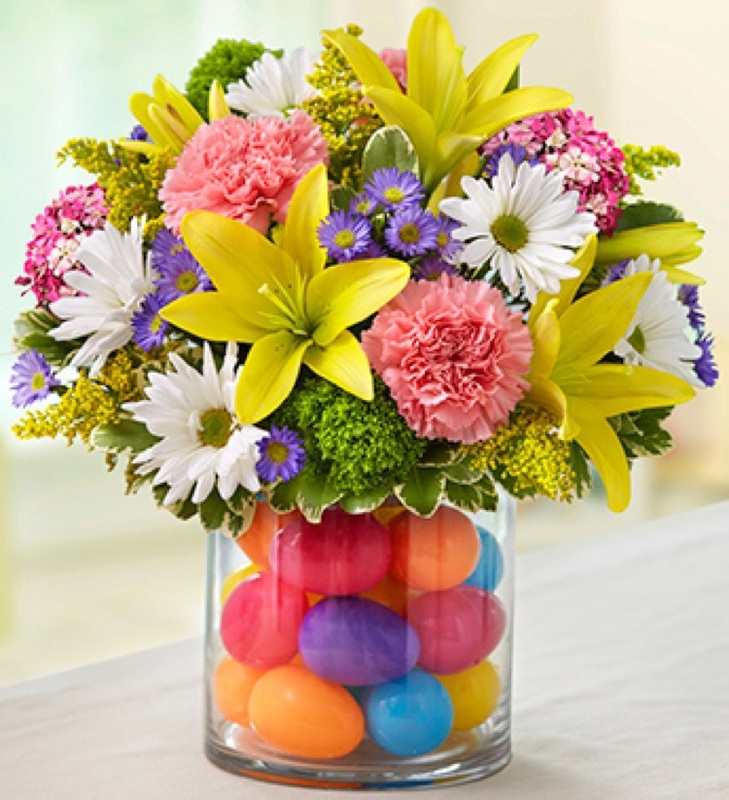
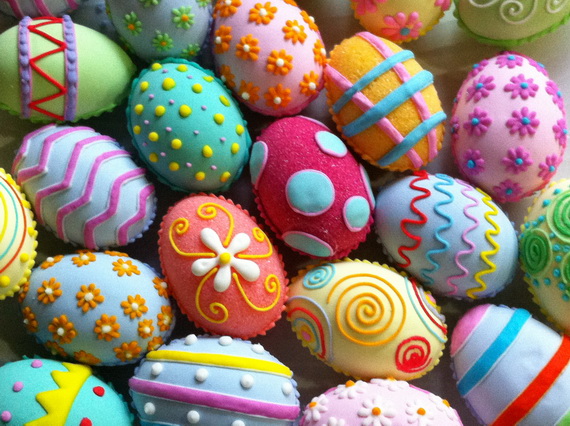

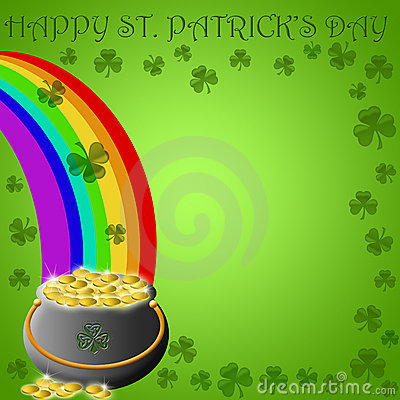


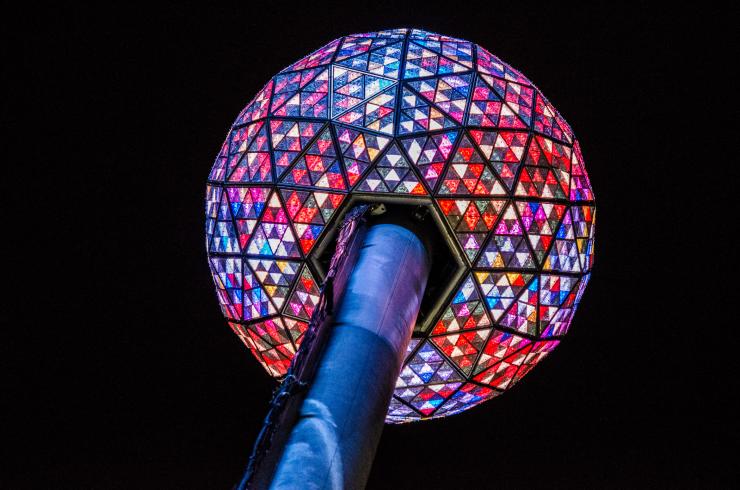
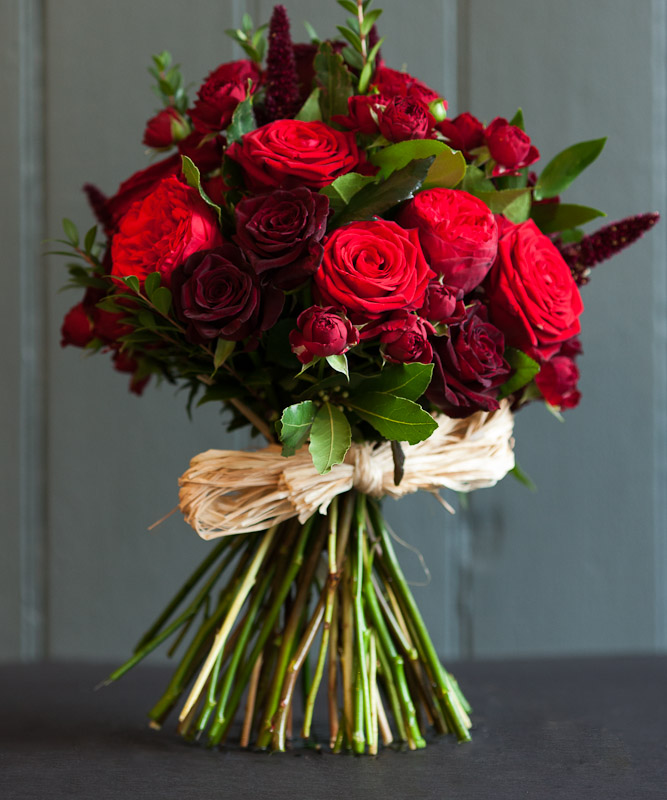
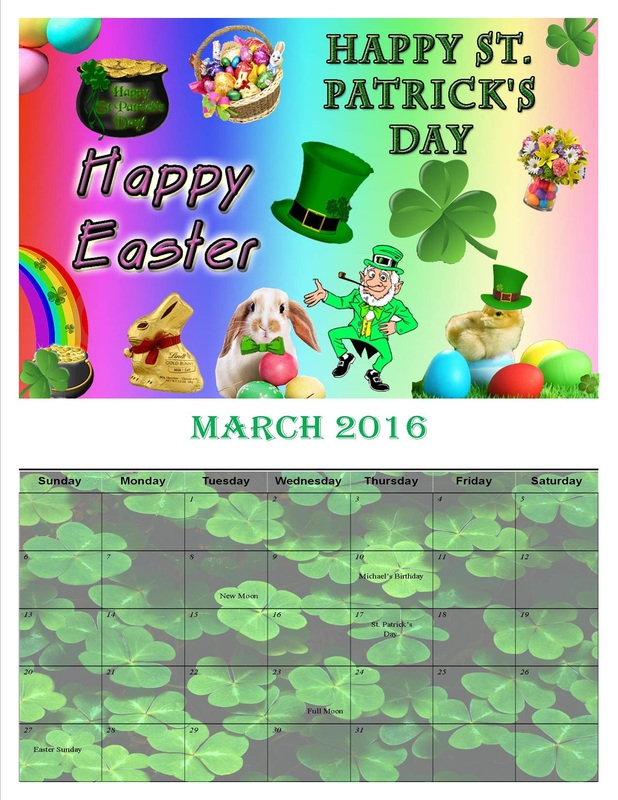
I used the polygonal and magnetic lasso tool to crop out all of these photos. I also decided to blend Easter and St. Patrick's Day celebrations together and put a leprechaun hat on the chick.I used the bow tie from the leprechaun to put on the bunny as well. I also used the gradient tool to make a gradient as my complete background. I also used the layer styles (fx) to make both of the titles pop out and be more bold.
April
April- Original Images
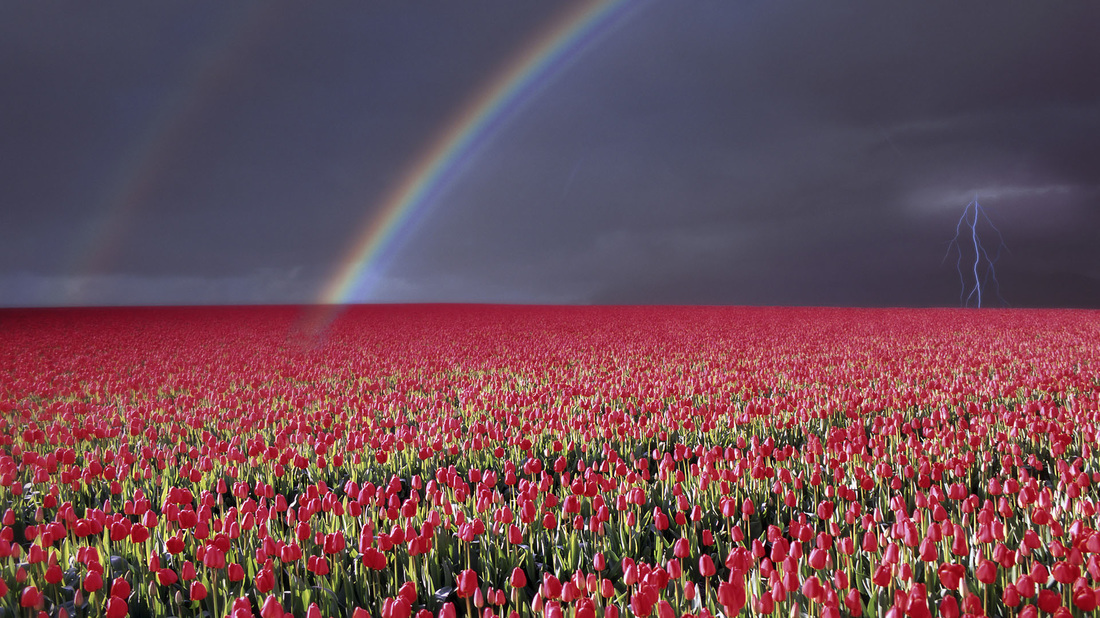
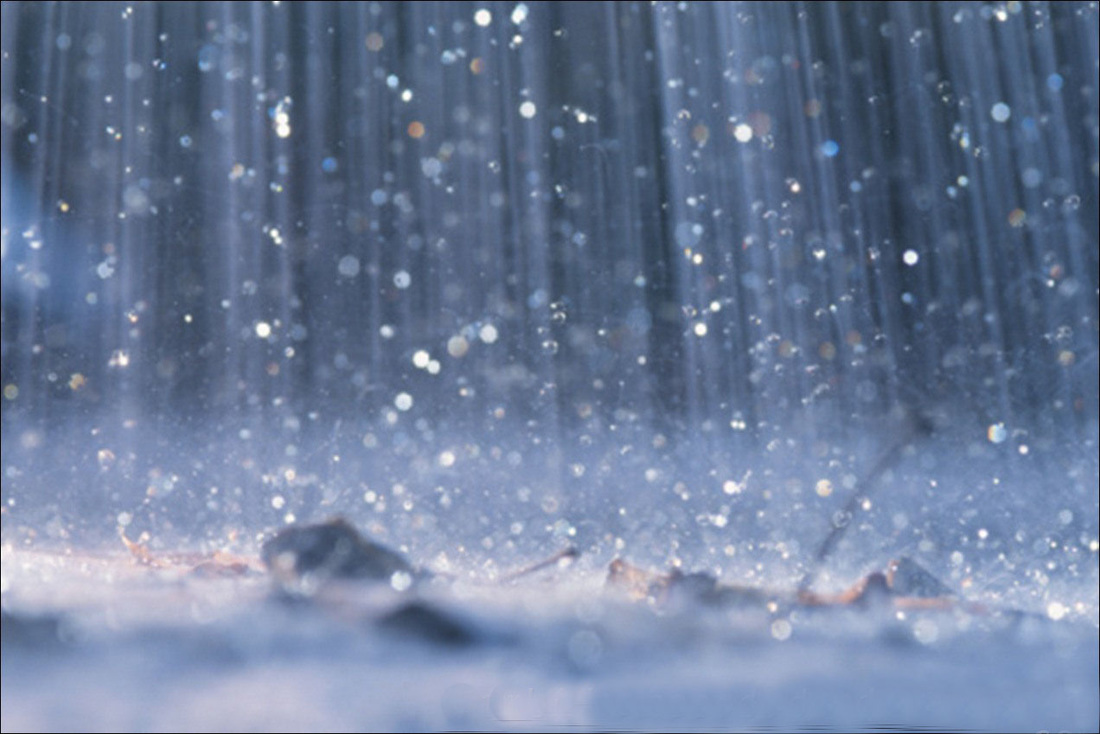
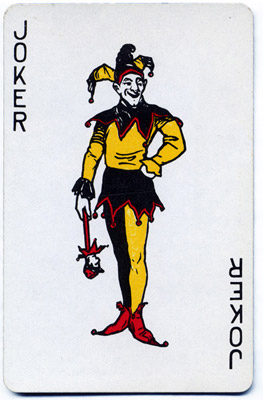
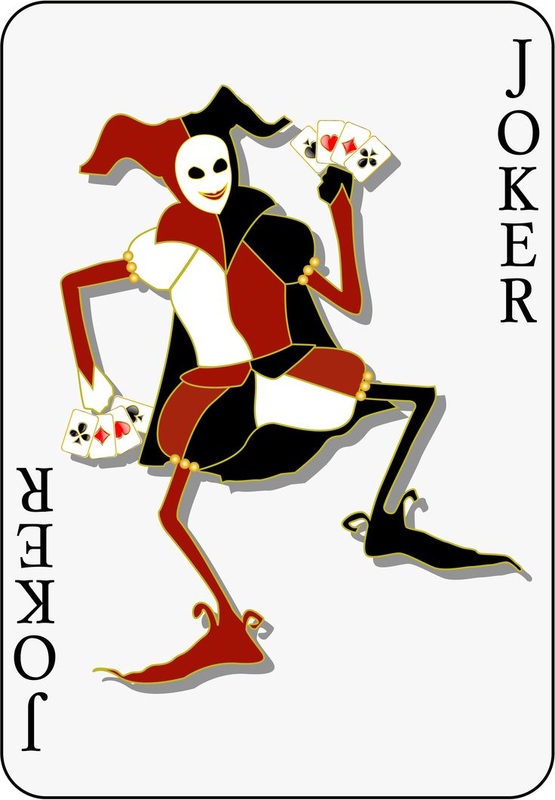
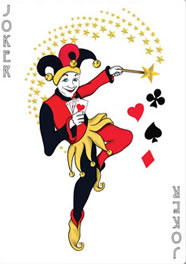
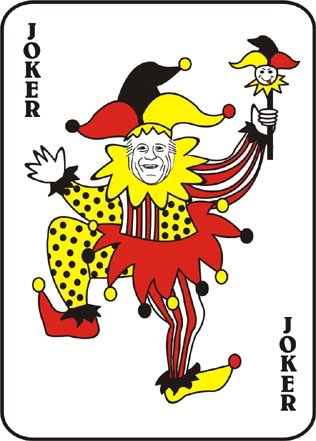
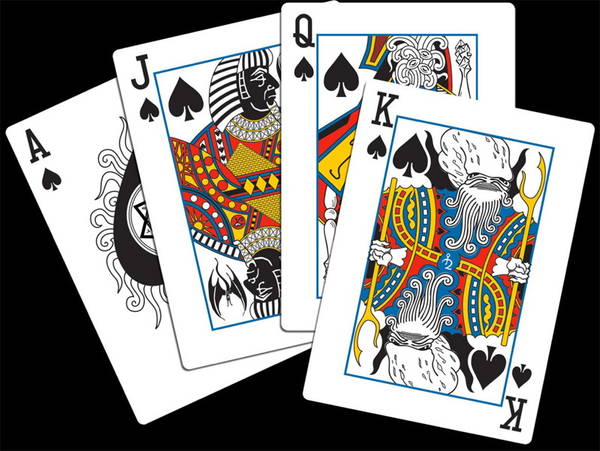
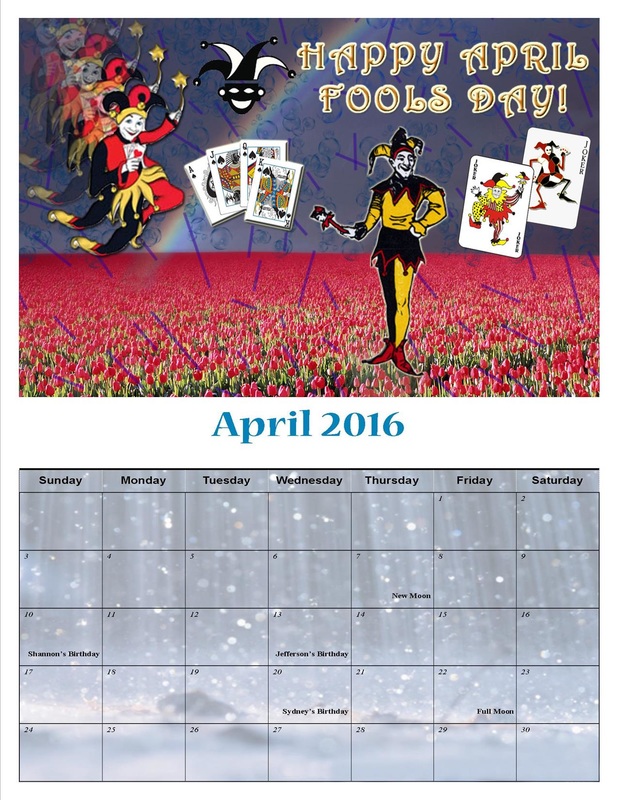
For the first two images shown, they were used as my wallpaper for behind me artwork and grid. But for the grid, I lowered the transparency so it could have more of a washout look to it. I also used the puppet warp tool to move two of the jokers legs and arms around. For one of the jokers, I duplicated the layer several times but gradually increased the opacity to make it appear as it was coming forward from a distance. For the rest of the images shown, I just cropped all of the things out using the polygonal lasso tool, the magnetic lasso tool or the magic wand tool.
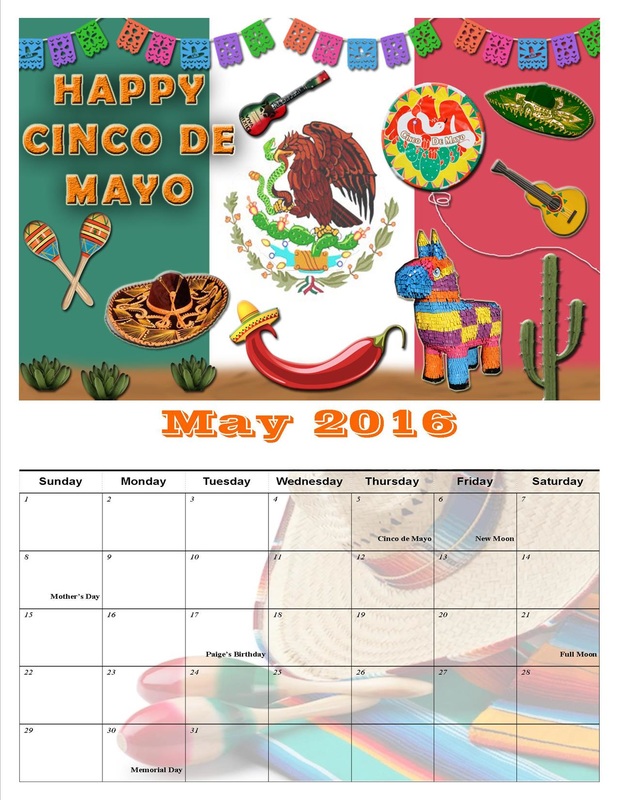
May

May-Original Images
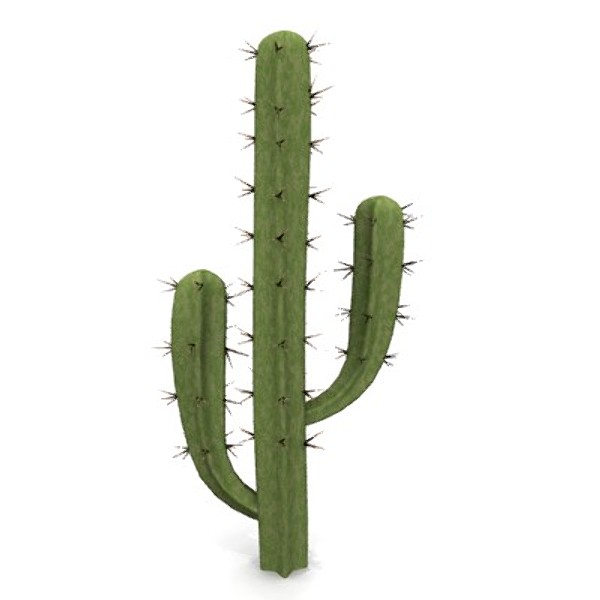
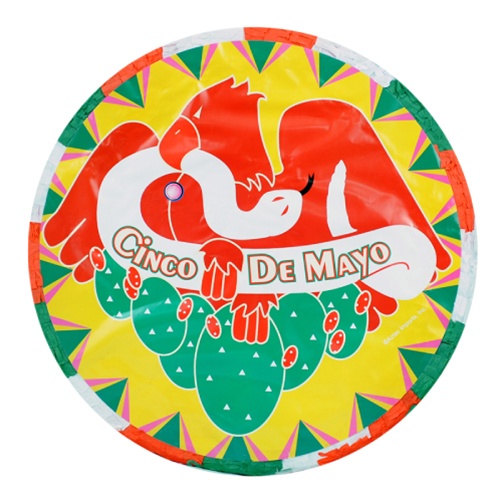

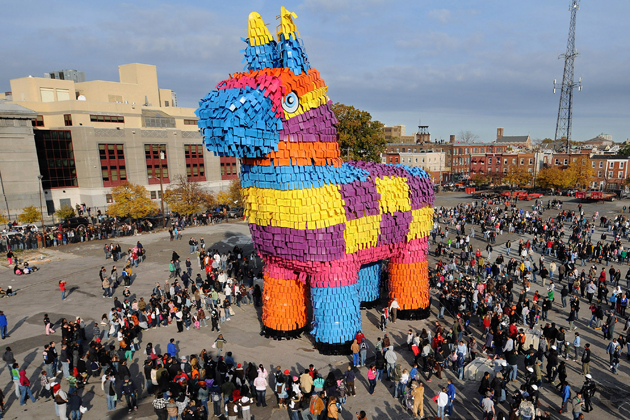
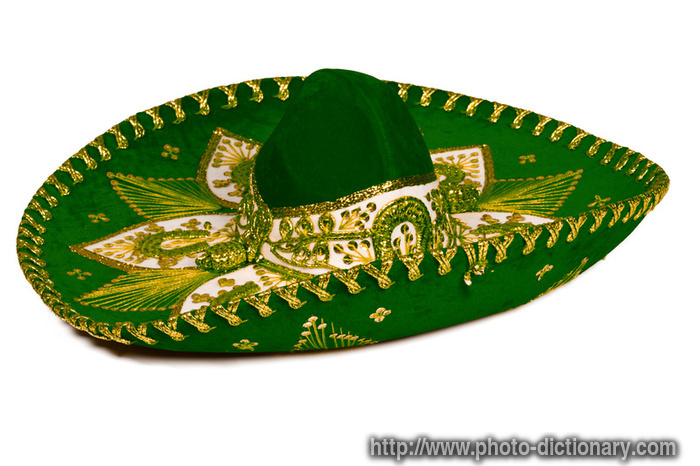
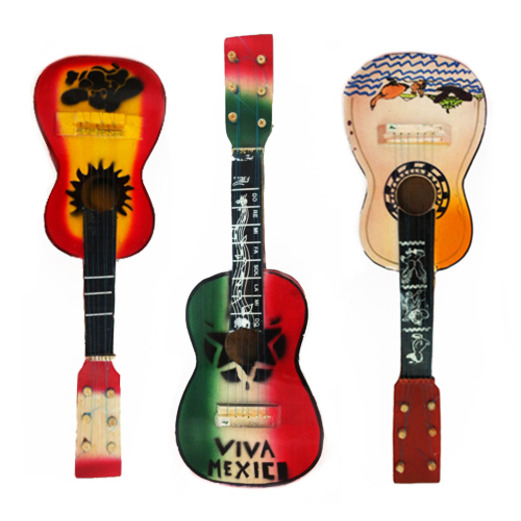

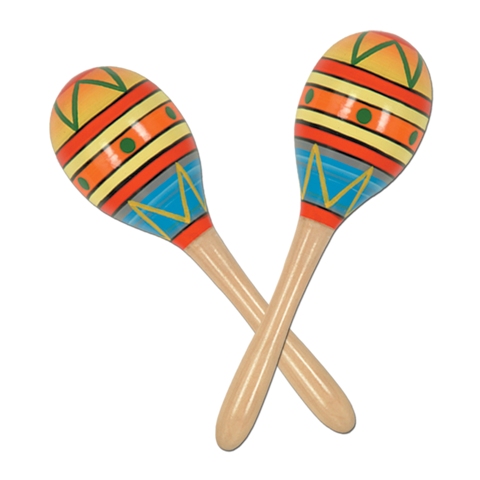
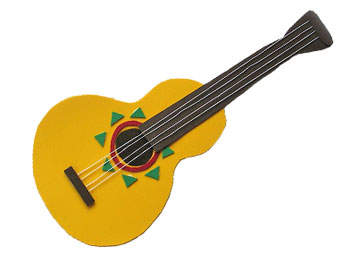
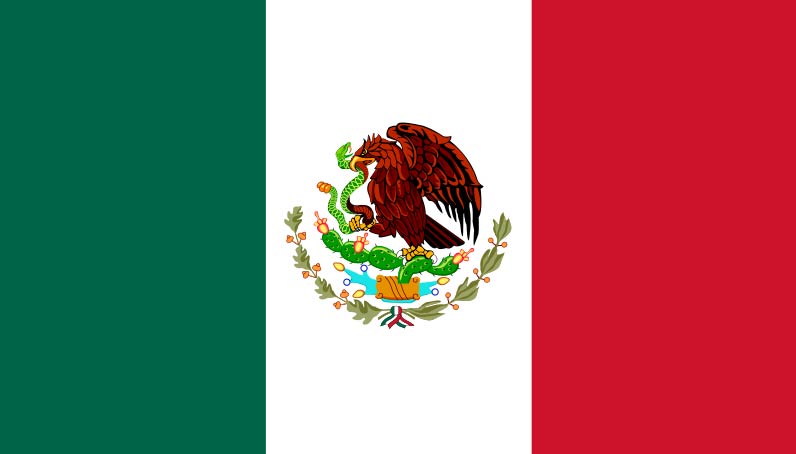

I cropped all of these photos out using either the polygonal lasso tool, magnetic lasso tool, or magic wand tool.I made my own balloon by using that "cinco de mayo" circular picture and used a white thin brush, and drew the string down and to the right of the artwork. I also used layer styles on every single picture, mostly drop and inner shadows, inner and outer glow, and for some, I used the bevel and emboss tool. I made my own sand at the bottom of the artwork by using a light brown all over, then going in with a dark brown and made dots all over the light brown. Then I used the blur and smudge tool to make it blend better and make it look more realistic for the sands texture.
June
June-Original Images
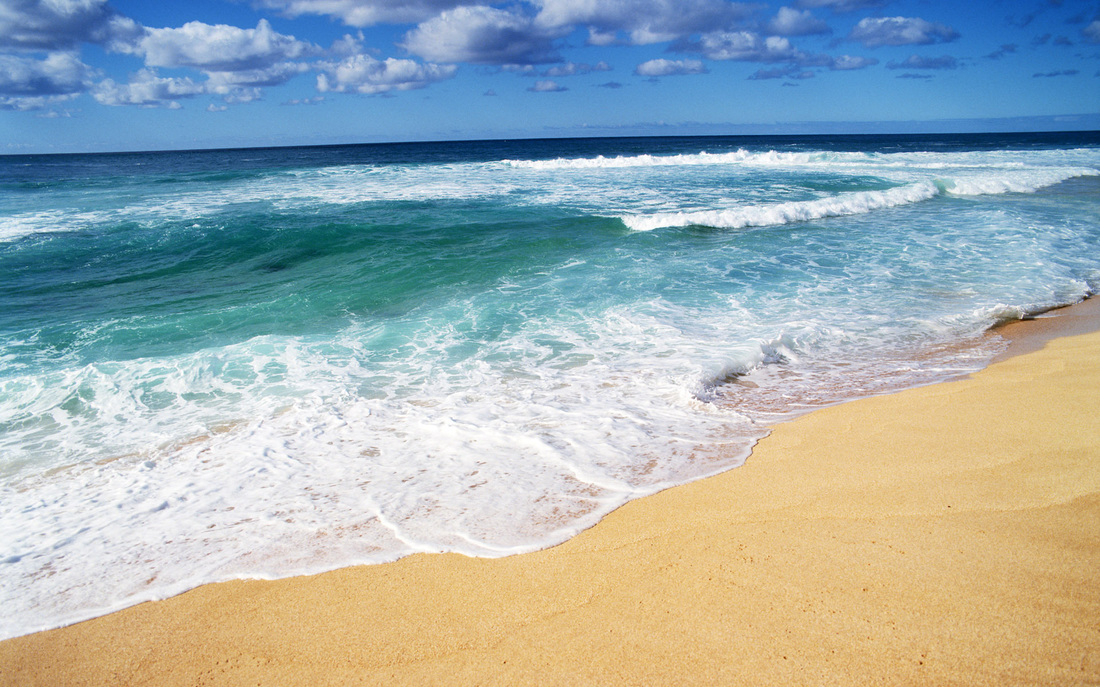
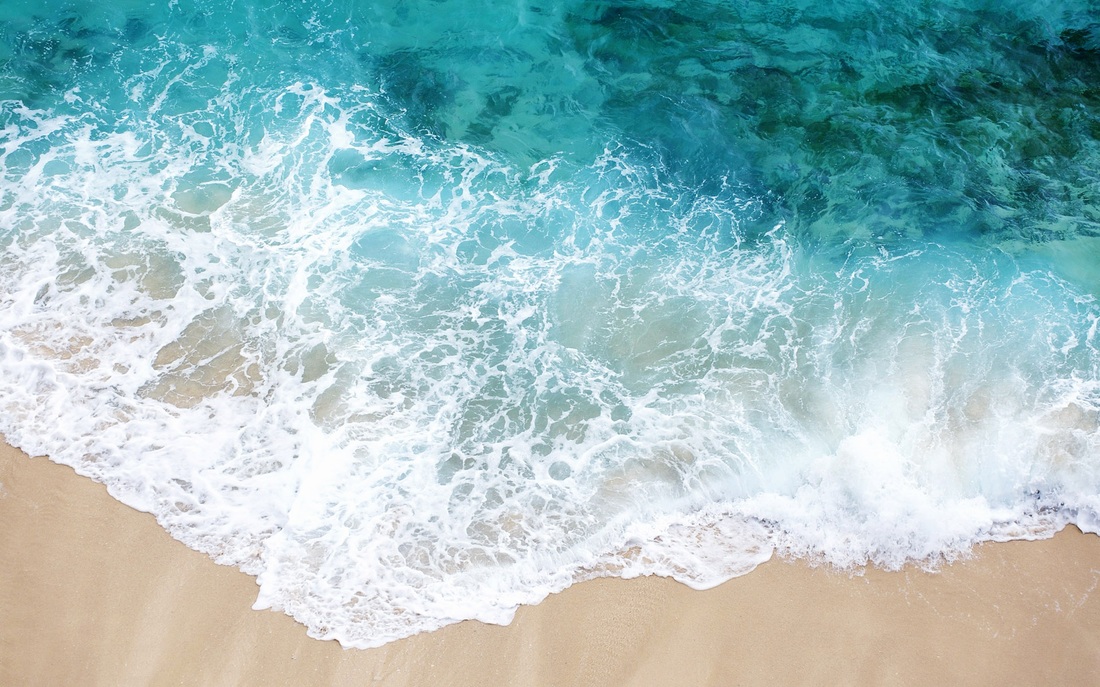
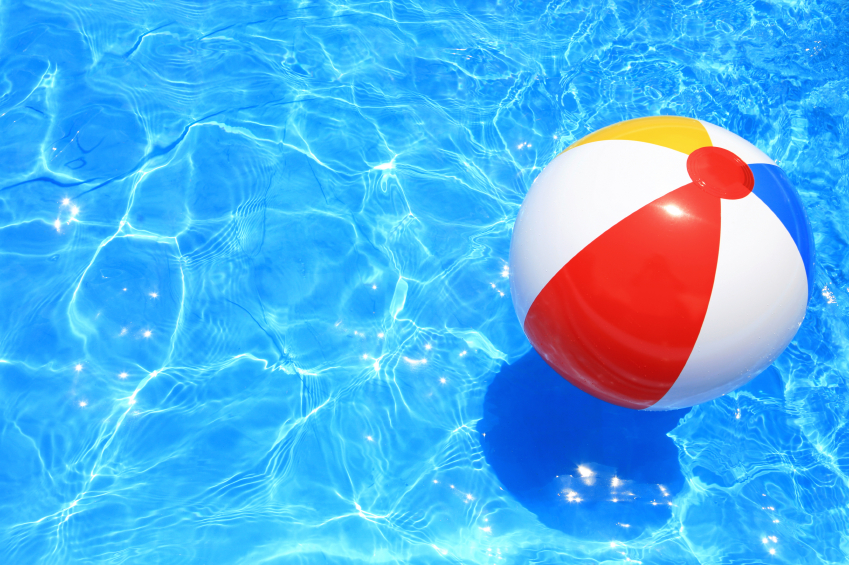
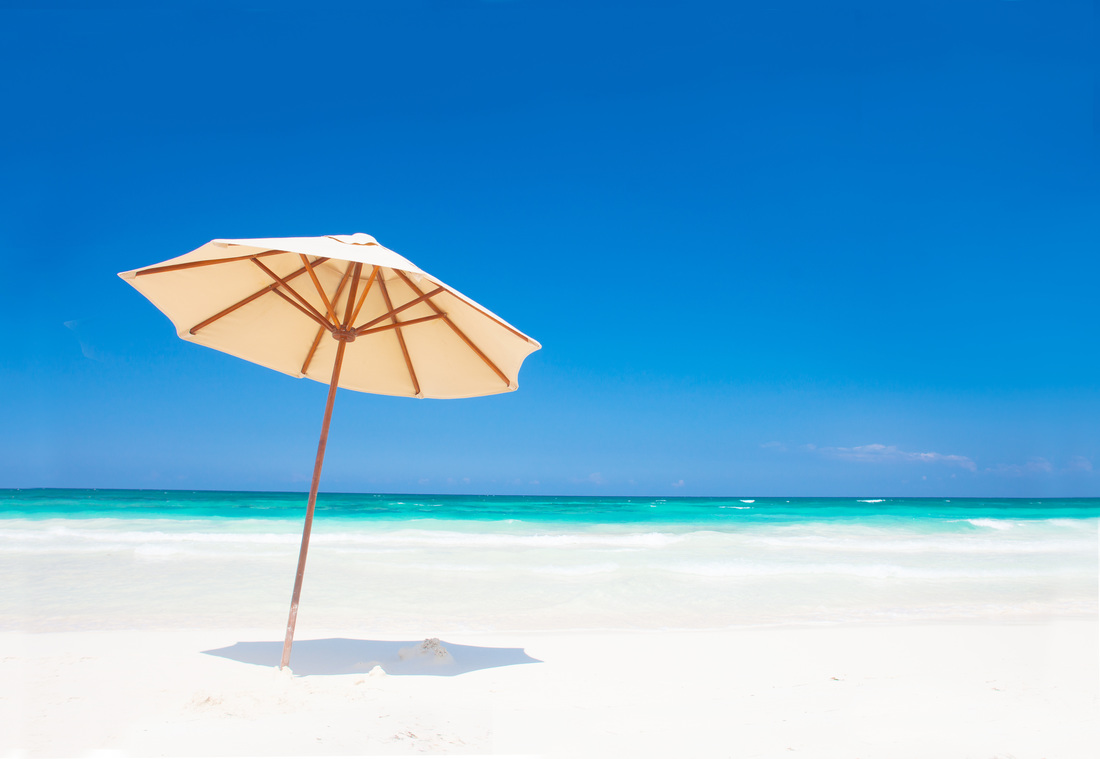
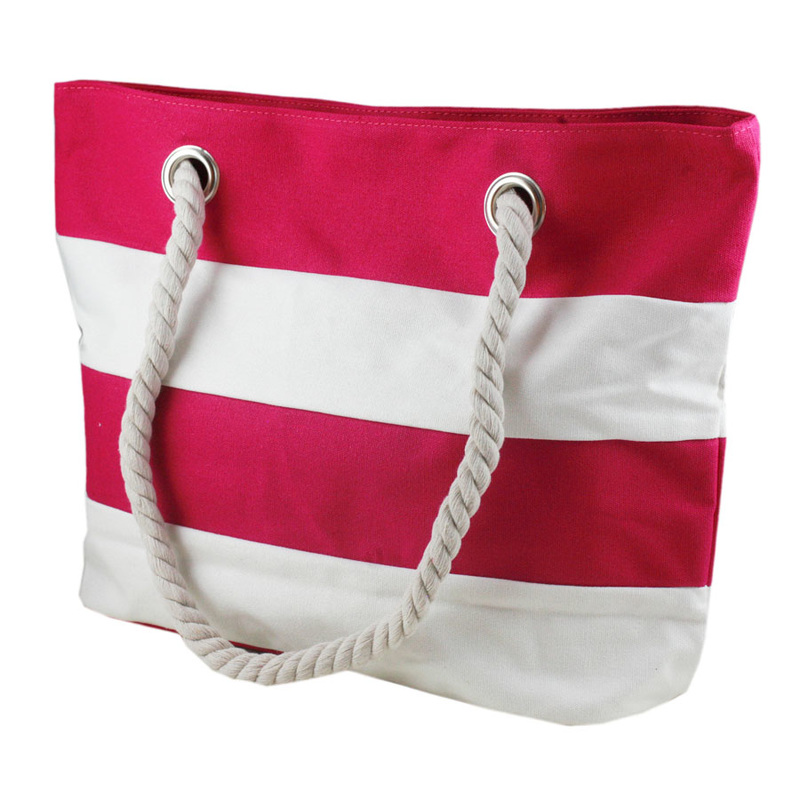
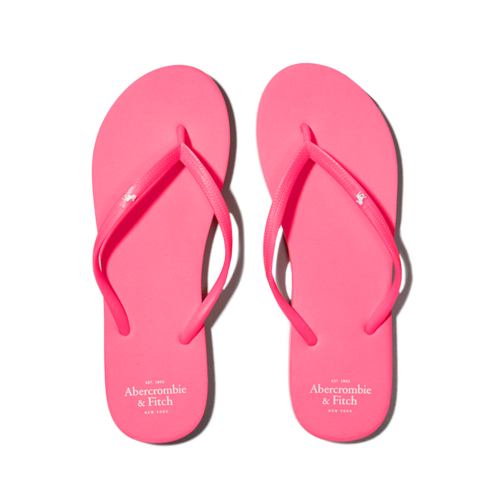
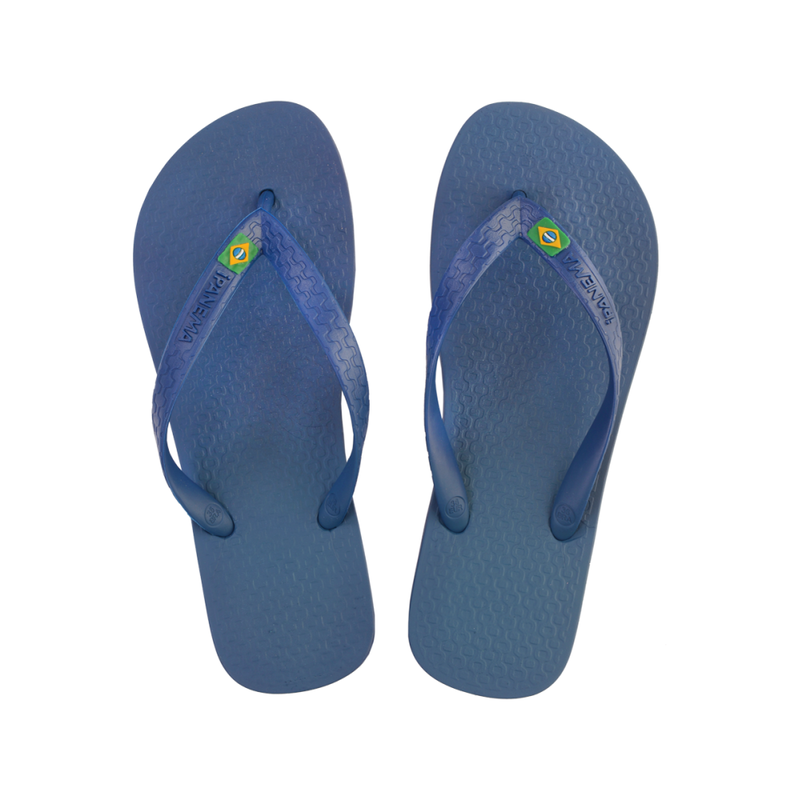
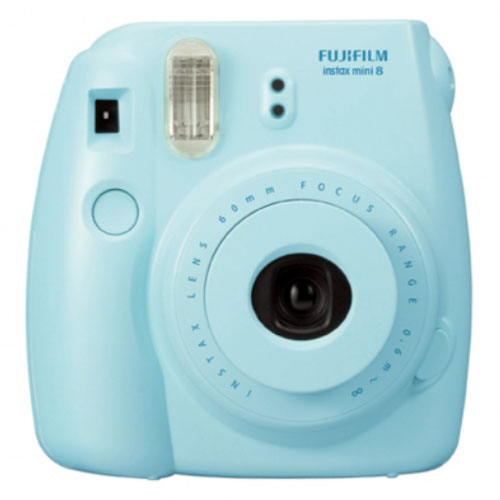
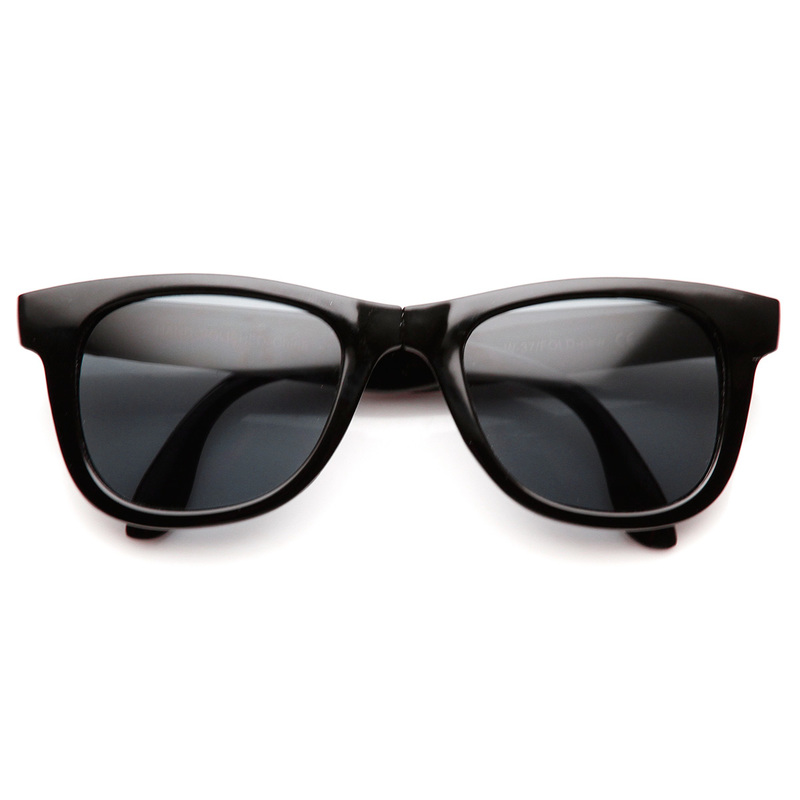
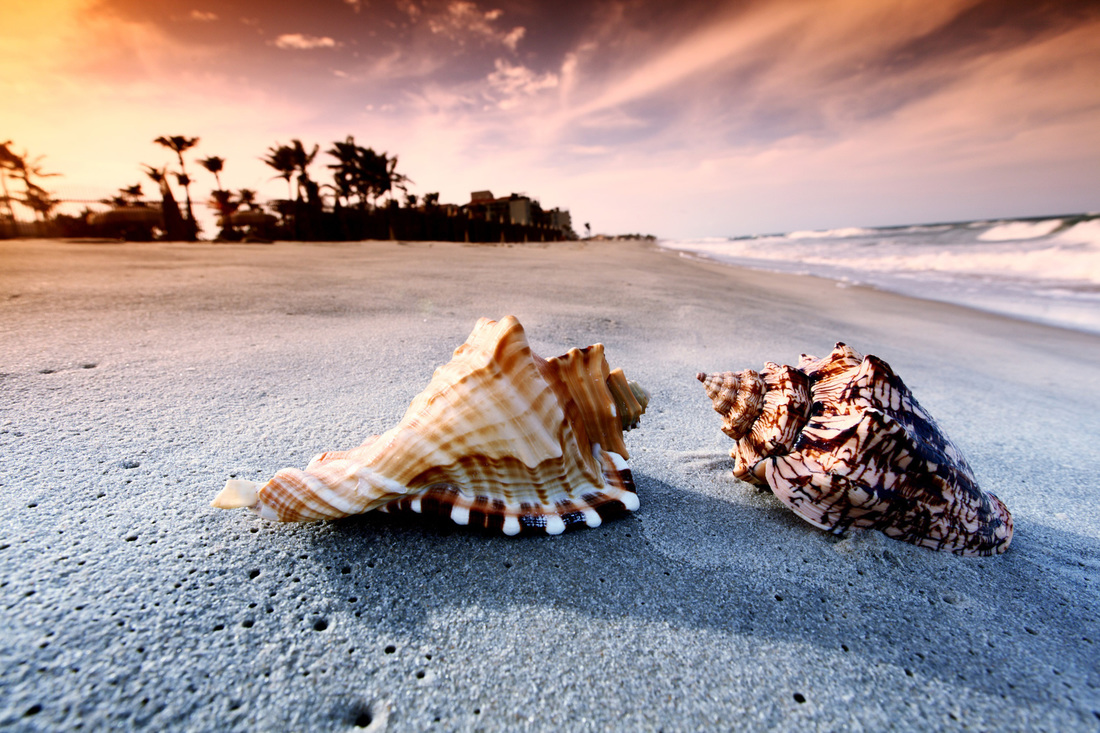
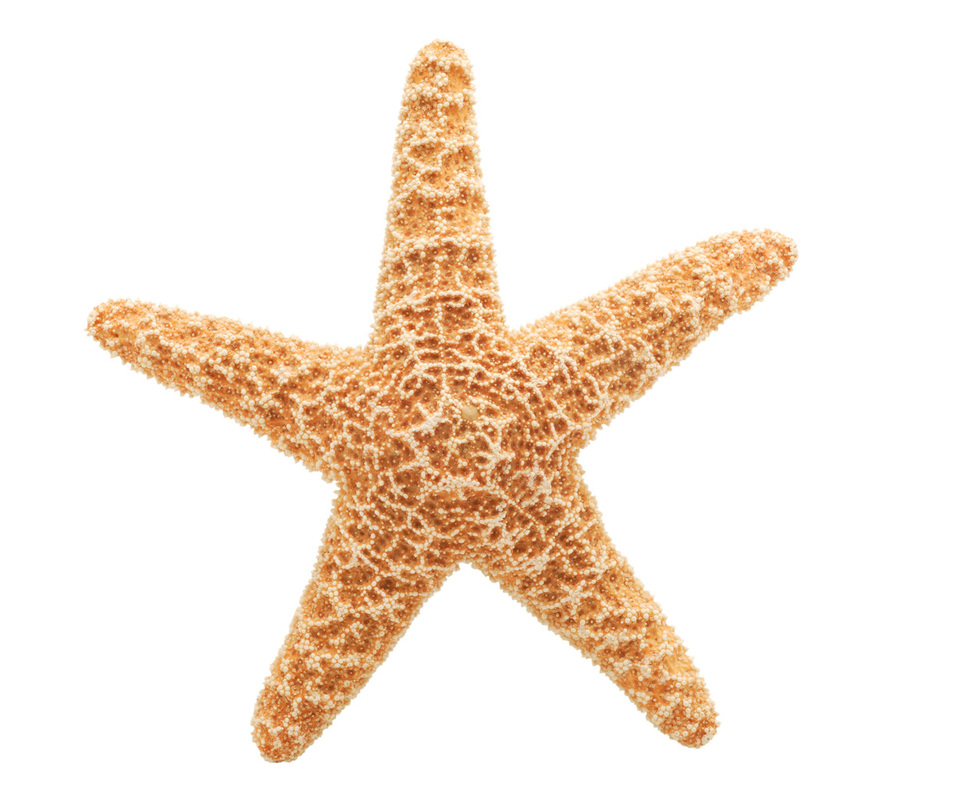
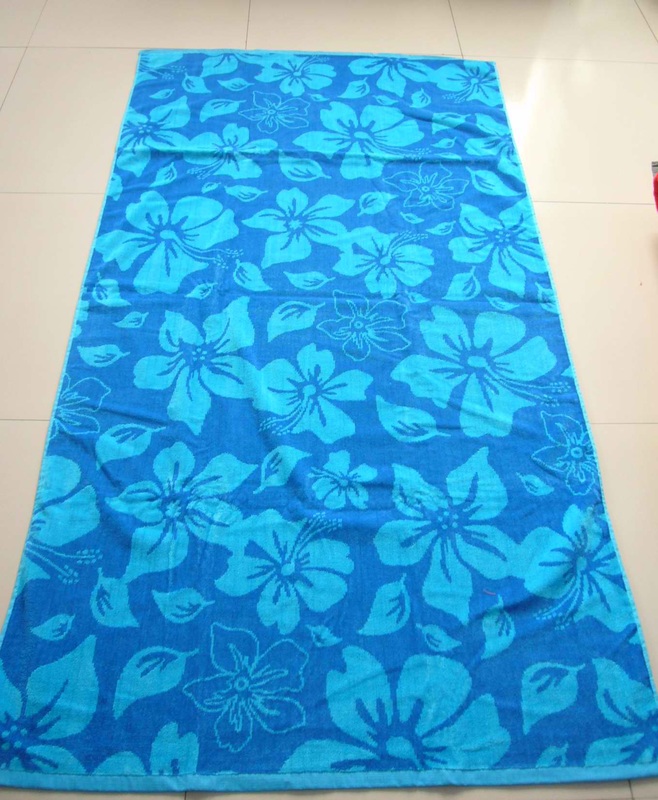
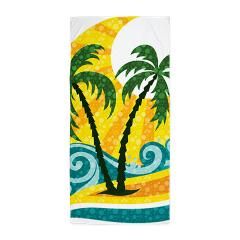
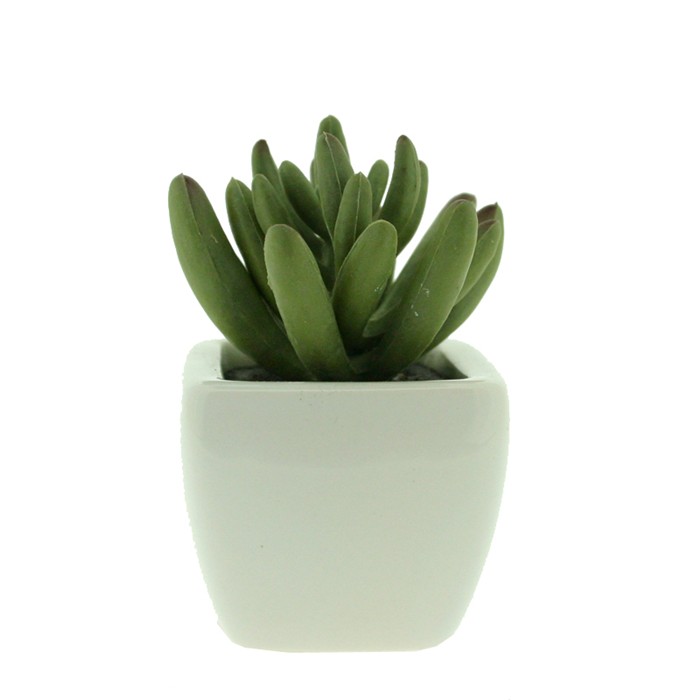
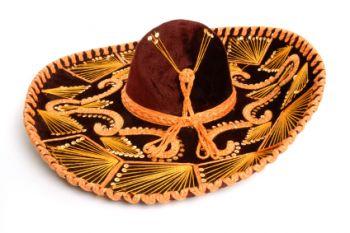
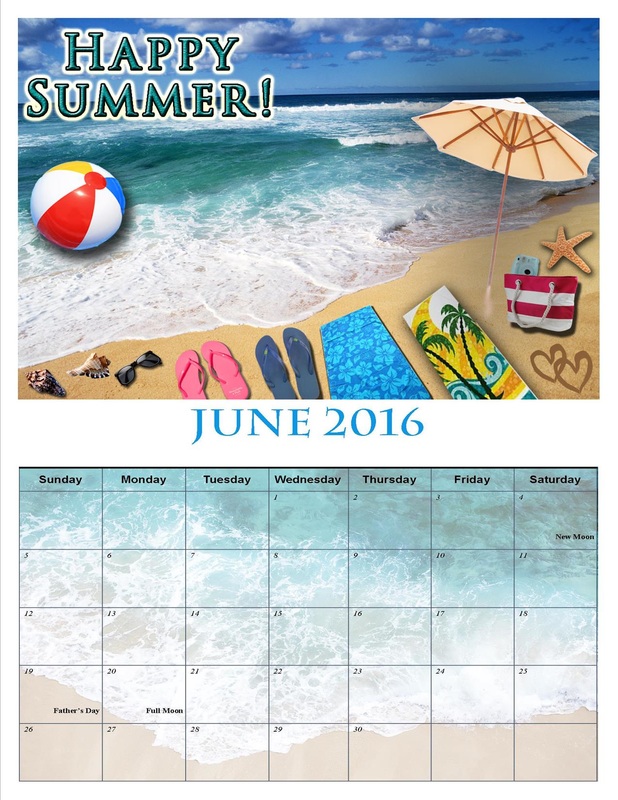
For these first two pictures shown, I used these images as a wallpaper for my grid and artwork piece. I lowered the opacity for the second image so I would be able to write and read the events on my calendar. I cropped the beach ball in the second photo out to add to this summer beach theme. I also cropped the umbrella, beach bag, both pairs of flip-flops, the polaroid camera, which I placed in the beach bag, the sunglasses, the shells, the starfish and both beach towels out as well to place all in the sand. I cropped all these images using the polygonal and magnetic lasso tool, and occasionally I would use the magic wand tool if it was more convenient. I also used layer styles for every single picture including the drop shadow, inner and outer glows, and bevel and emboss for some. For this months tool requirement, the freeform pen tool, I drew two brown hearts in the sand to look like somebody actually drew that in the sand. I added layer styles to my text on the artwork as well, including inner and outer glow and texture.
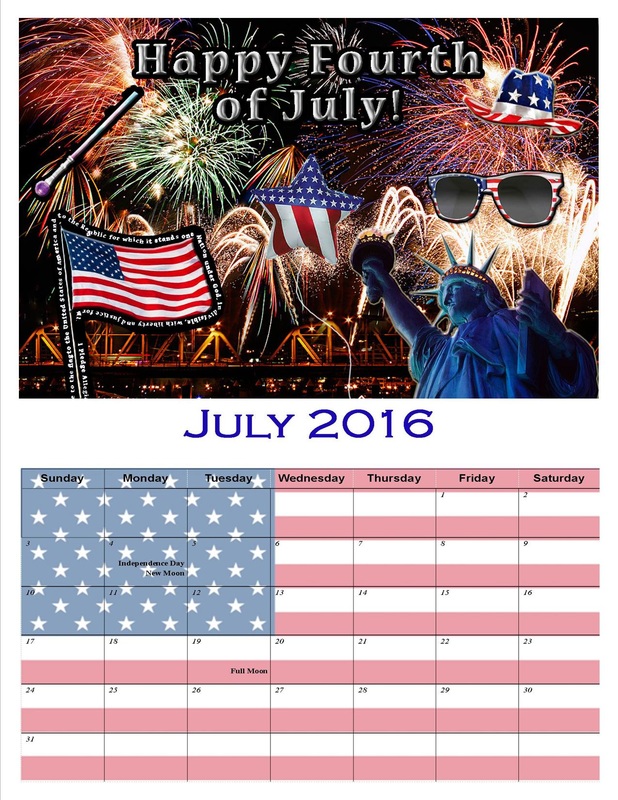
July

July-Original Images
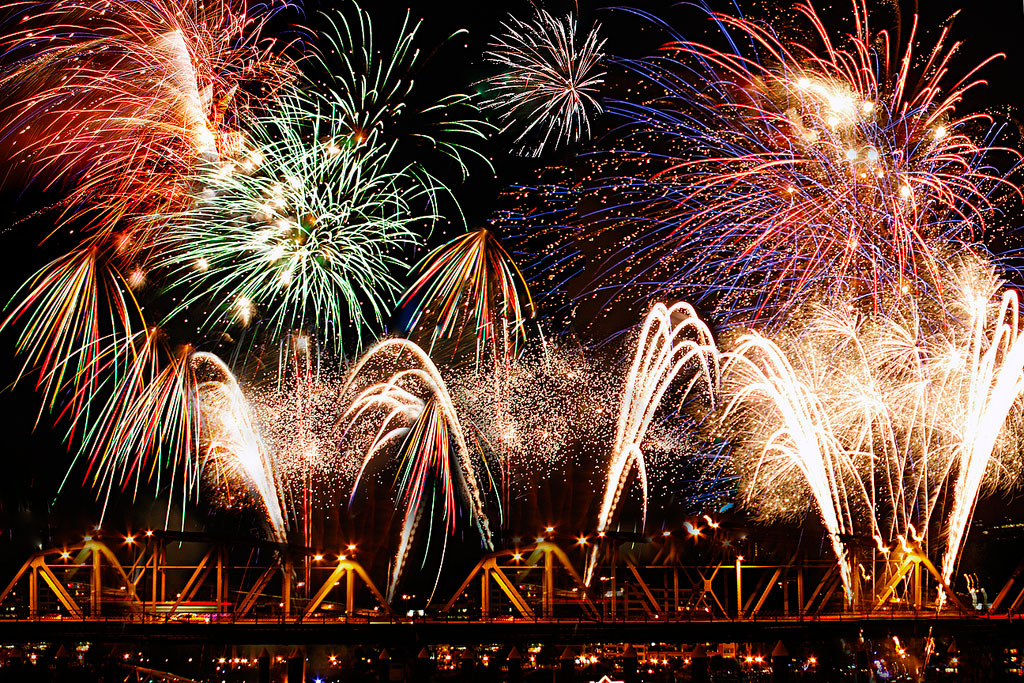
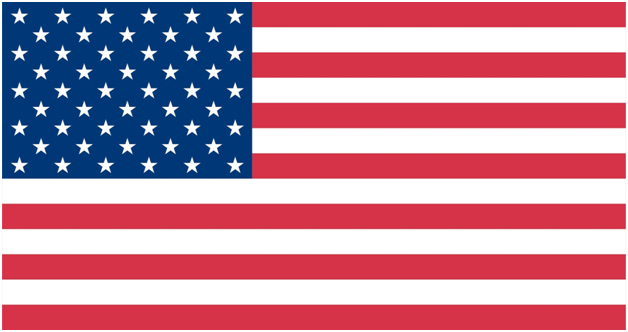
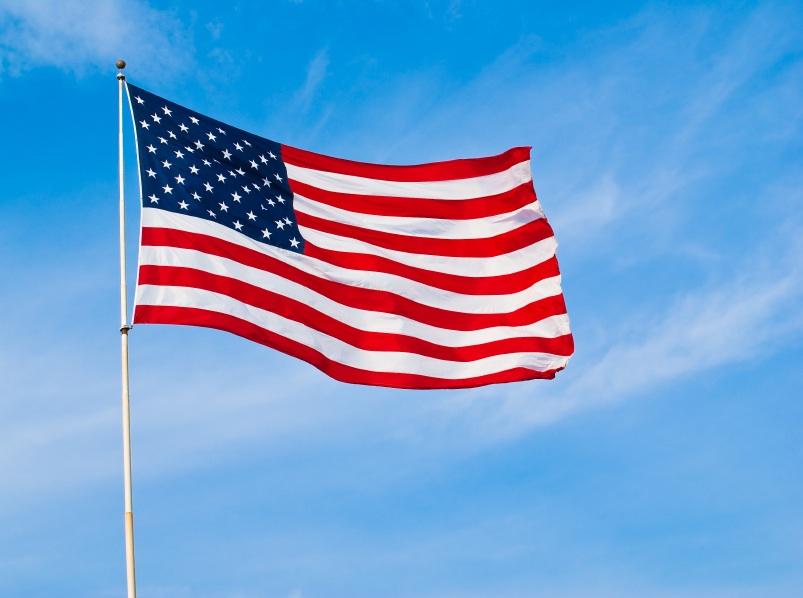
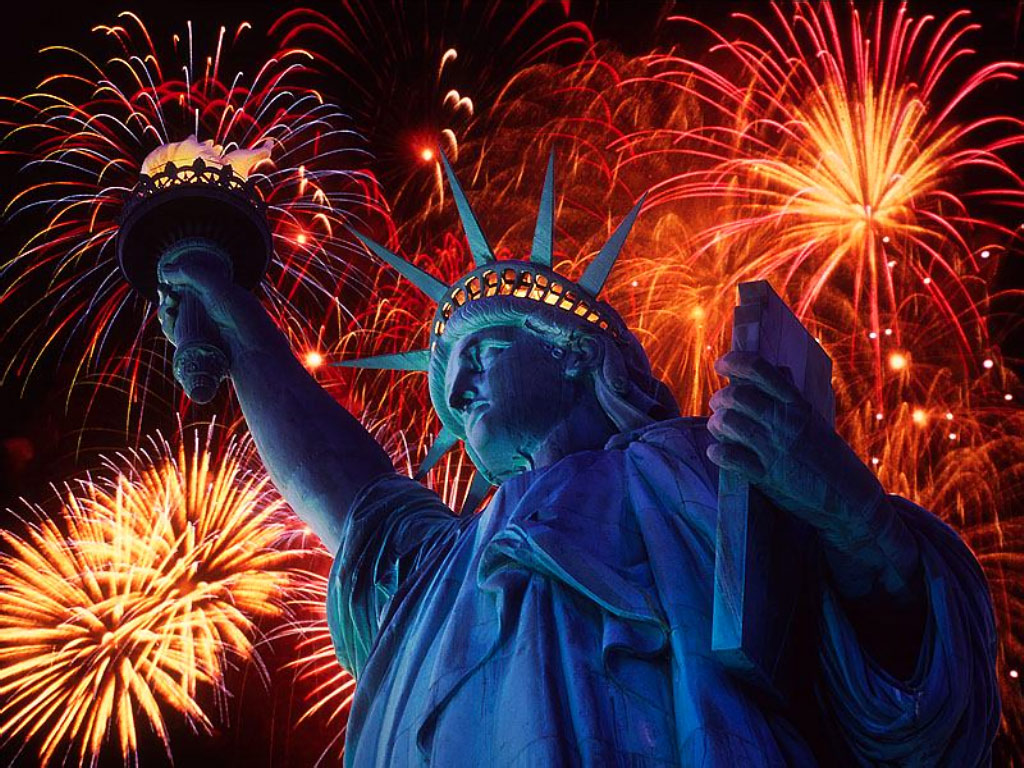
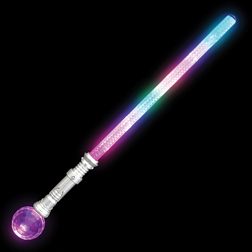
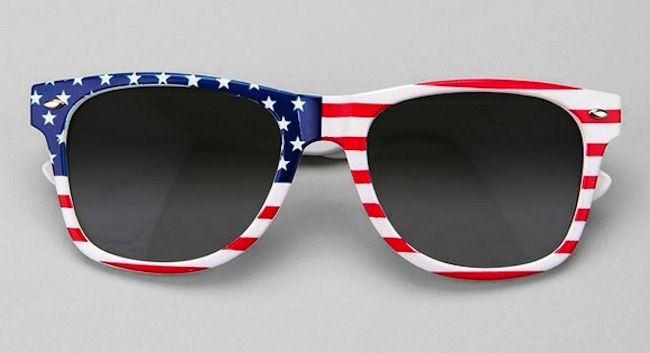
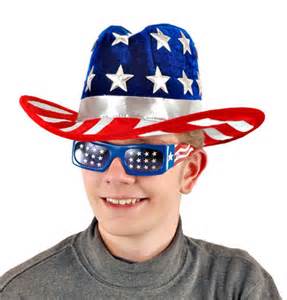
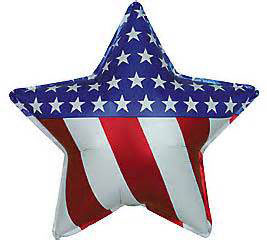
I used the first picture shown as an artwork background, and I used the second picture as a background for the grid. I cropped the flag on the flag pole, the statue of liberty, the light-up-sword, the sunglasses, the hat on the kid, and the balloon all using either the polygonal lasso tool, magnetic lasso tool, or the magic wand tool. For the flag on a flag pole, I wrote the pledge of allegiance over the whole flag by using the type on a path tool. First I had to trace around the flag with the freeform pen on a path tool and then just typing along it. To make the star look like a balloon, I used a skinny white brush to draw a string on it. I used layer styles including, drop shadows, inner and outer glows, strokes and bevel and emboss mostly. I also used the free transform tool called perspective on the sunglasses. I dragged out from the right corner so it wouldn't just be facing front and this made it have more shape and made it look less boring.
| calendar_peer_edit.docx |
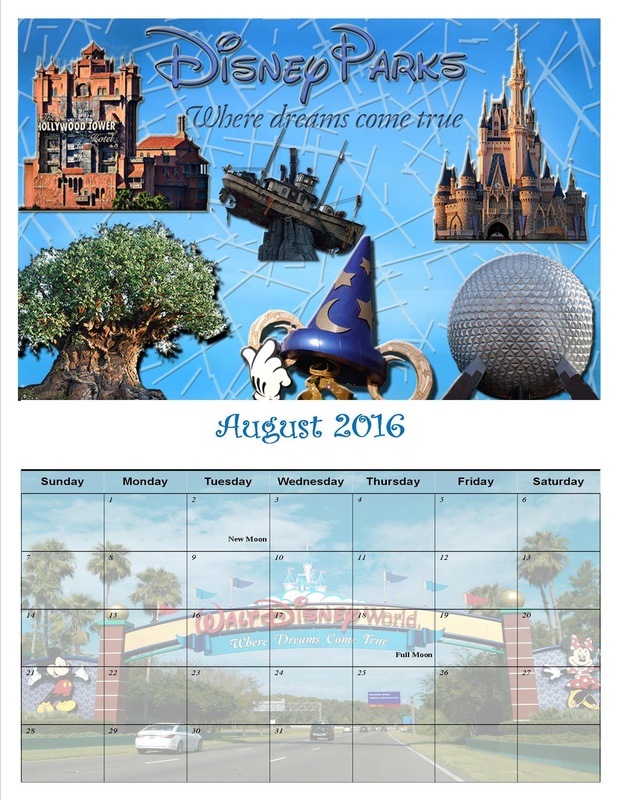
August

August-Original Images

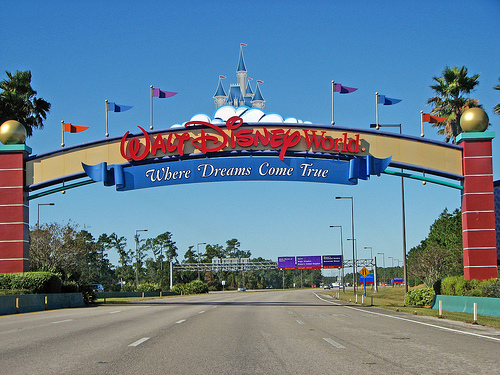
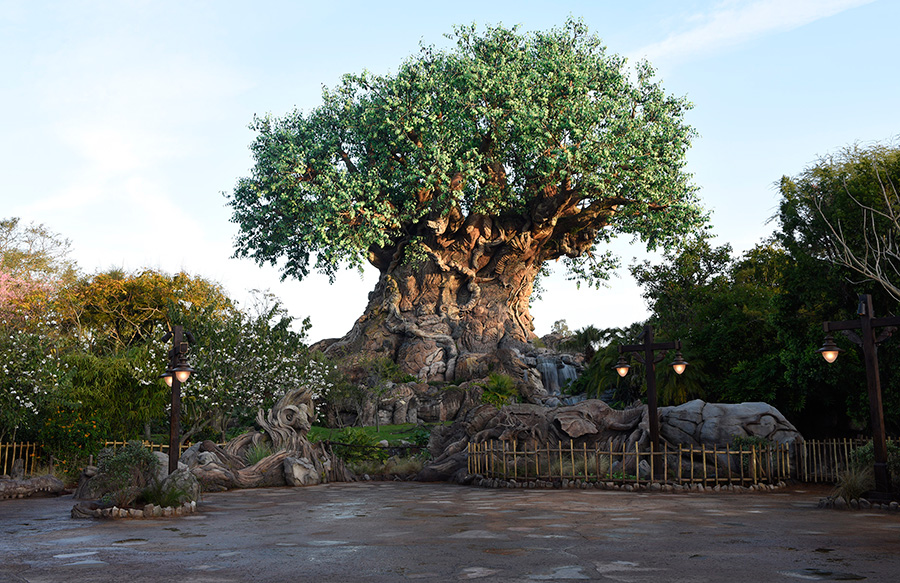
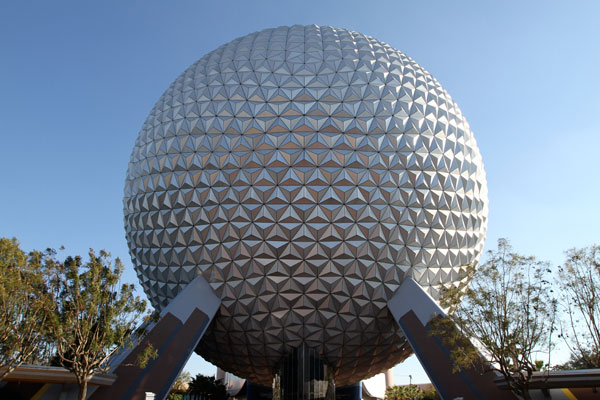
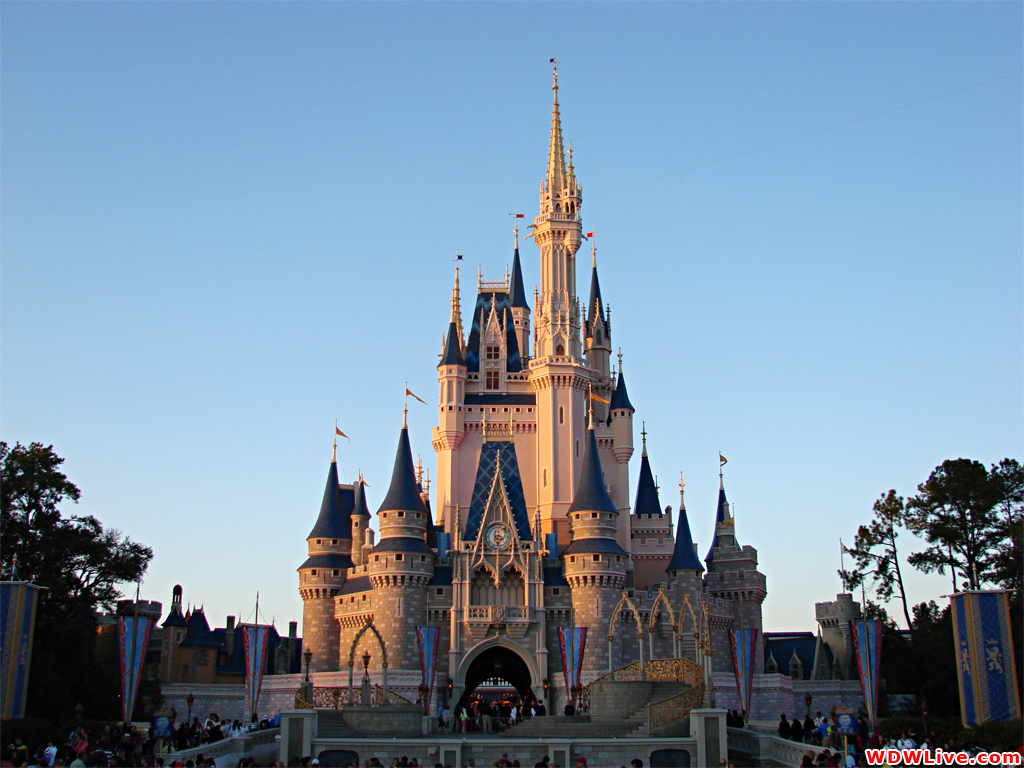
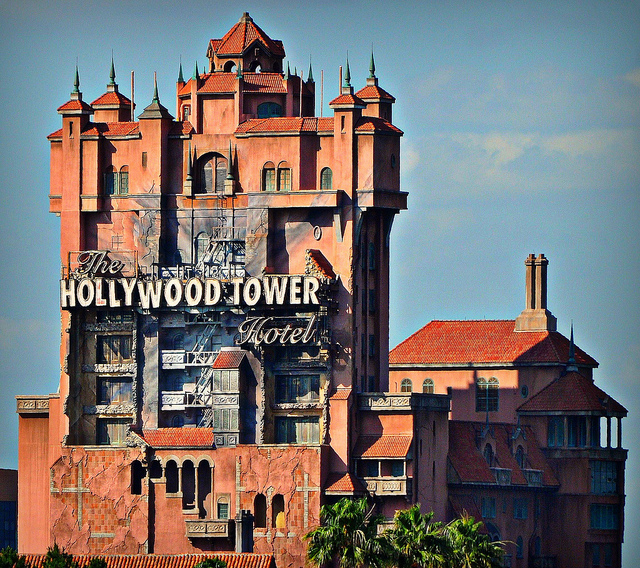
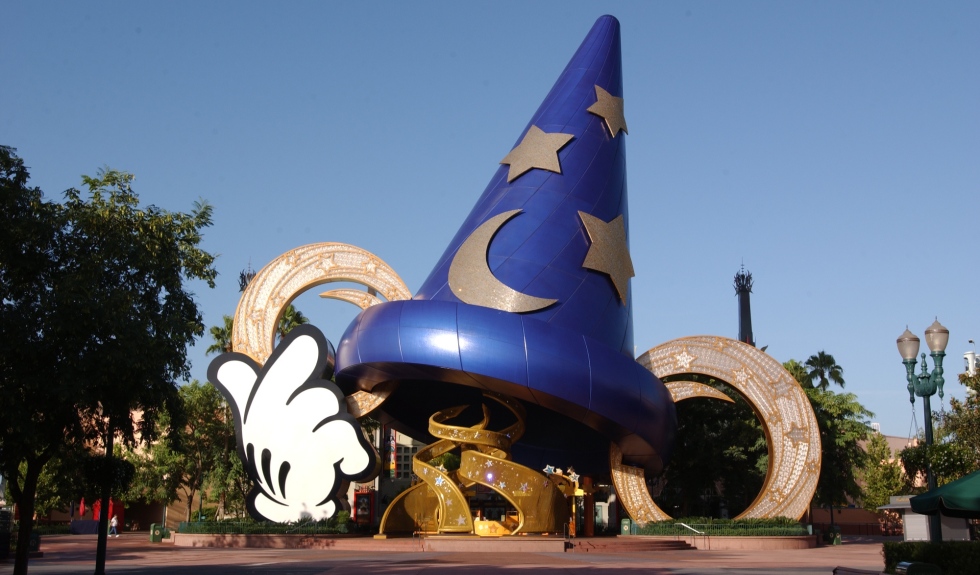
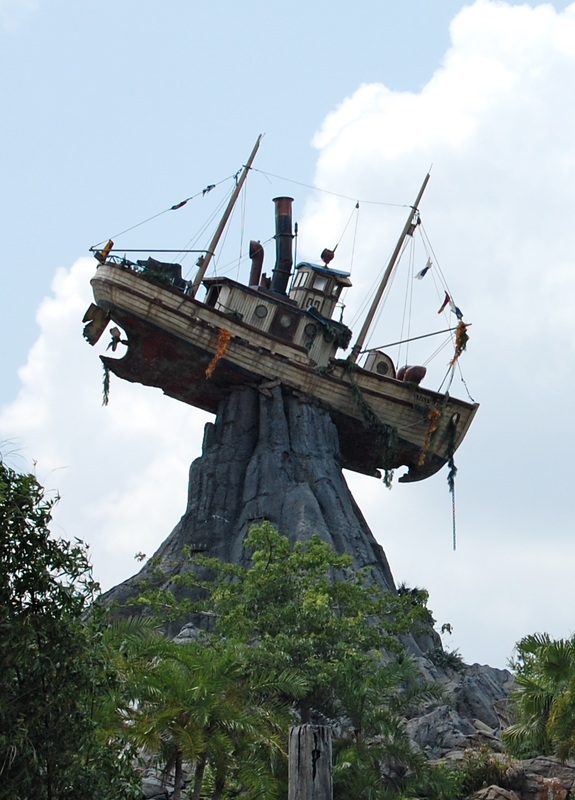
I used the first picture shown as the background for the artwork piece. But I also used the confetti brushed that I had downloaded from Brusheezy.com a while back, to make it go with the Disney Parks theme. I used the second picture shown as my grid background. I wanted to use the "Disney Parks" font for my artwork so I used that third picture shown as my title. I also added in the "Where Dreams Come True" quote as well. I cropped out all of the landmarks of each Disney Park by using the polygonal lass tool or the magic wand tool. I also added affects and layer styles to every single picture such as things like, drop shadows, inner and outer glows, bevel and emboss, and inner shadows. I used the dodge tool on the center of the Epcot ball, and the middle of my blue background. I used the burn tool around all of the edges of the blue background to go with the lighter middle to make it have more of a gradient look. I also used the dodge tool on the edges of the Epcot ball and the bottom of the Magic Kingdom castle.
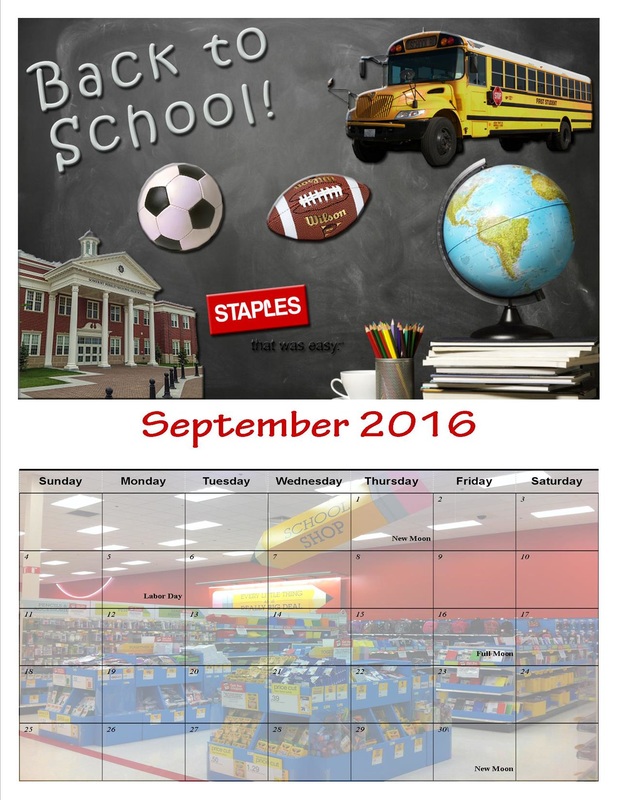
September
September-Original Images

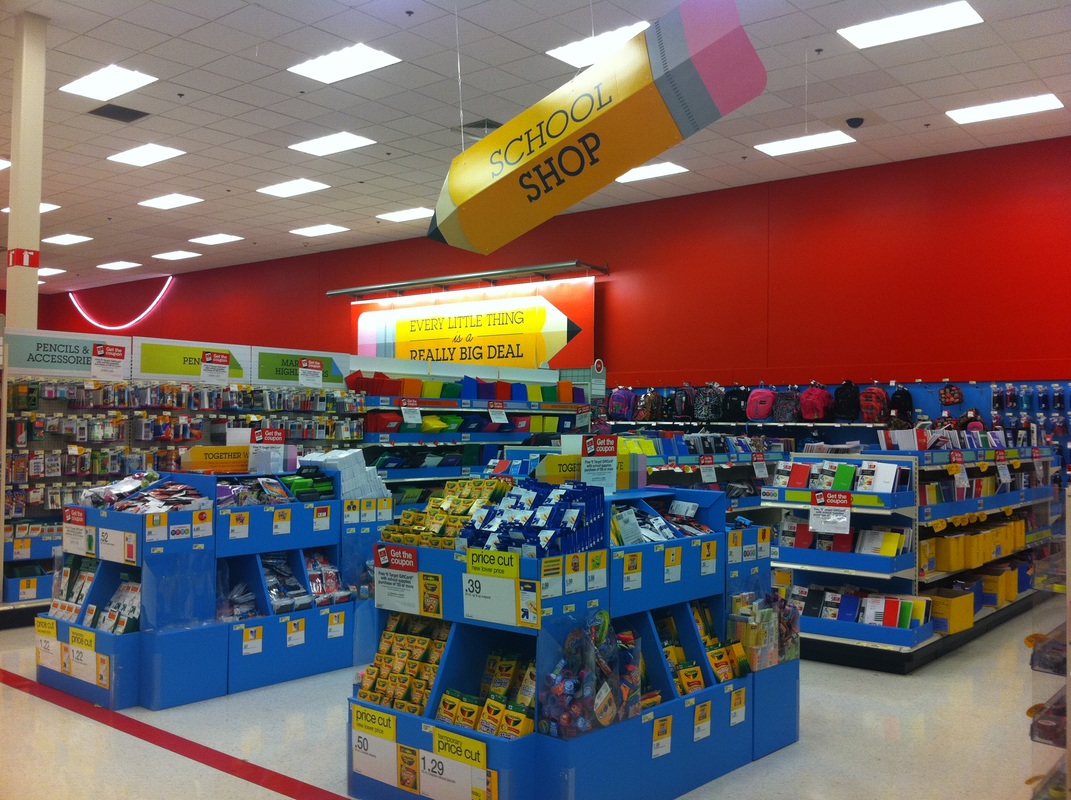
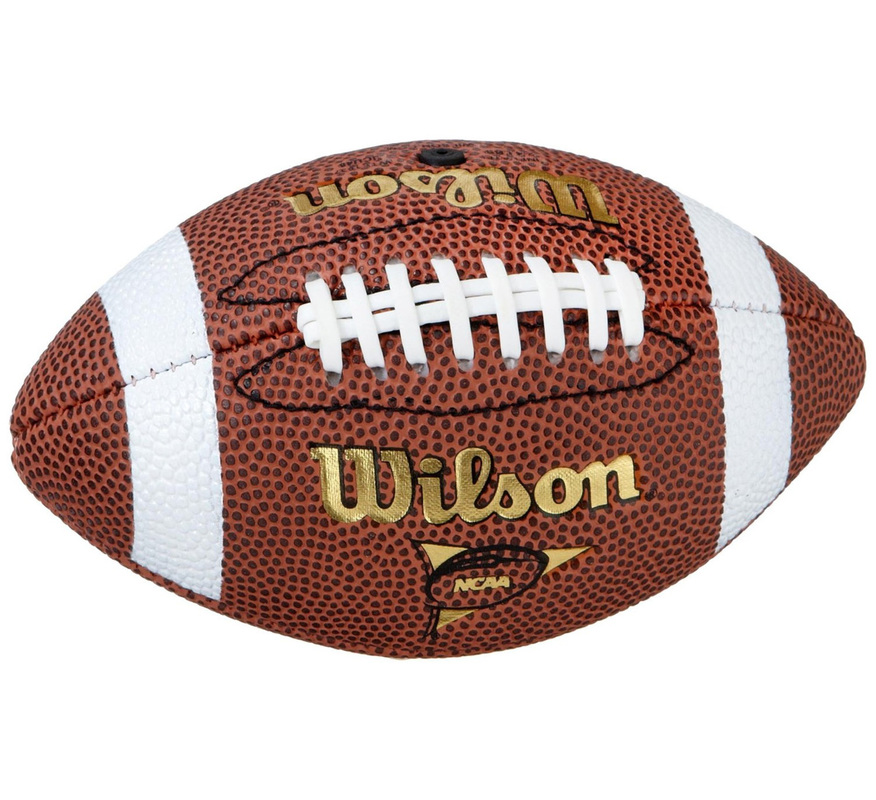

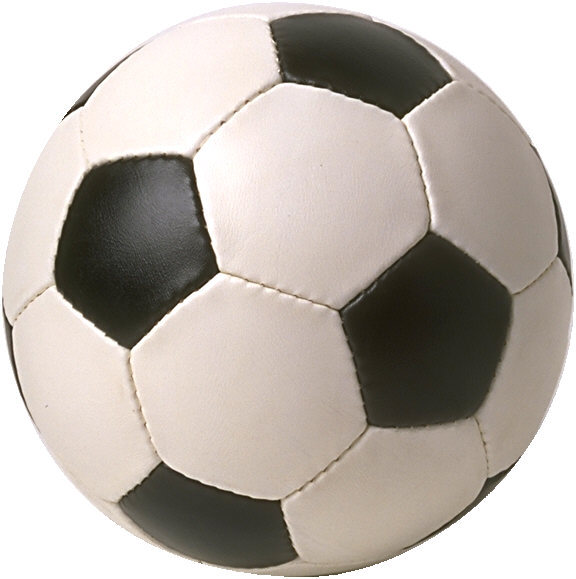
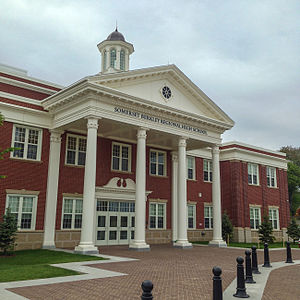

The first picture shown, I used as a background to go with the back-to-school theme and I used the second picture shown as my background for the grid. I cropped out Somerset-Berkley Regional High School by using both the polygonal lasso tool and the magic wand tool. I used these cropping tool for the rest of the pictures that are shown as well. I also inserted pictures of sports to show that the season will be coming up, along with school. I added a school bus and the Staples logo as well to represent school and shopping for its supplies. I used the color replacement tool on the school bus and the soccer ball. I used it on the school bus to make it appear more yellow rather than orange. I made the soccer ball more white rather than yellow by using the color replacement tool as well. I also added drop shadows, inner shadows, inner and outer glows and bevel and emboss affects as a finishing touch.
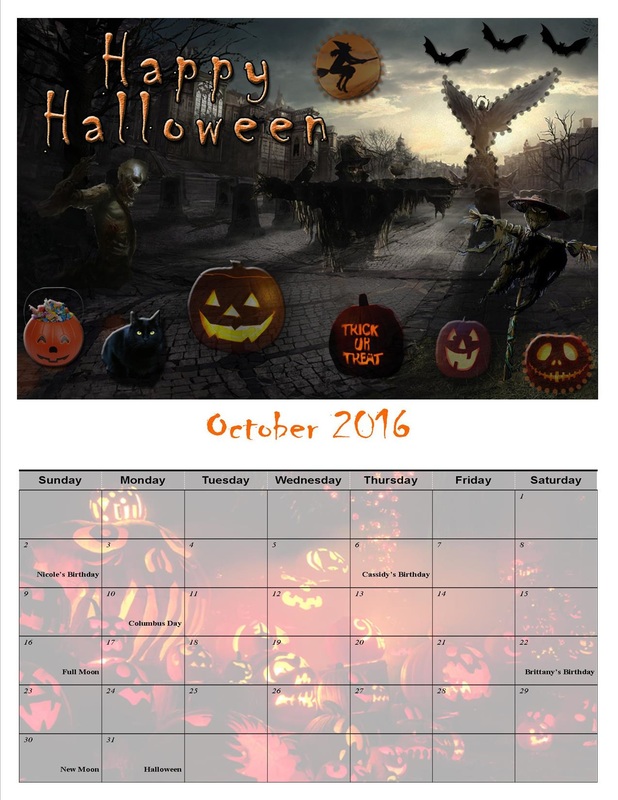
October

October-Original Images
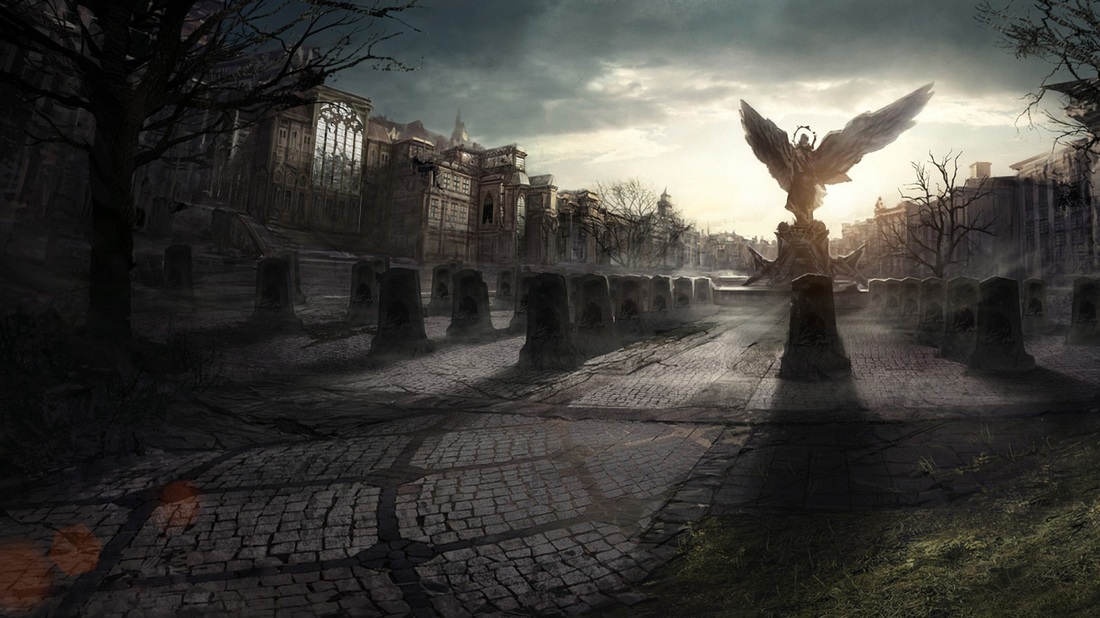

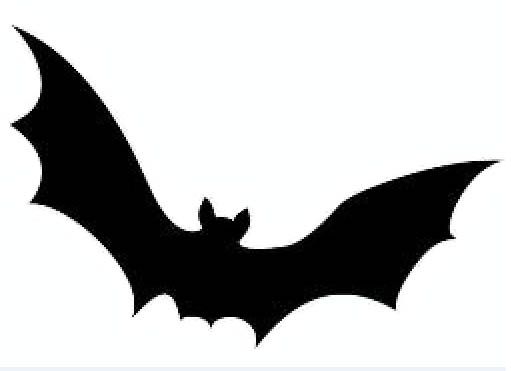
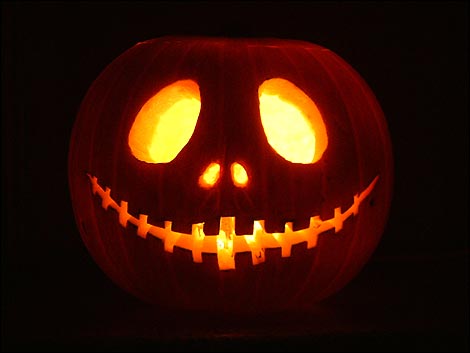
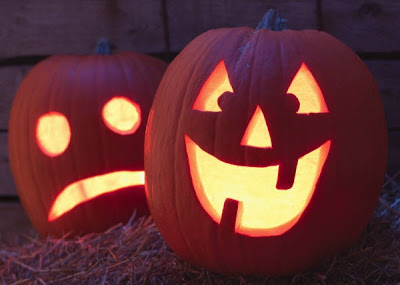
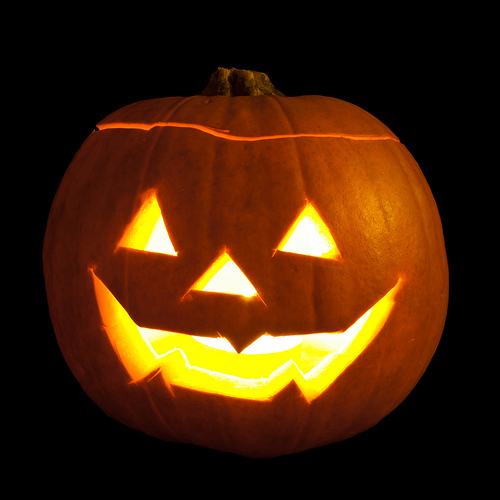

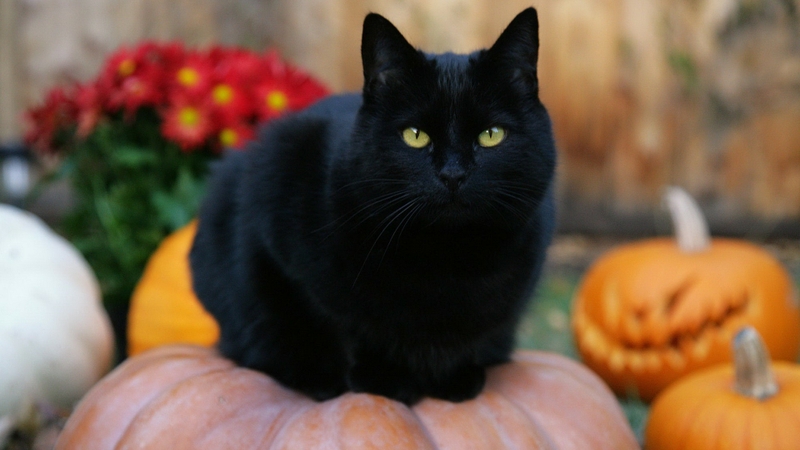
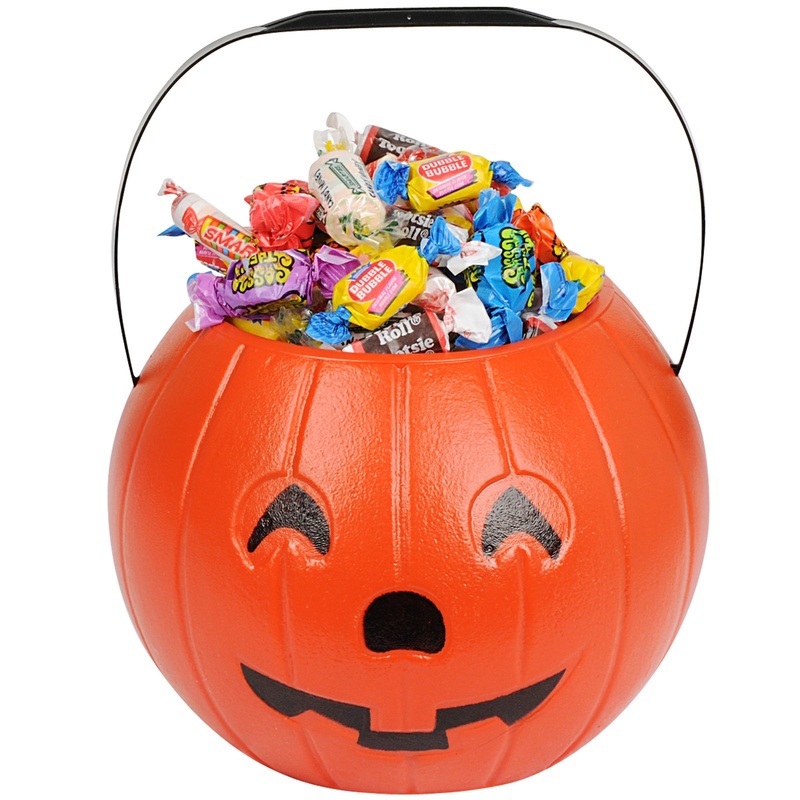

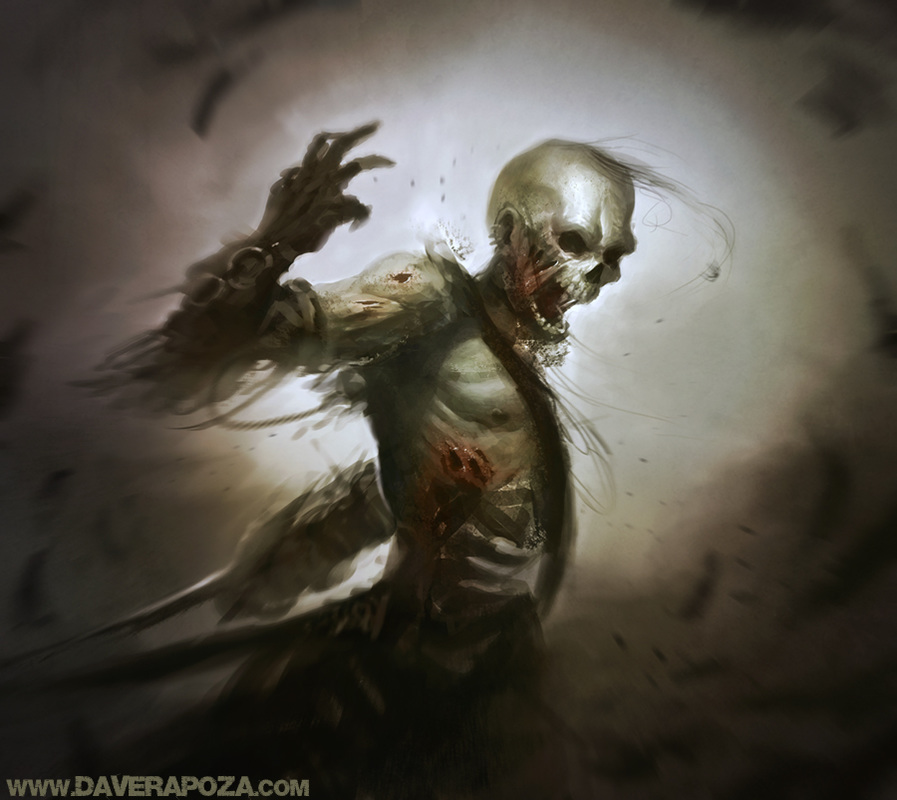
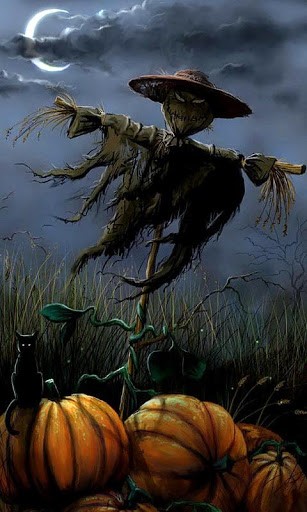
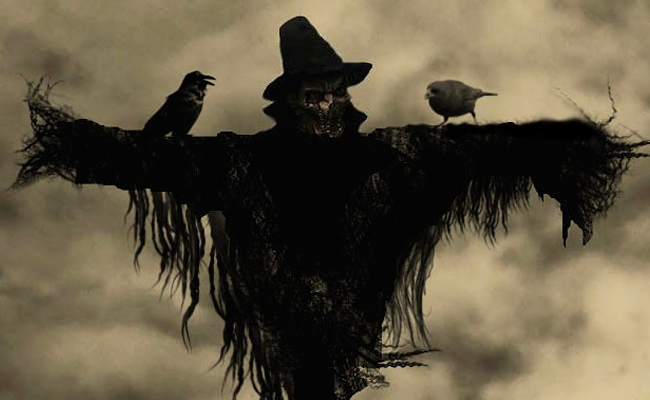
I used the first picture shown as a background for the artwork and I used the second picture shown as a background for the grid. I chose to use the font chiller for this complete page cause I thought it went best with the Halloween theme. I cropped every single one of these pictures shown out with the polygonal lasso tool or the magic wand tool. The requirement for this month was to use the dotted and dashed lines. I used these dots on the statue in this cemetery photo, one of the jack-o-lanterns to the bottom right, and the moon with the witch inside of it. I used the same colors as the pictures were to draw the dots so it would coordinate better together. I added drop shadows, inner shadows, inner and outer glows, bevel and emboss, and mostly satin to all of these images. The satin affect worked the best because the darkness worked best to fit in with the dark background. But I also lowered the opacity of some of these image as you can see. I also messed with the brightness and contrast of some of the images because the original version looked way too bright to fit in with the rest. I used the eraser and messed with the opacity of it to make it look like two of the creepy Halloween figures were fading away. I used it mostly around the bottom and to the edges of the figures so there wouldn't appear to be harsh lines.
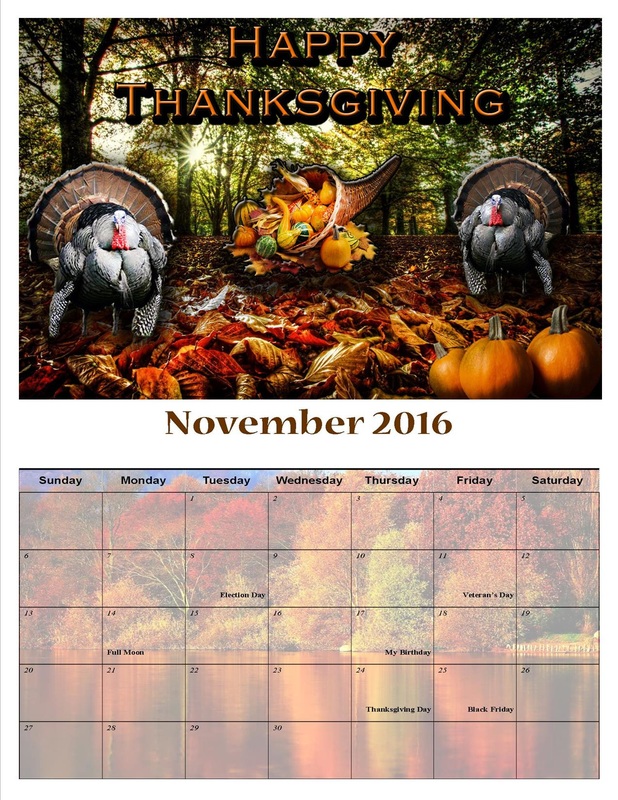
November

November-Original Images
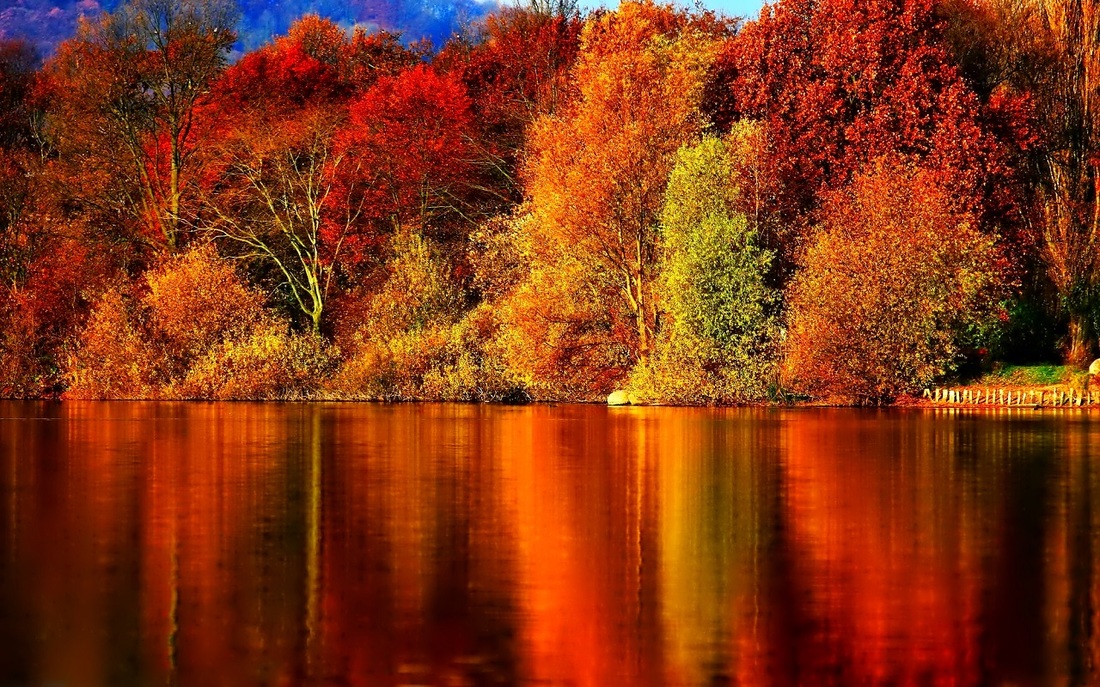
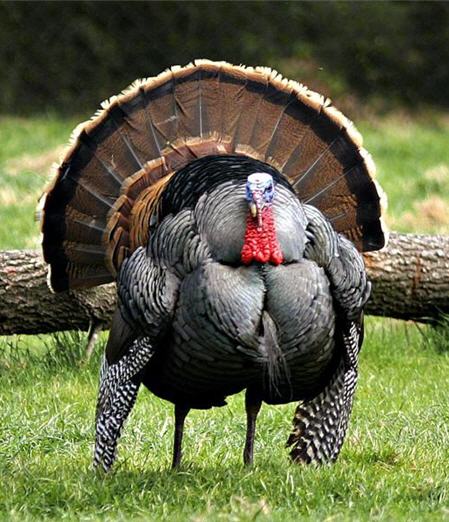
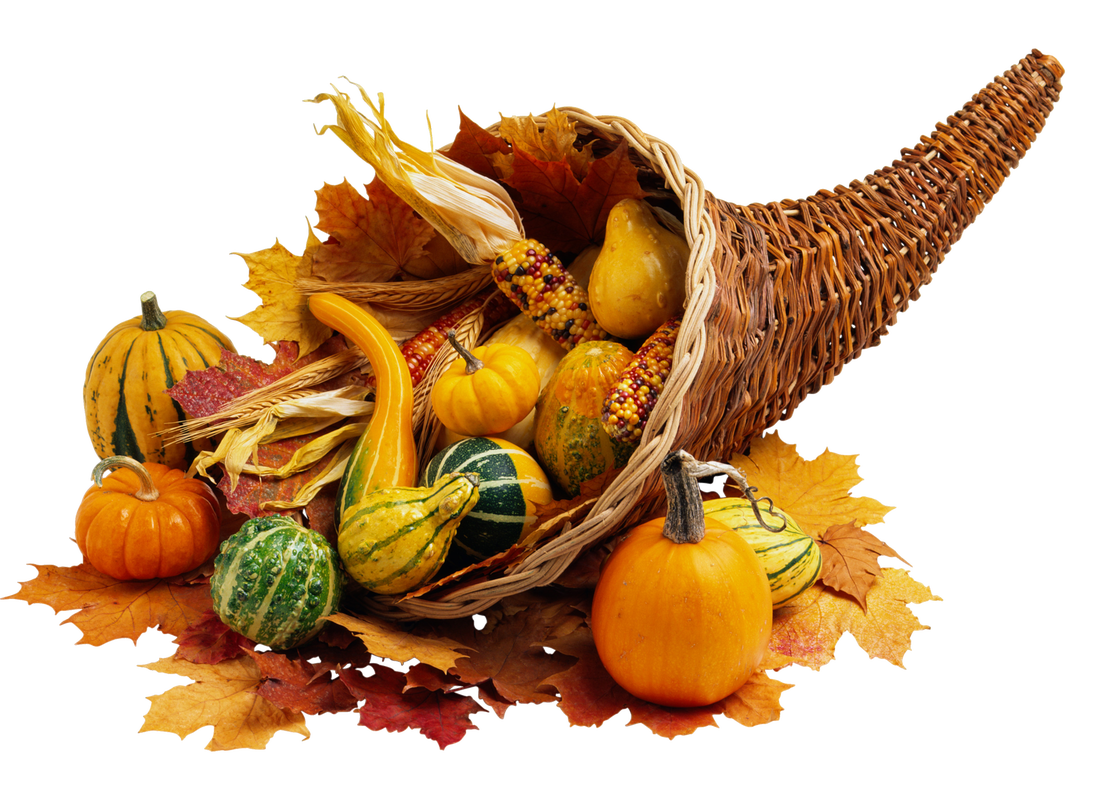
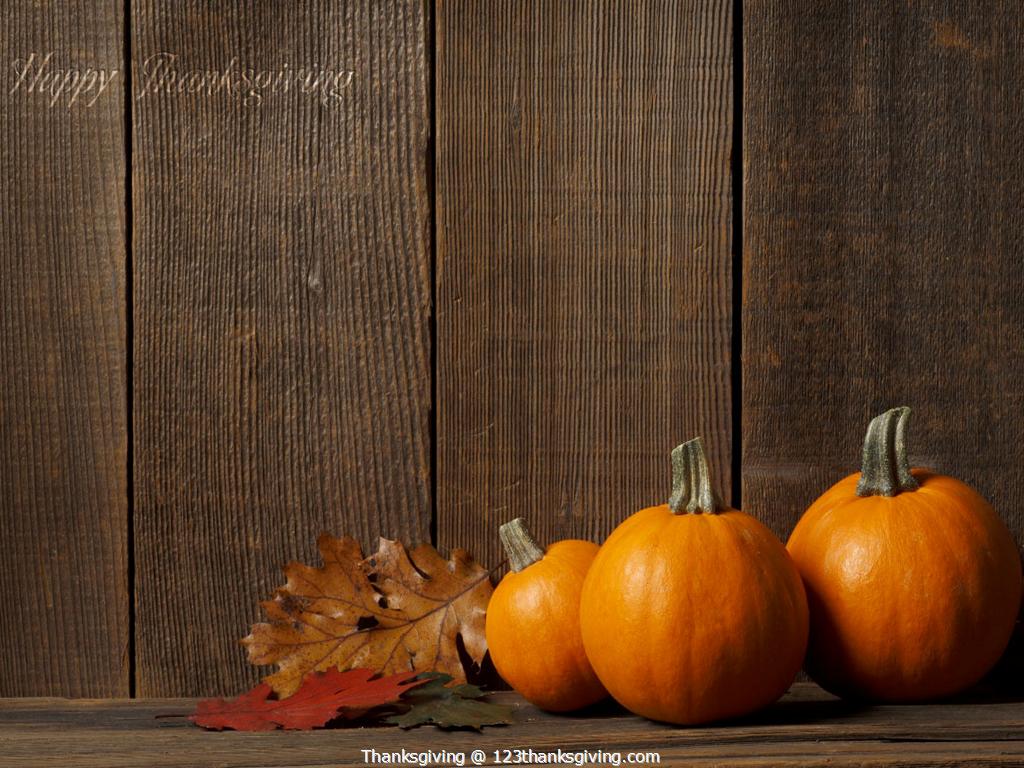
I used the first picture as my artwork background, and for the second picture, I used it for my grid background. I put the turkey into my artwork along with the cornucopia and the pumpkins, to make it go with the Thanksgiving theme for this month. I used drop shadows, inner shadows, bevel and emboss, stroke and inner and outer glows for all of these images. I duplicated the layer of the turkey, and flipped it horizontal so I'd have two, but facing different ways. Since this month was a free choice of a tool, I decided to use the dodge and burn tool. I used the burn tool around the edges of the pumpkins, then used the dodge tool on the middle to make it have more of a three-dimensional look to it. I also used the burn tool on the turkey on the right so it would appear darker and in the distance. I then used the dodge tool on the turkey on the left since it would appear as it was closer. I also used the burn tool around all of the edges of the woodsy background and then used the dodge tool throughout the whole middle portion of the leaves to make it more vibrant and brighter.
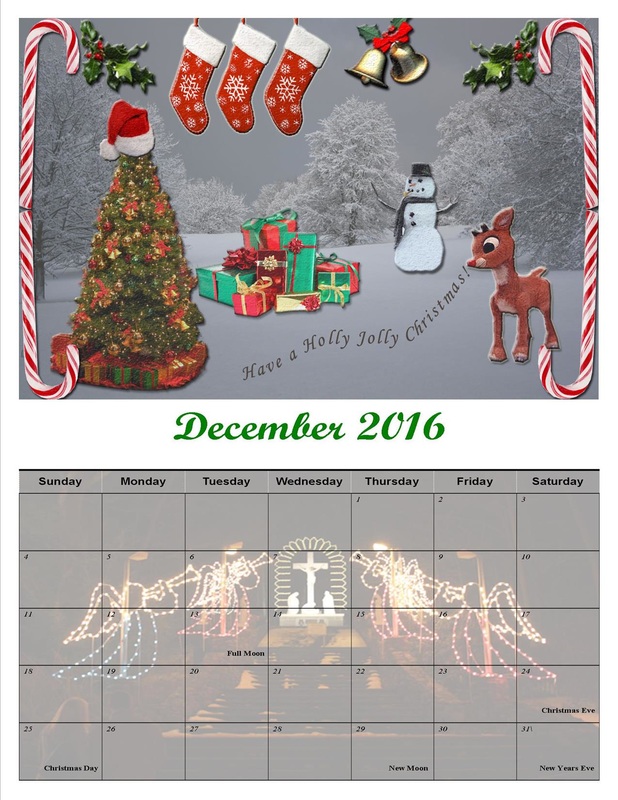
December
December-Original Images
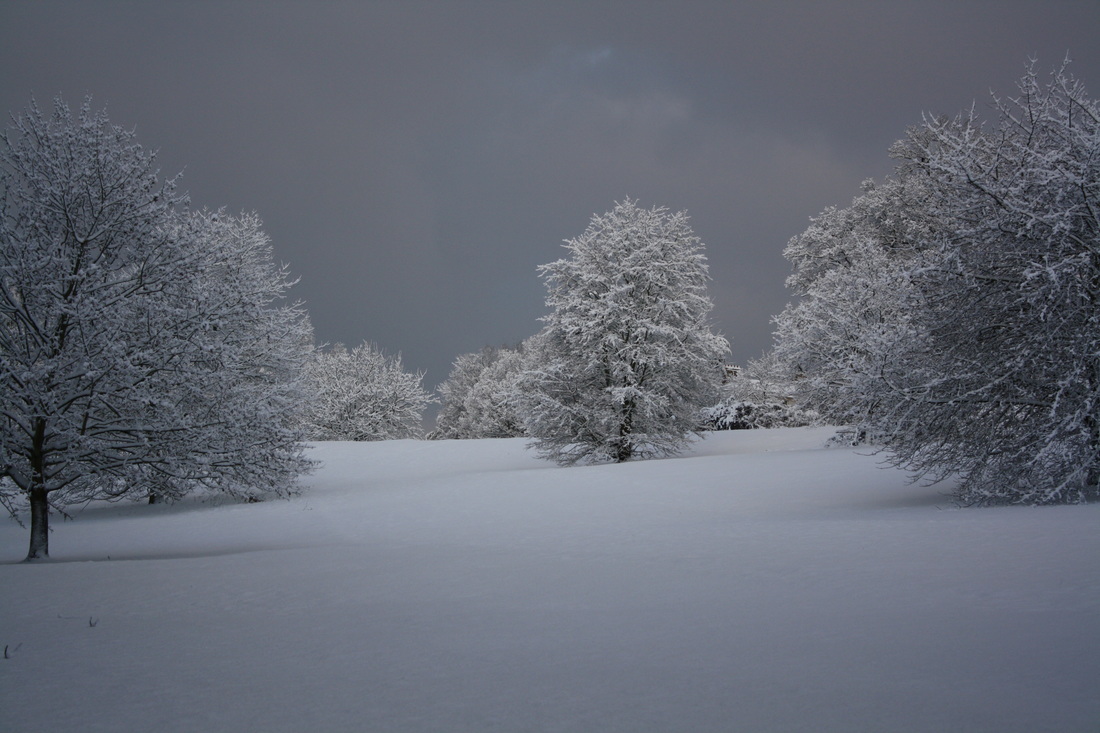
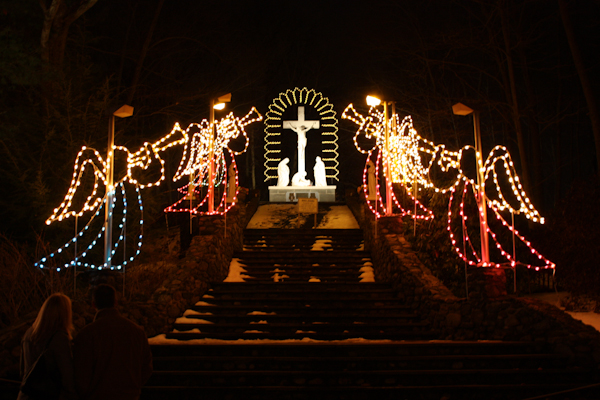


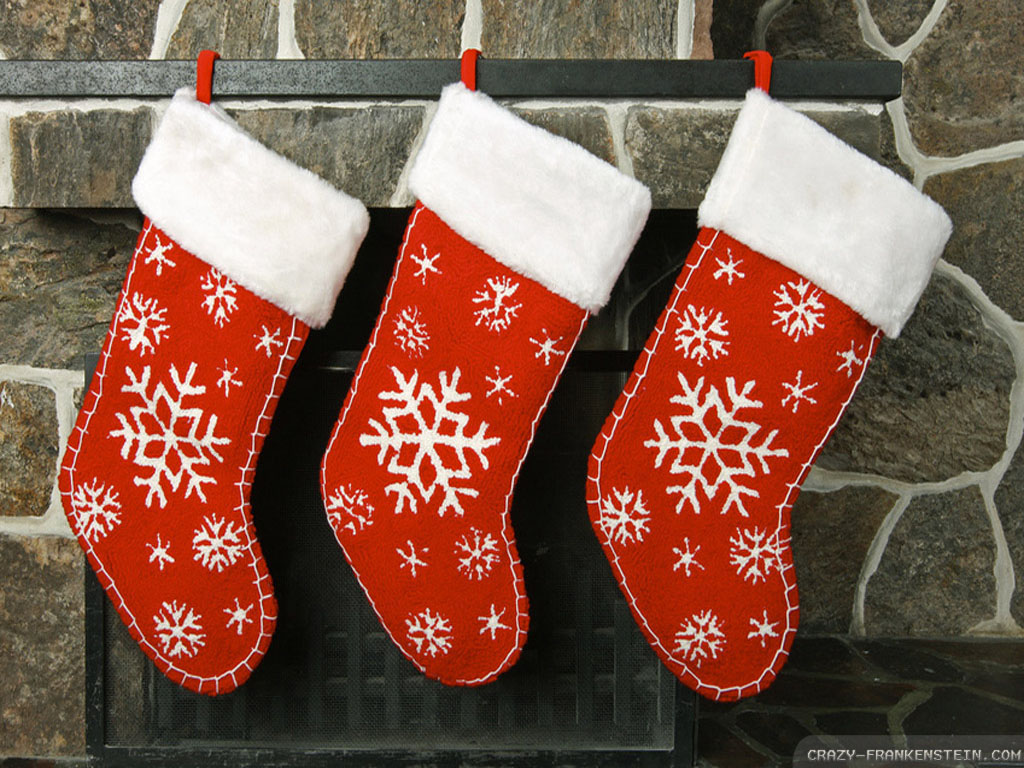


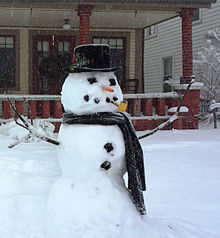
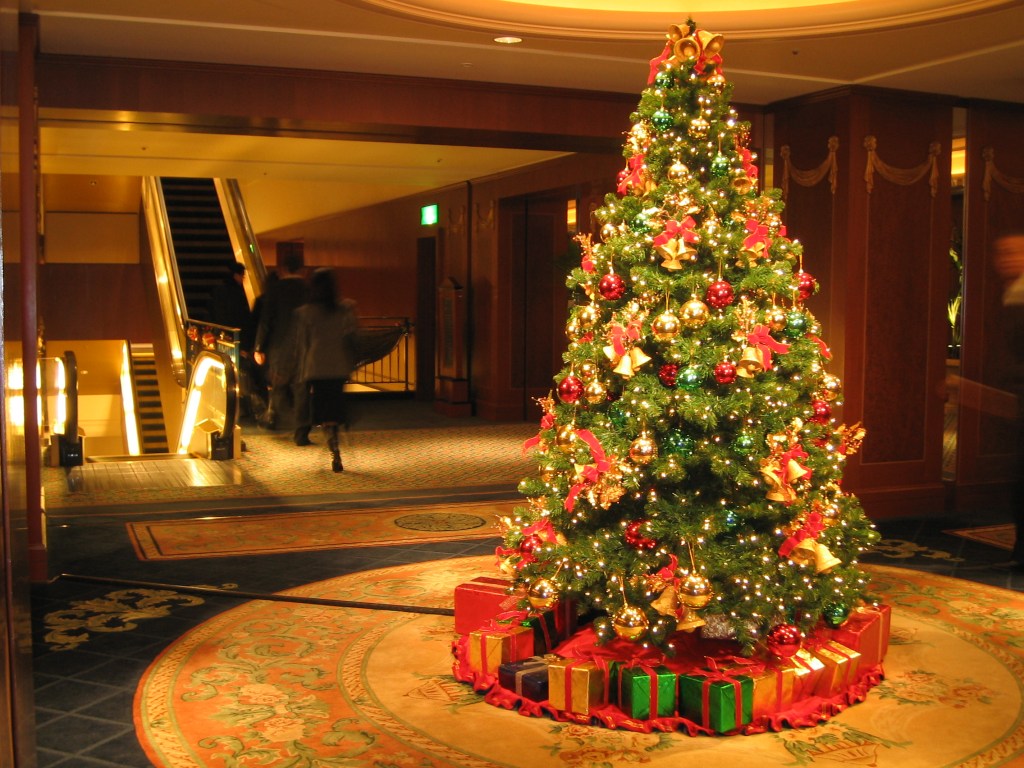
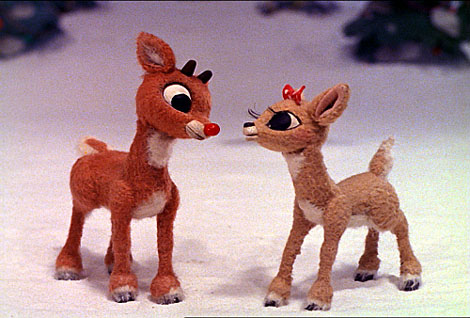

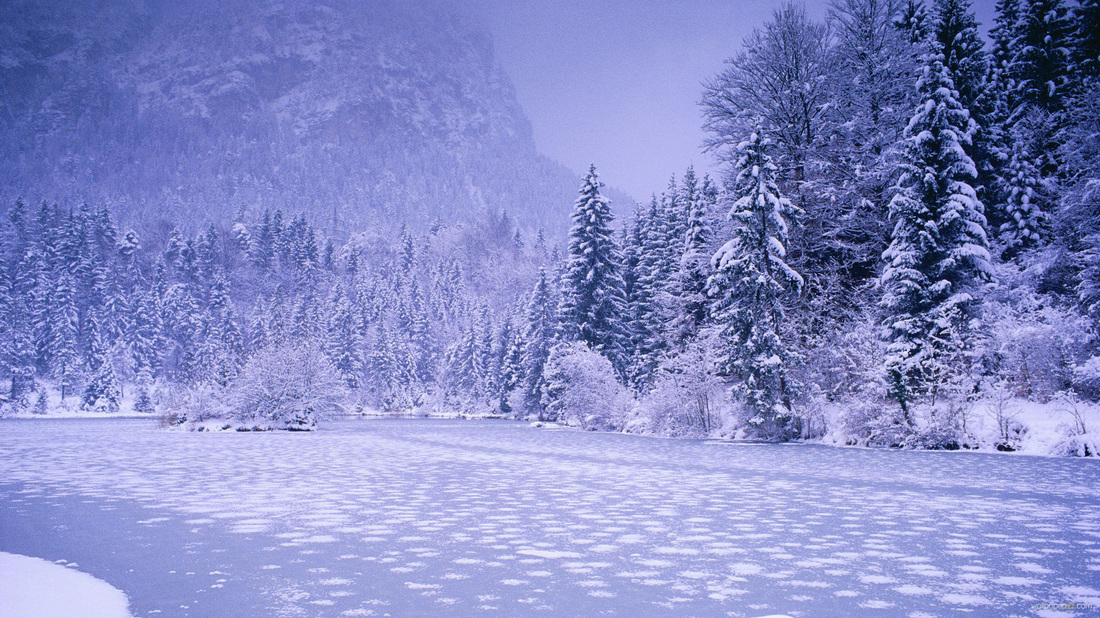
For the first image shown, I used this as my artwork background, and the second image, I used as my background for my grid. I used the candy cane, which I flipped horizontal and vertical many times, after also duplicating the layer many times to get the border effect I wanted to get. I also wanted to add Christmas bells, stockings, mistletoe, a pile of Christmas gifts, a snowman and a Christmas tree to go along with the holiday theme. I added Rudolph to the artwork, I used the Santa hat as a tree topper for the Christmas tree. For this month's tool, I used the type on a path tool and made it sing a Christmas song, trying to make it look like it was coming from Rudolph's mouth. I used drop shadows, inner shadows, inner and outer glows, bevel and emboss, and texture to all or most of the images. I also messed around the brightness and contrast of some photos to make it match the snowy background more. I used the polygonal lasso tool, magnetic lasso tool, or the magic wand tool for cropping out all of the images.
Final Cover

Original Images
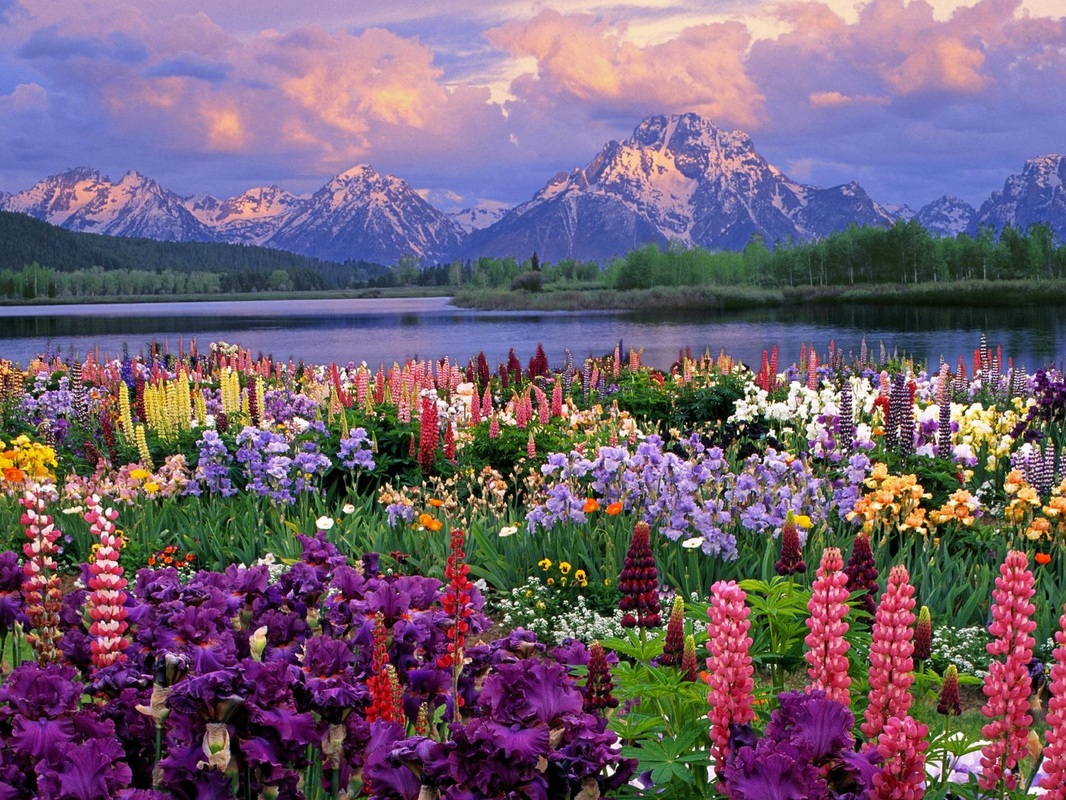
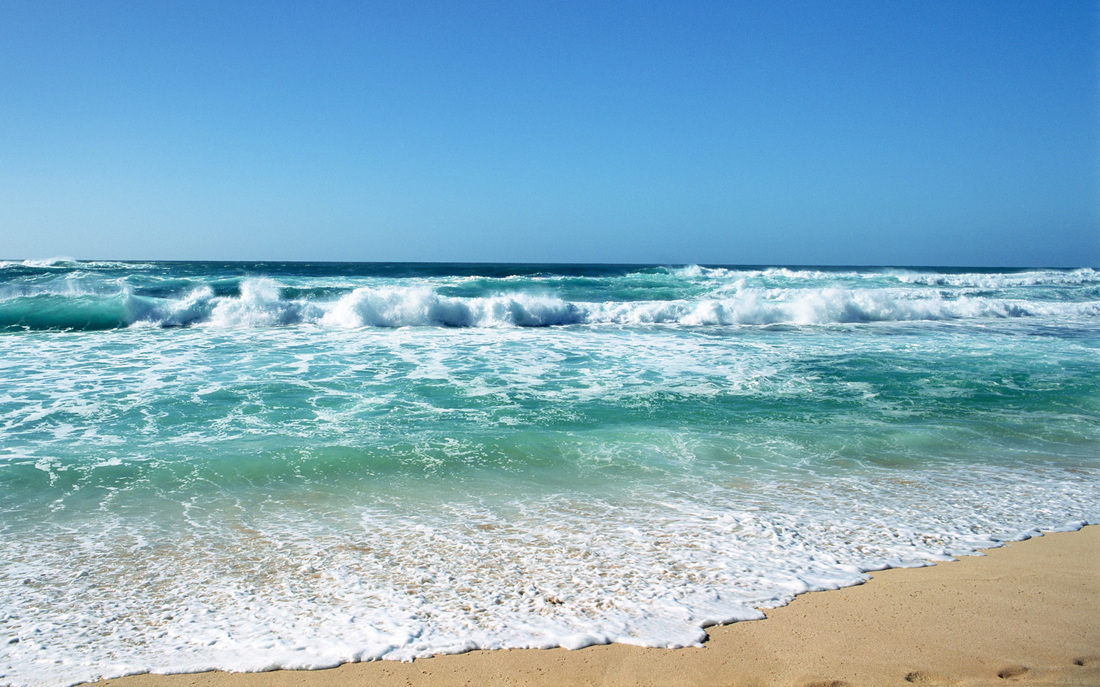
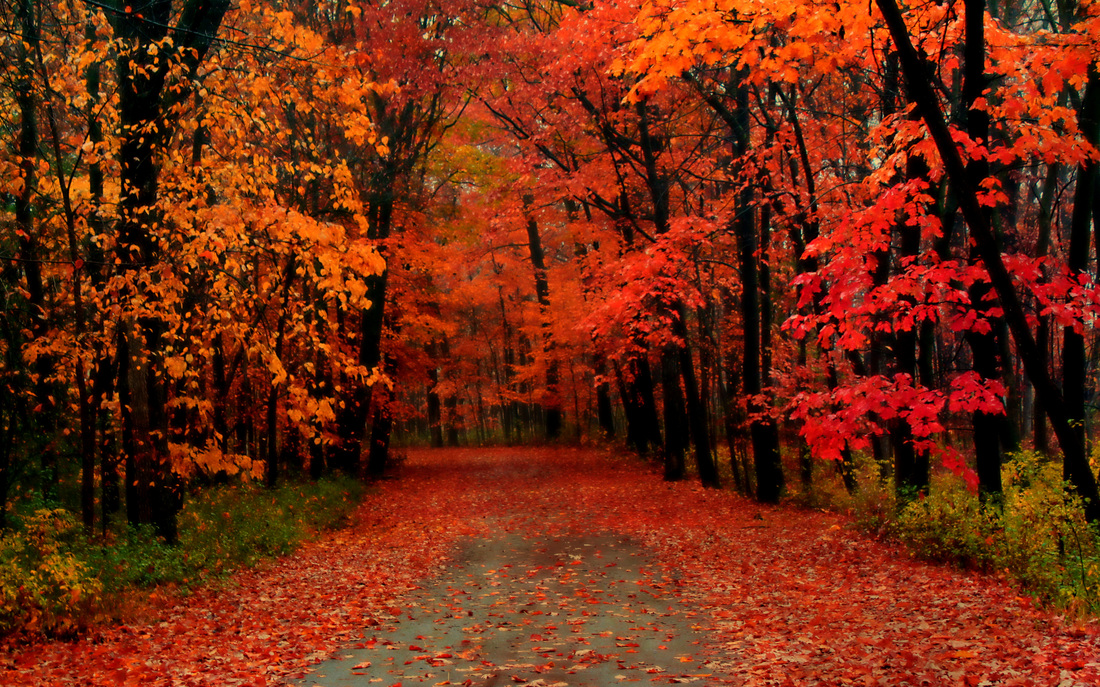
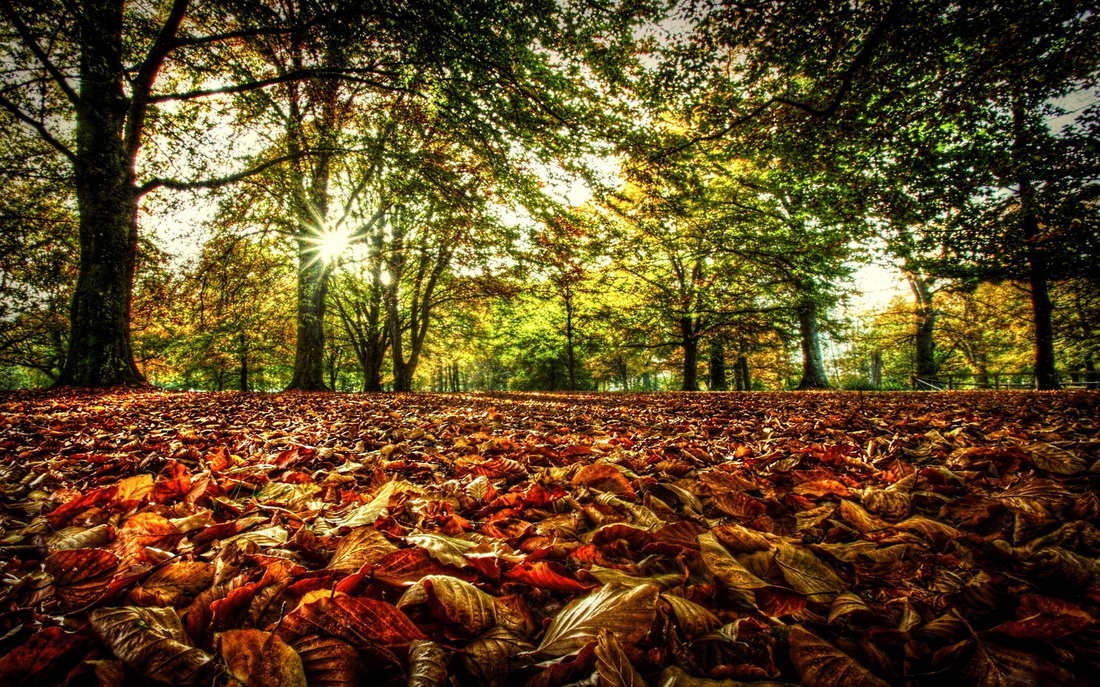
I inserted all four of these images into a new photoshop document and used an eraser, lowering the opacity many times to make it look like all of the pictures are fading into each other. I also used the blur and smudge tool. I made the title by adding many layer styles to it such as texture, bevel and emboss, satin, inner and outer shadows and glows. I also had to increase the brightness and contrast of the autumn picture because it was too dark to match and fit in with the very bright beach photo.