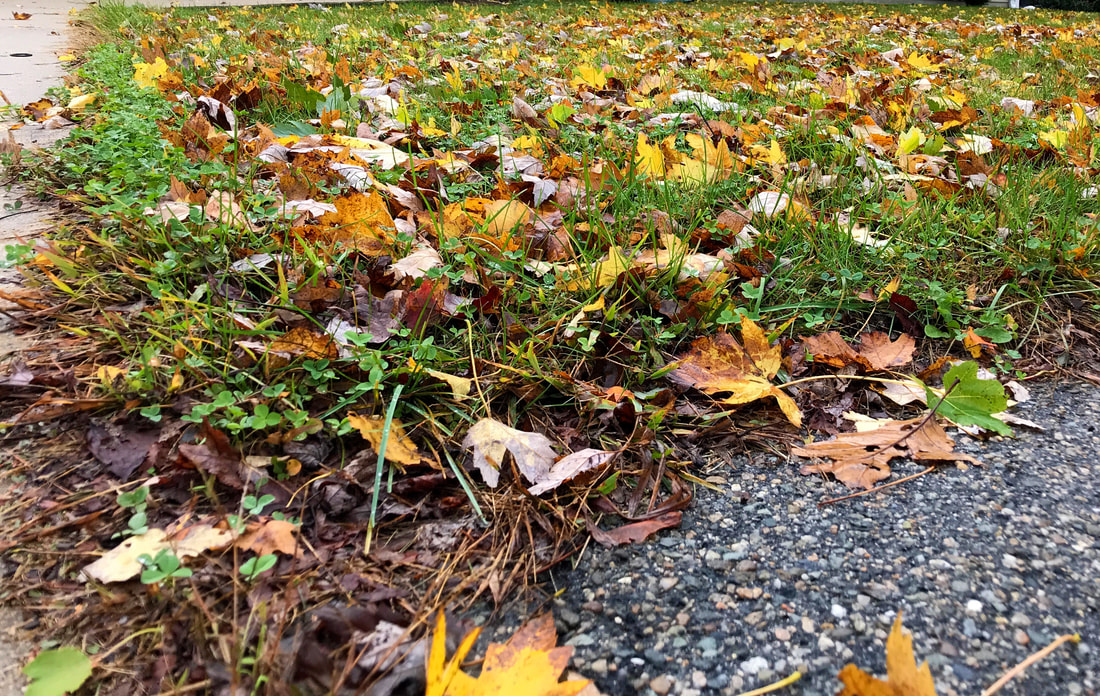
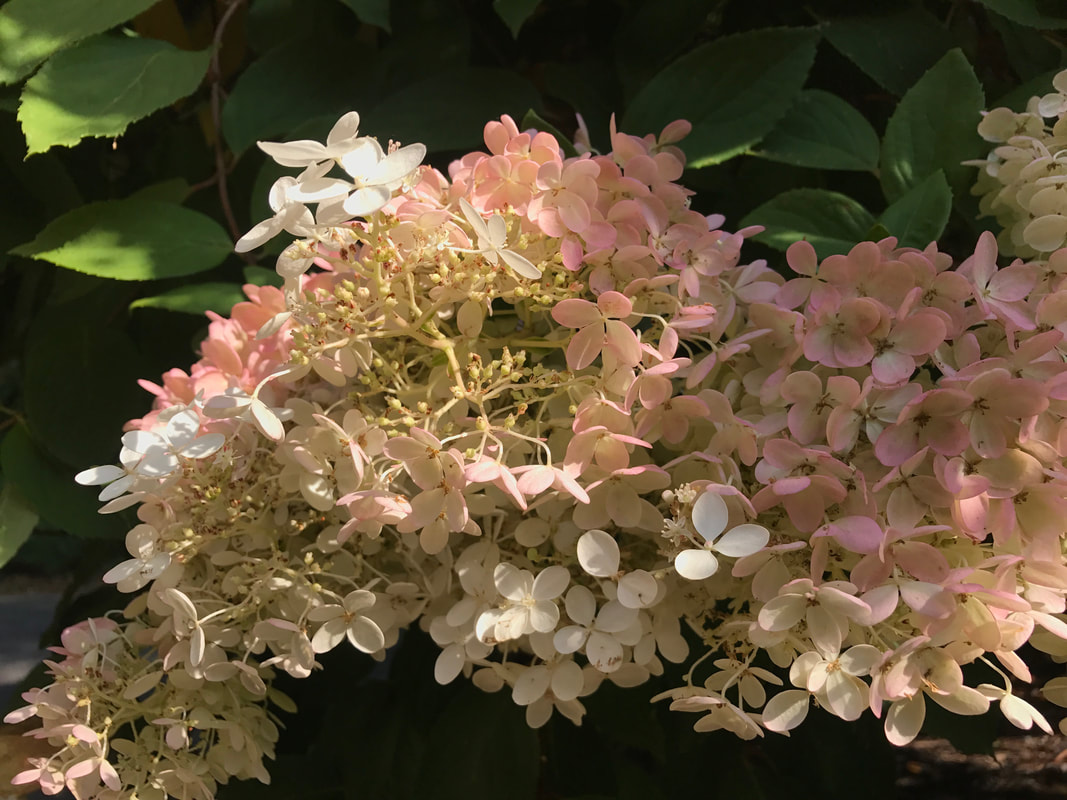
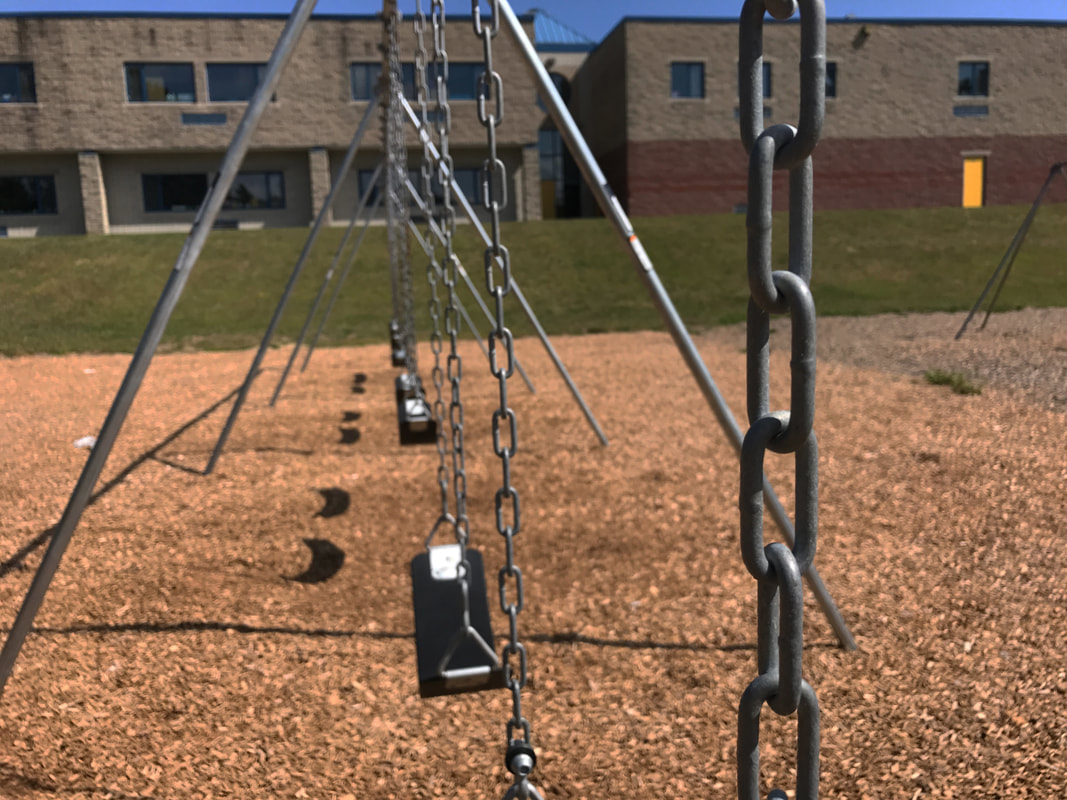
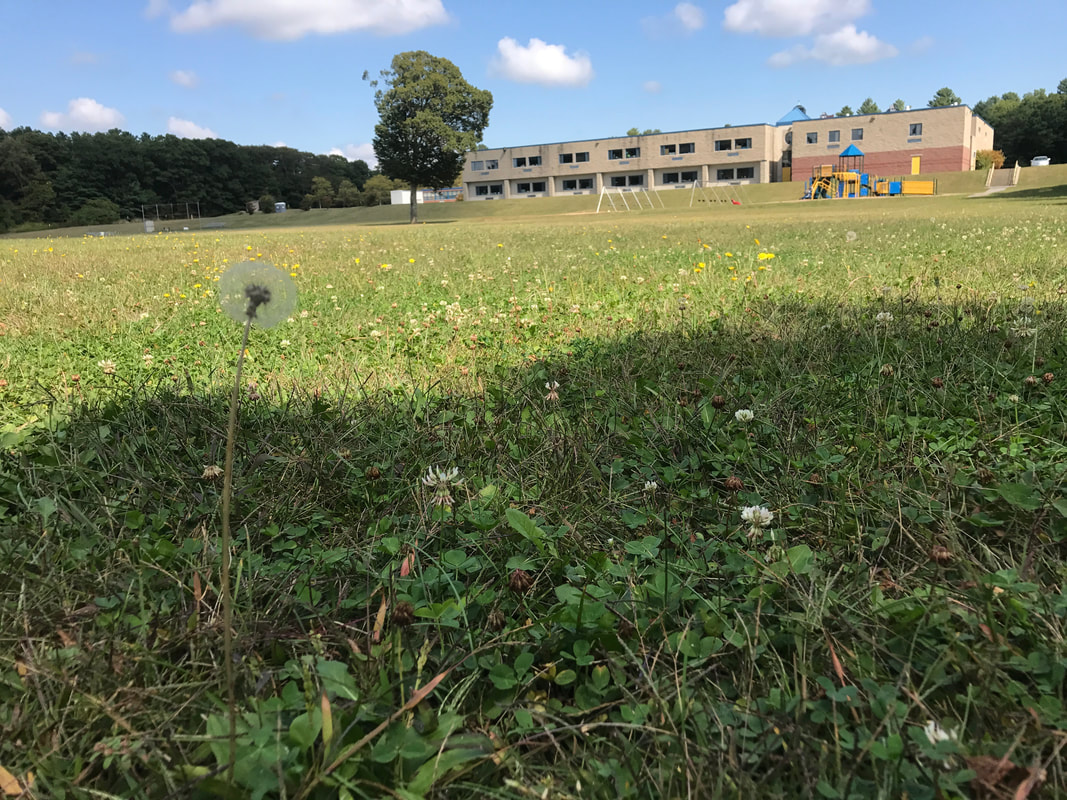
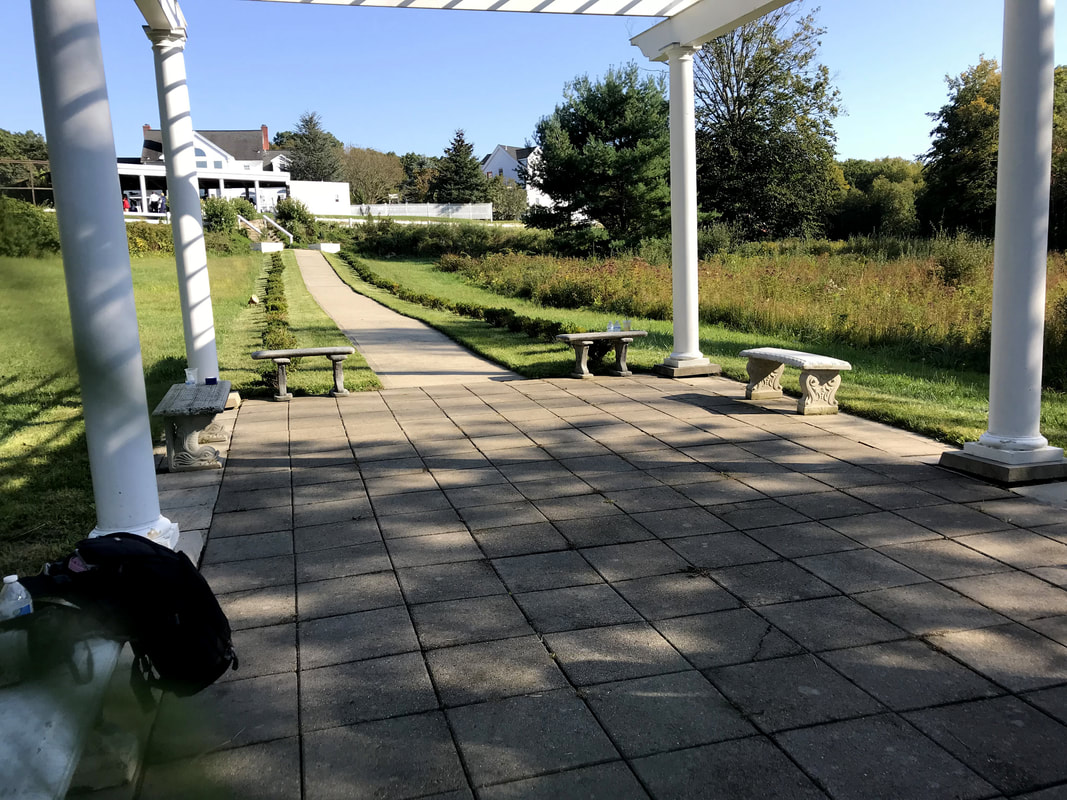
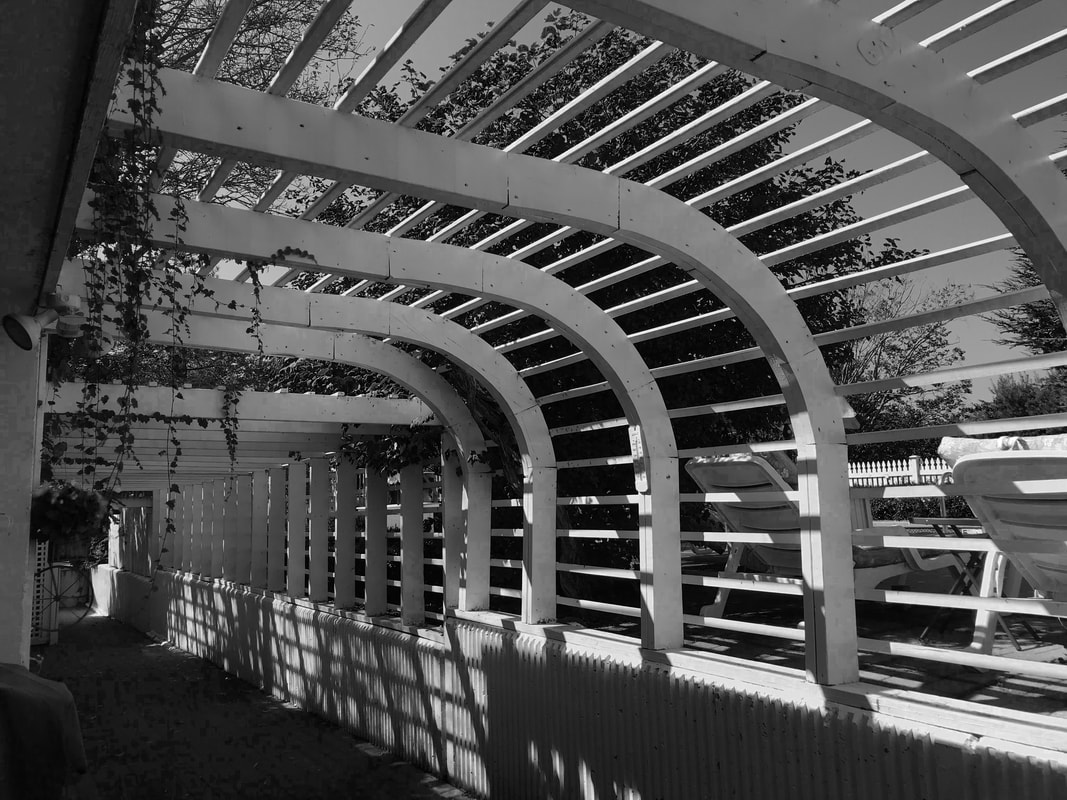
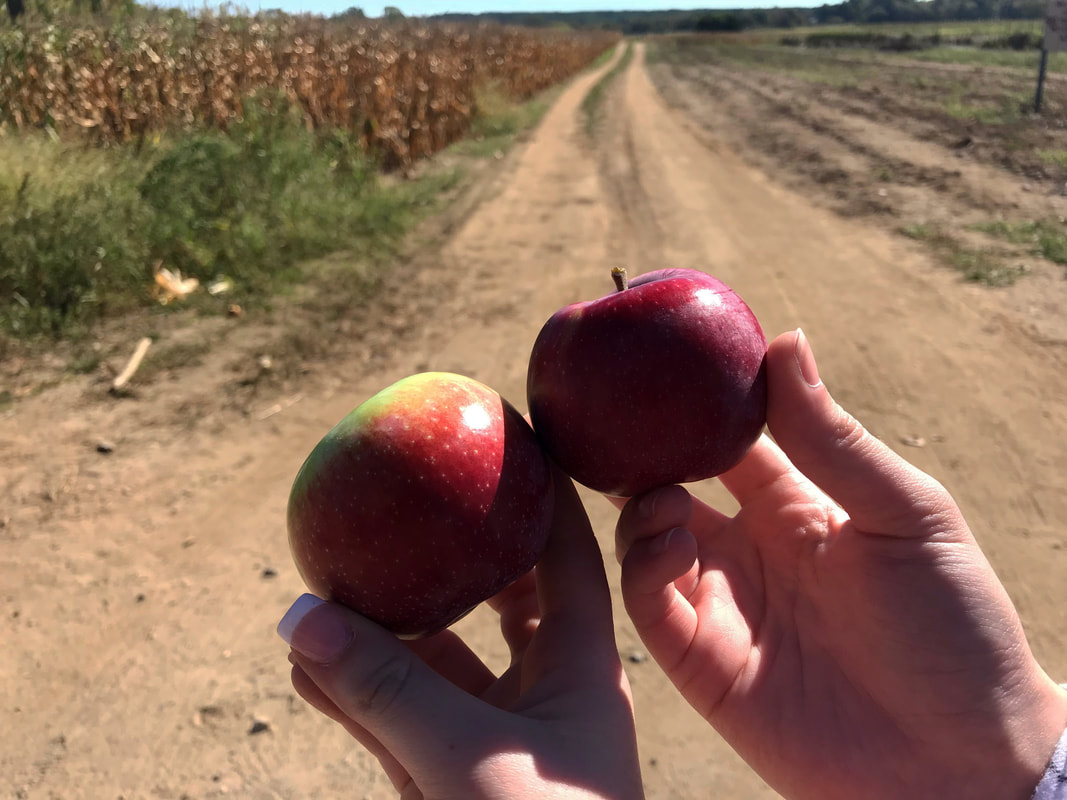
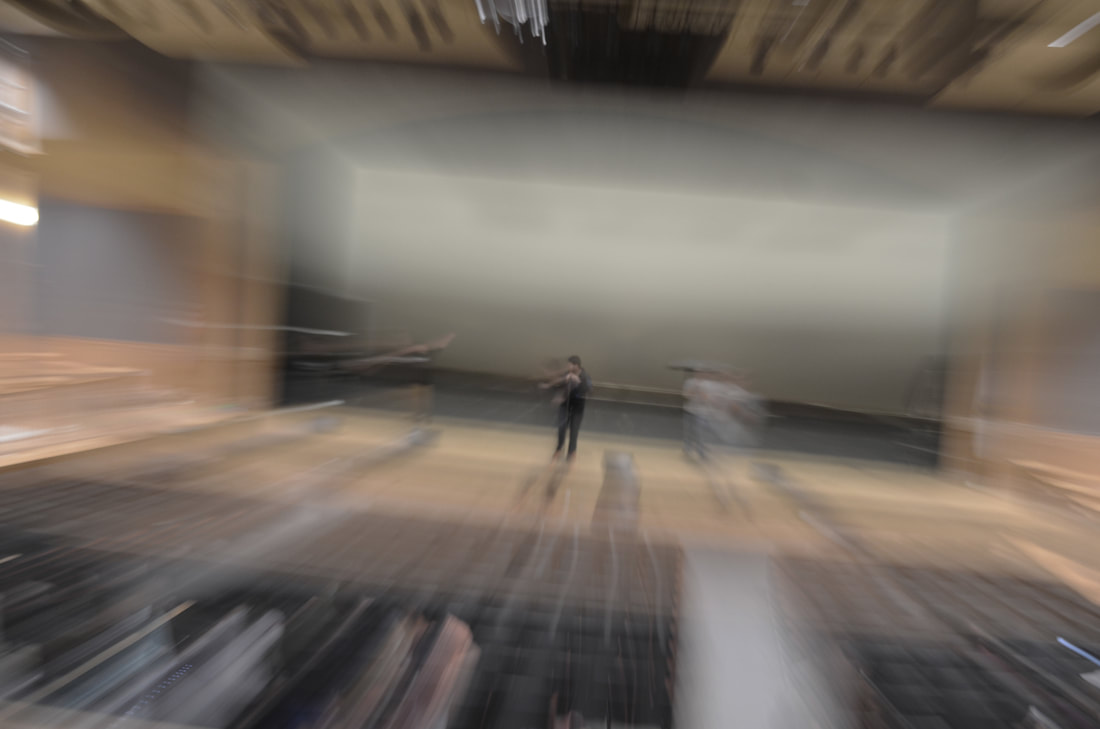
Best Photo
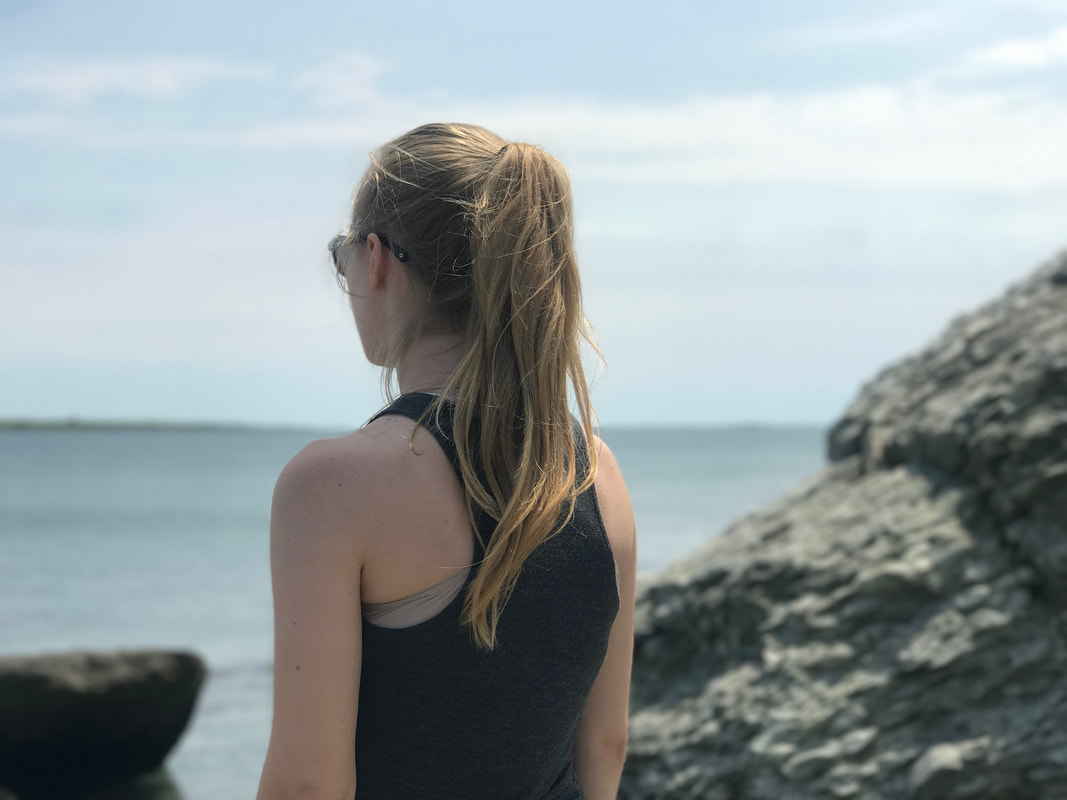
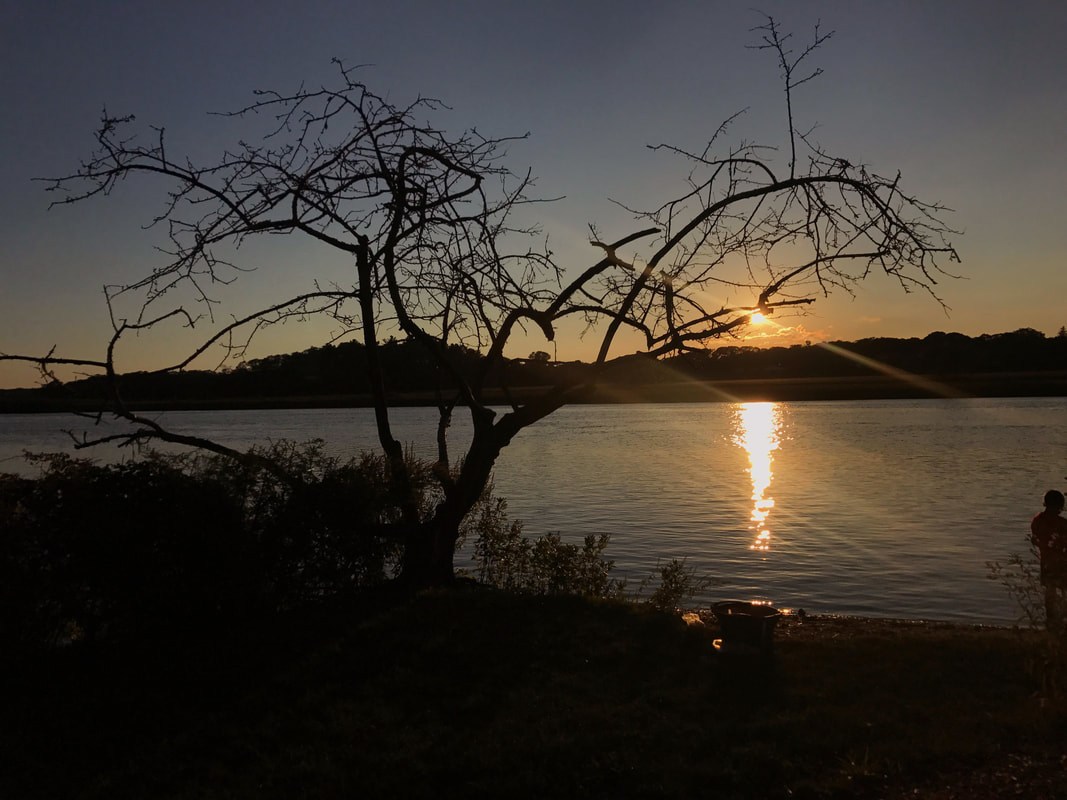
contrast
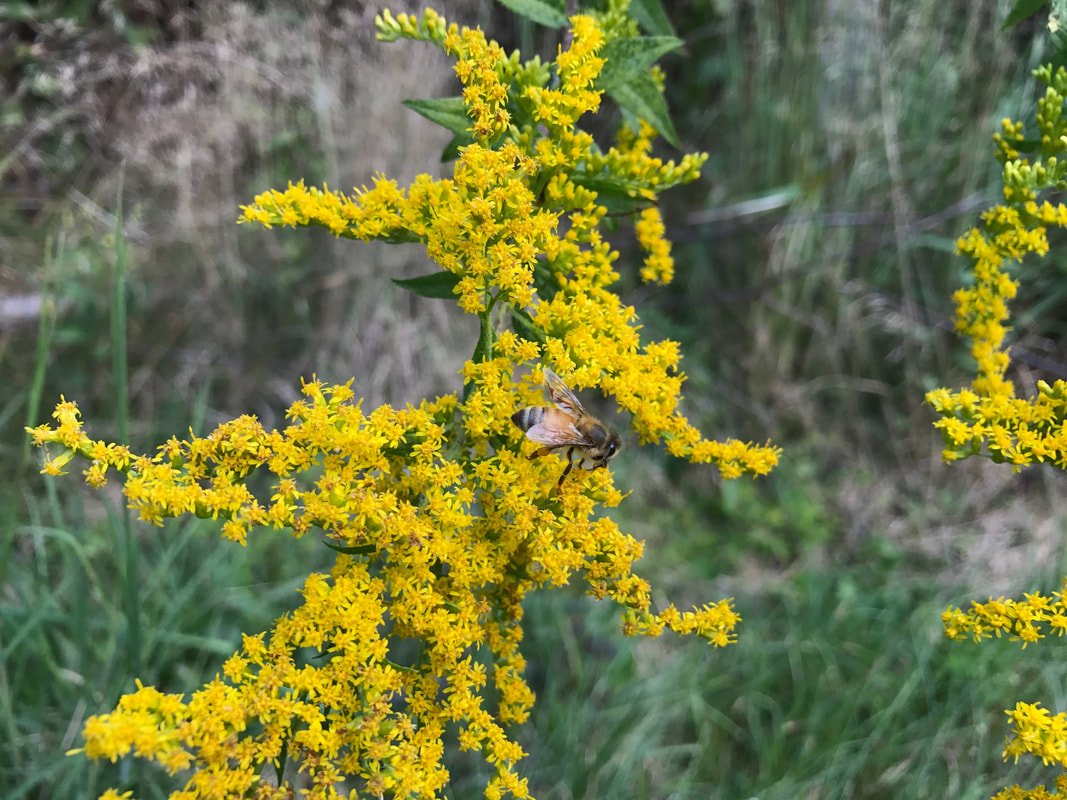
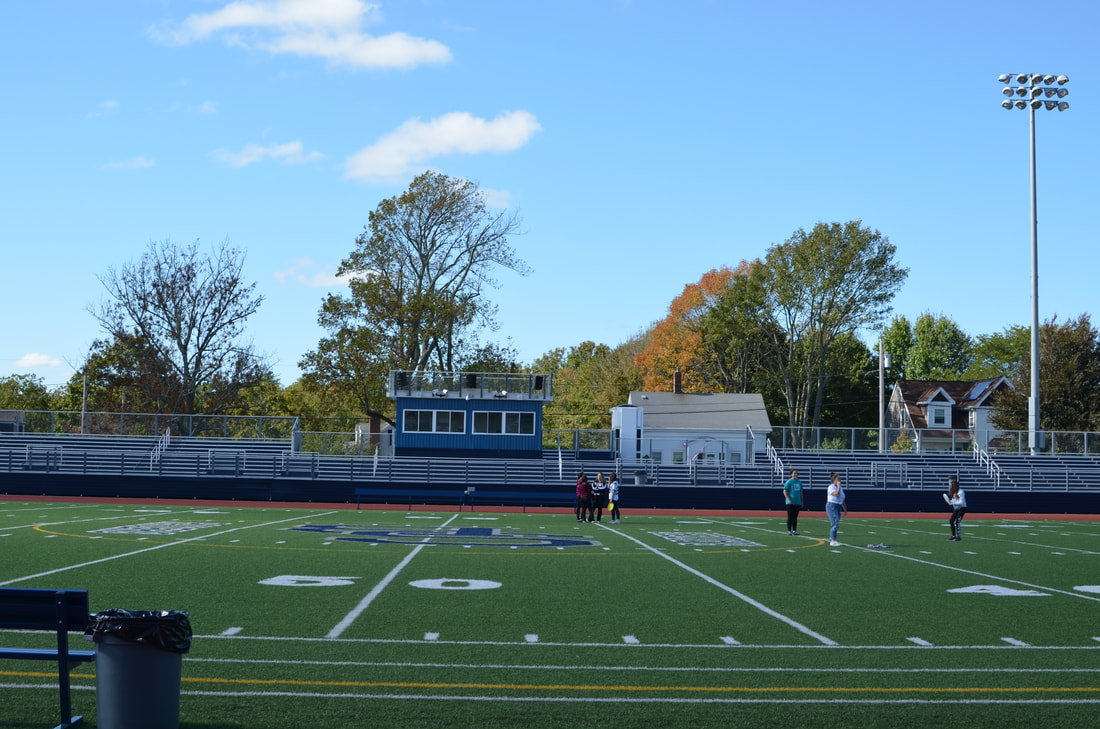
rule of thirds
texture on rock
shallow depth of field
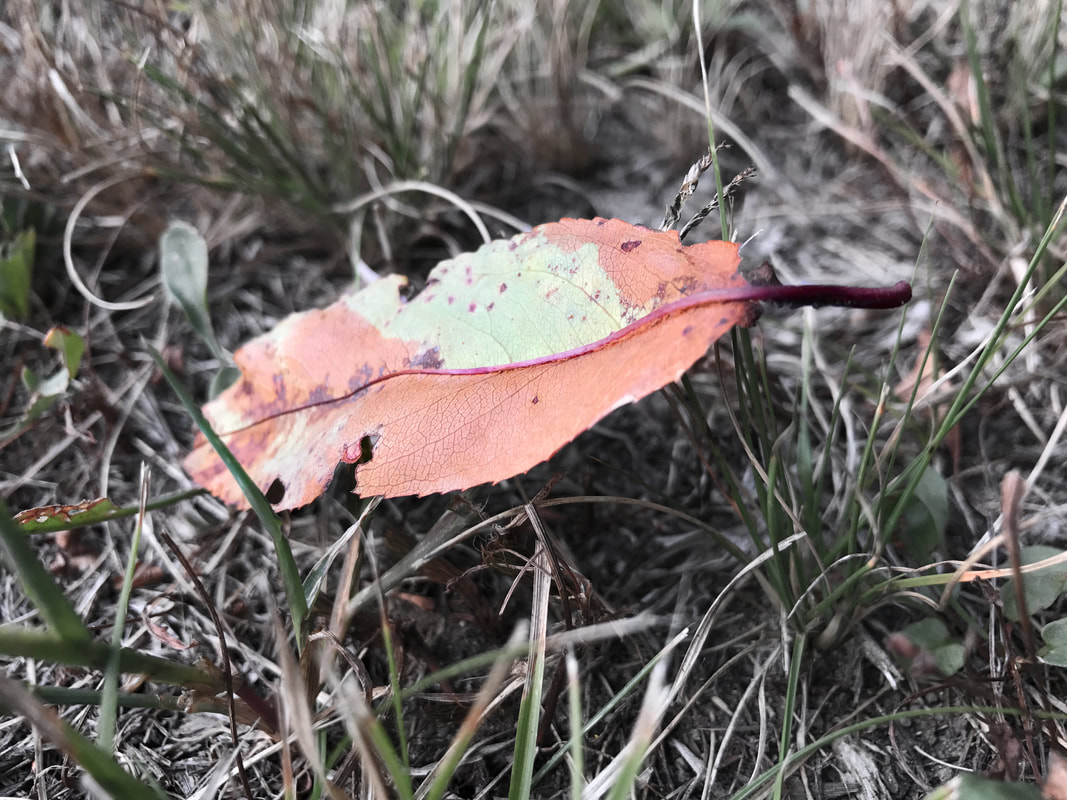
center the photo better next time
ocean cuts picture across middle
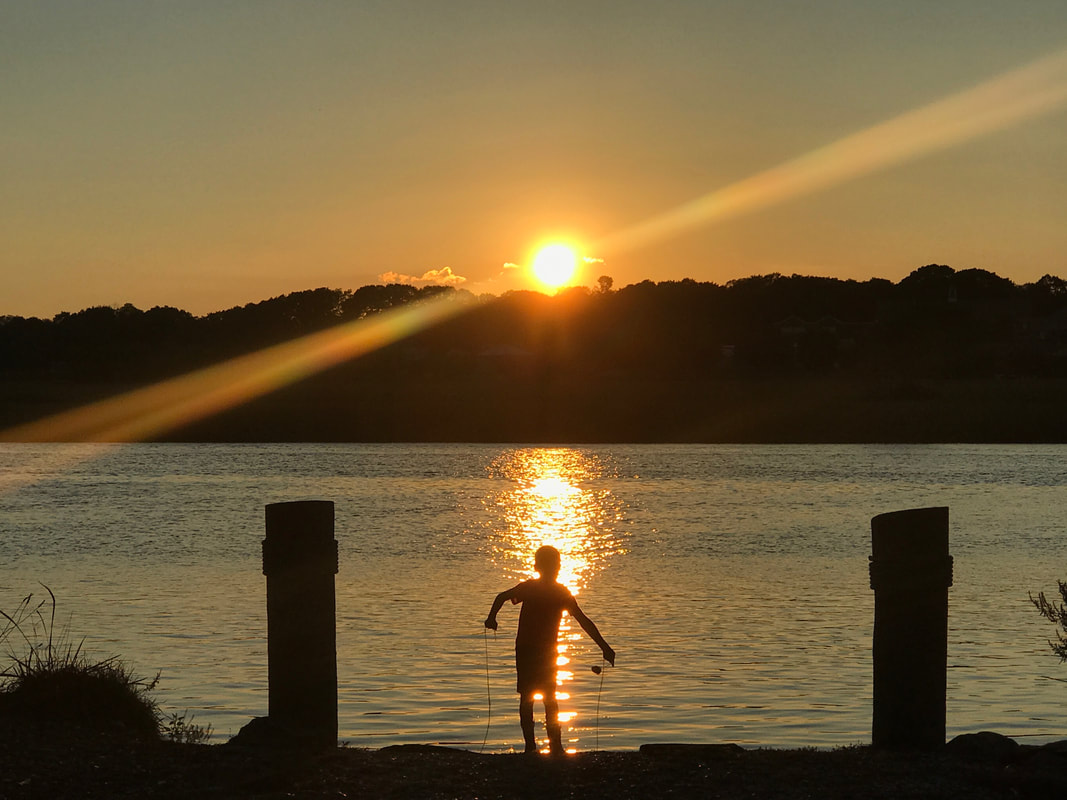
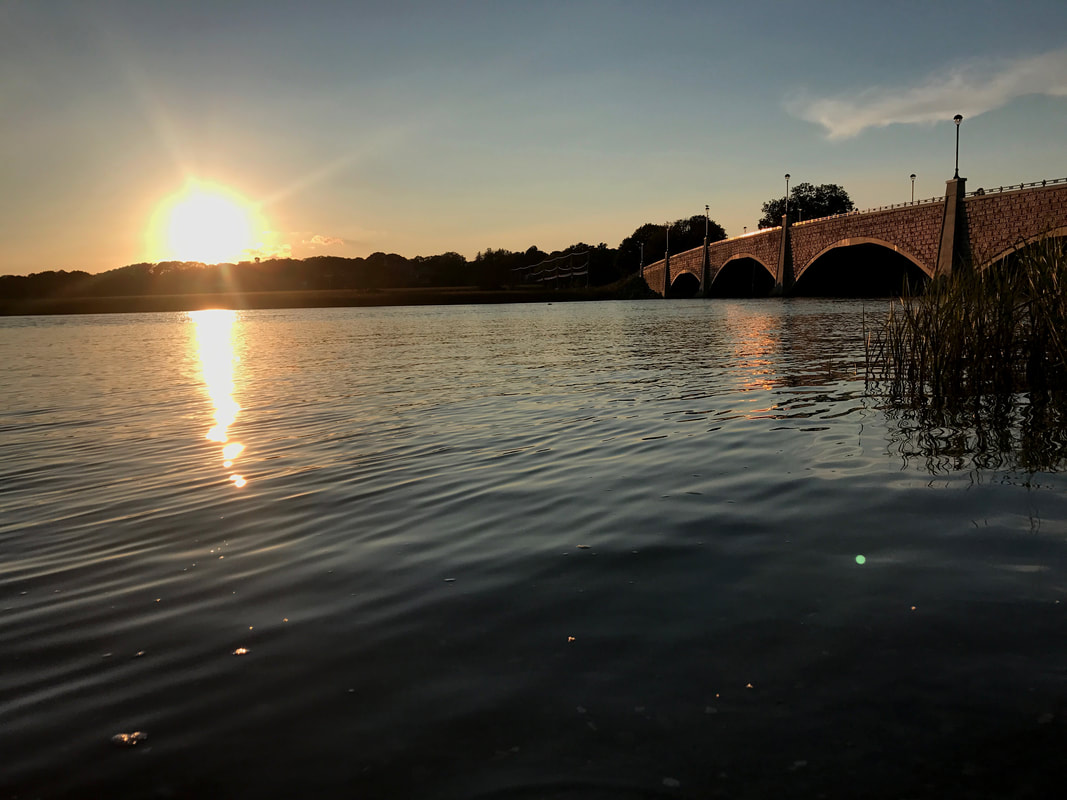
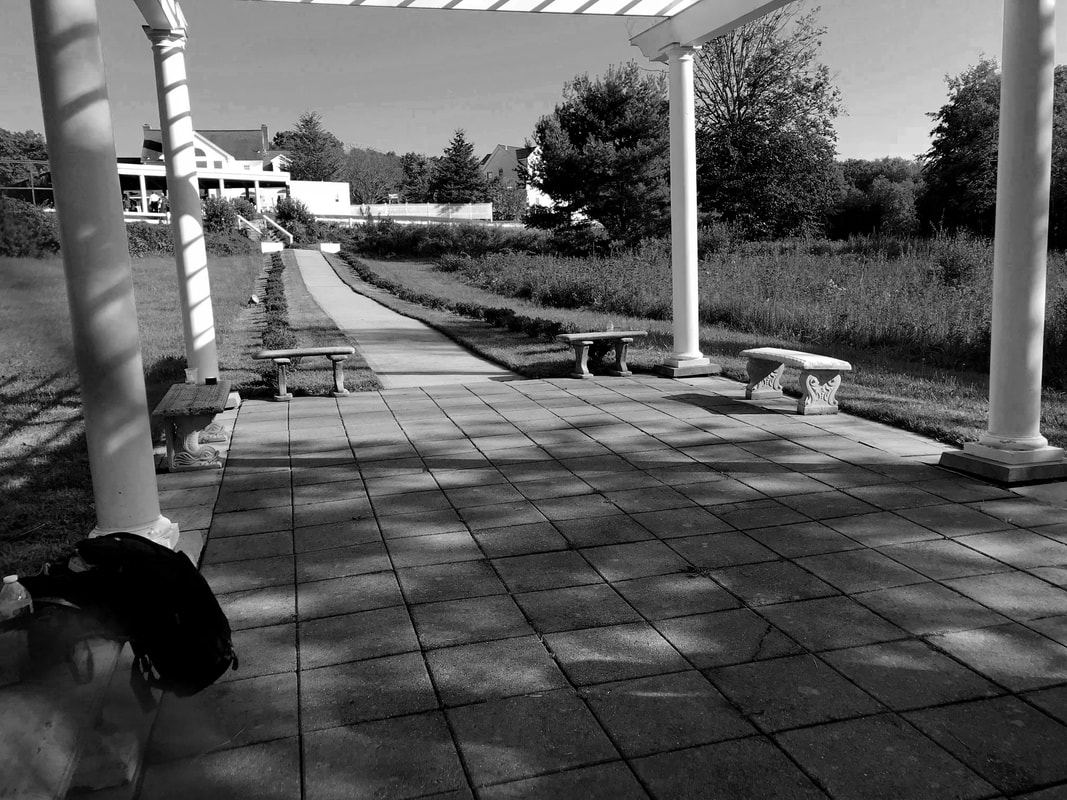
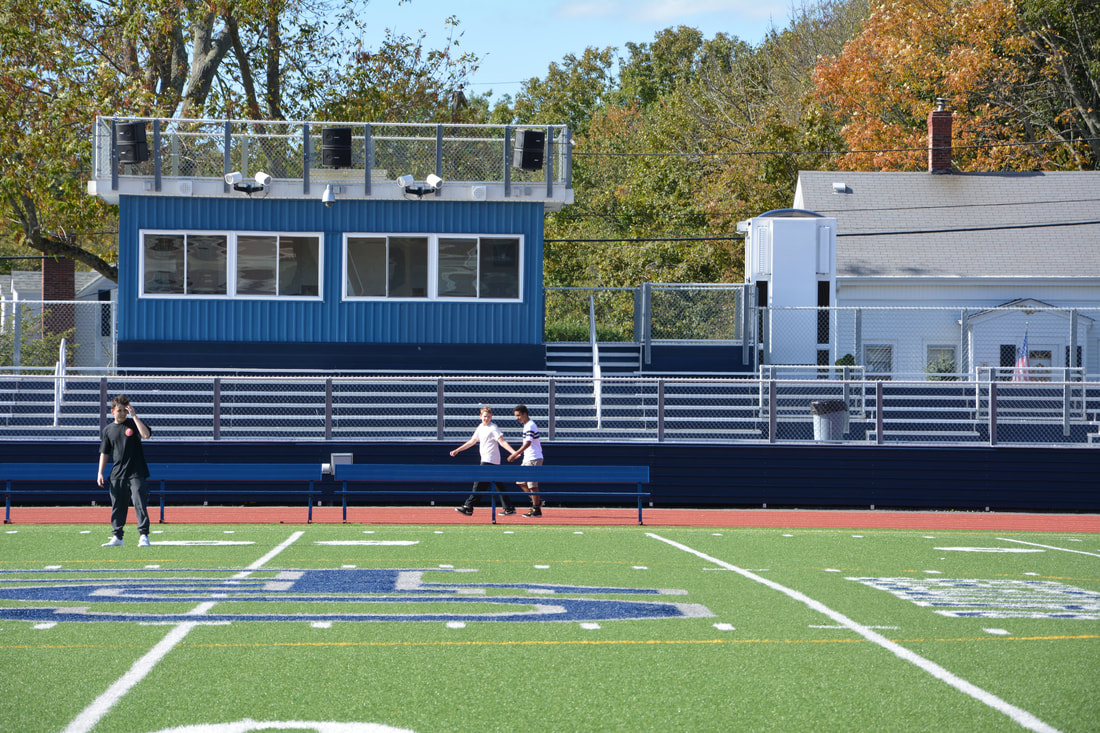
rule of thirds
texture on rock
shallow depth of field
center the photo better next time
ocean cuts picture across middle
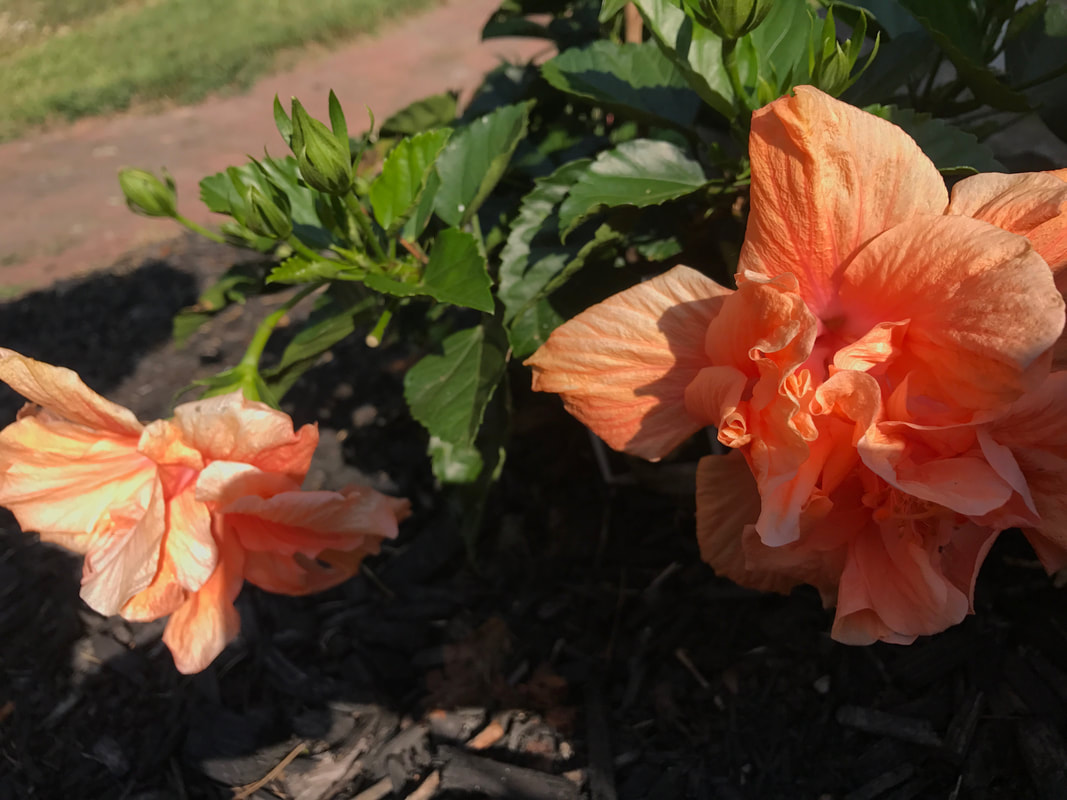
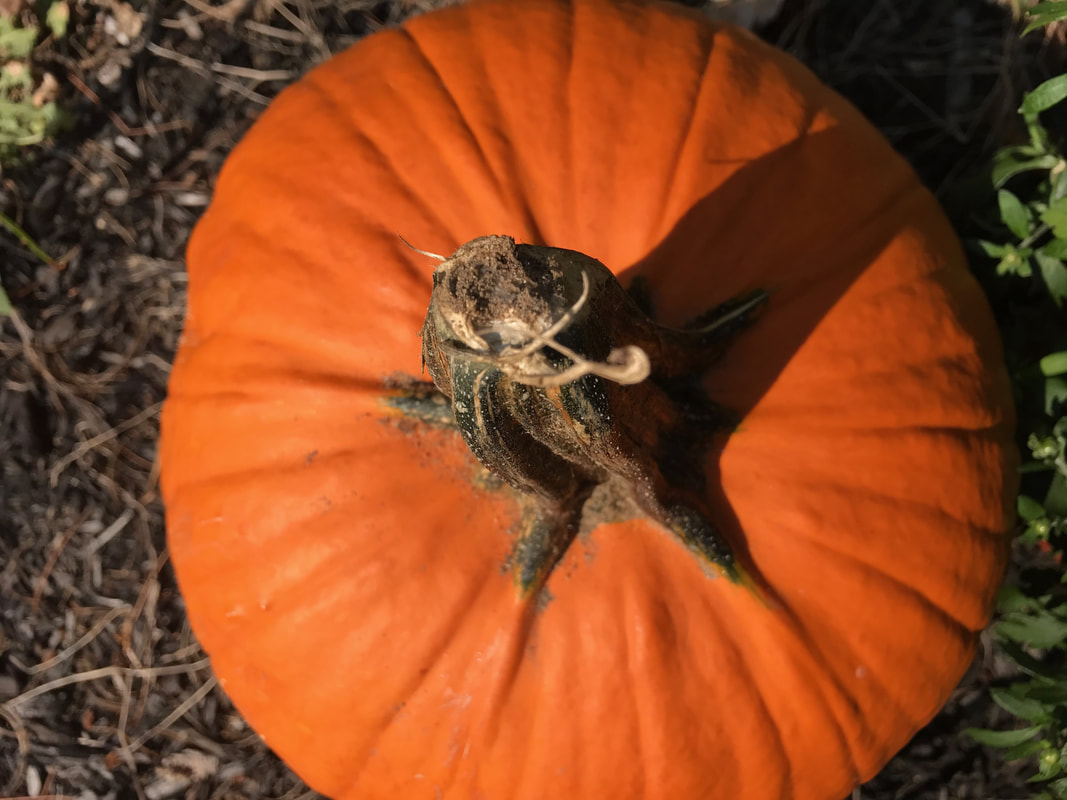
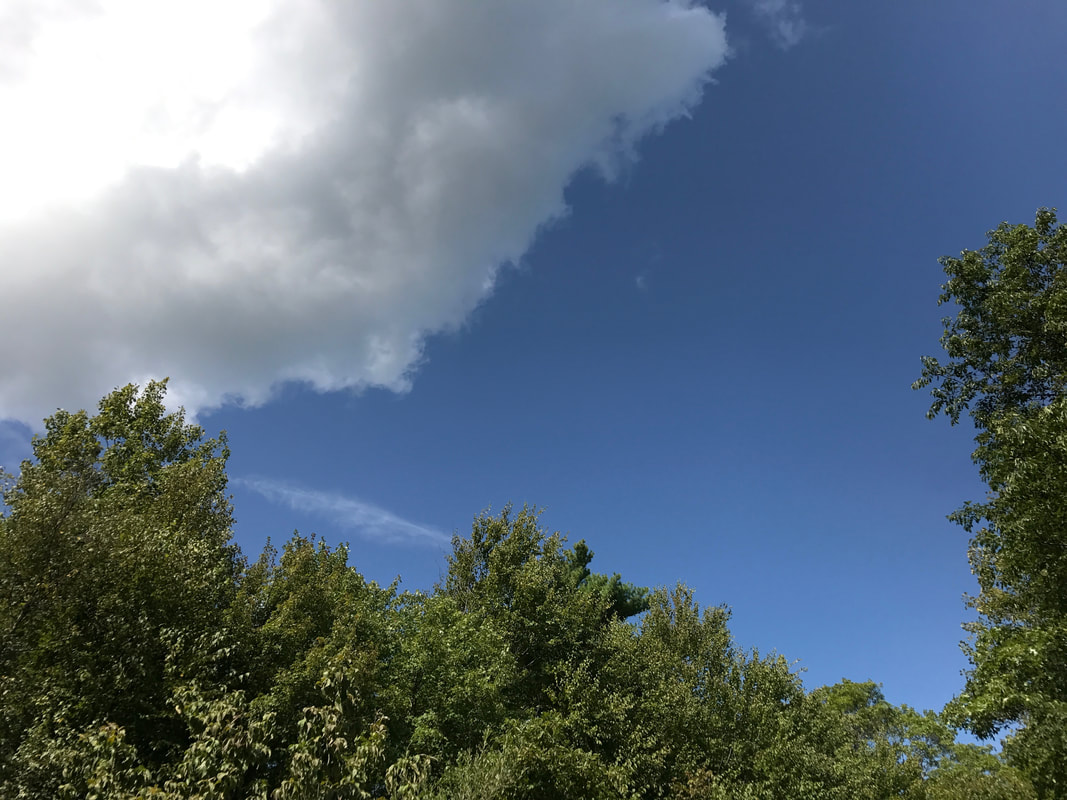
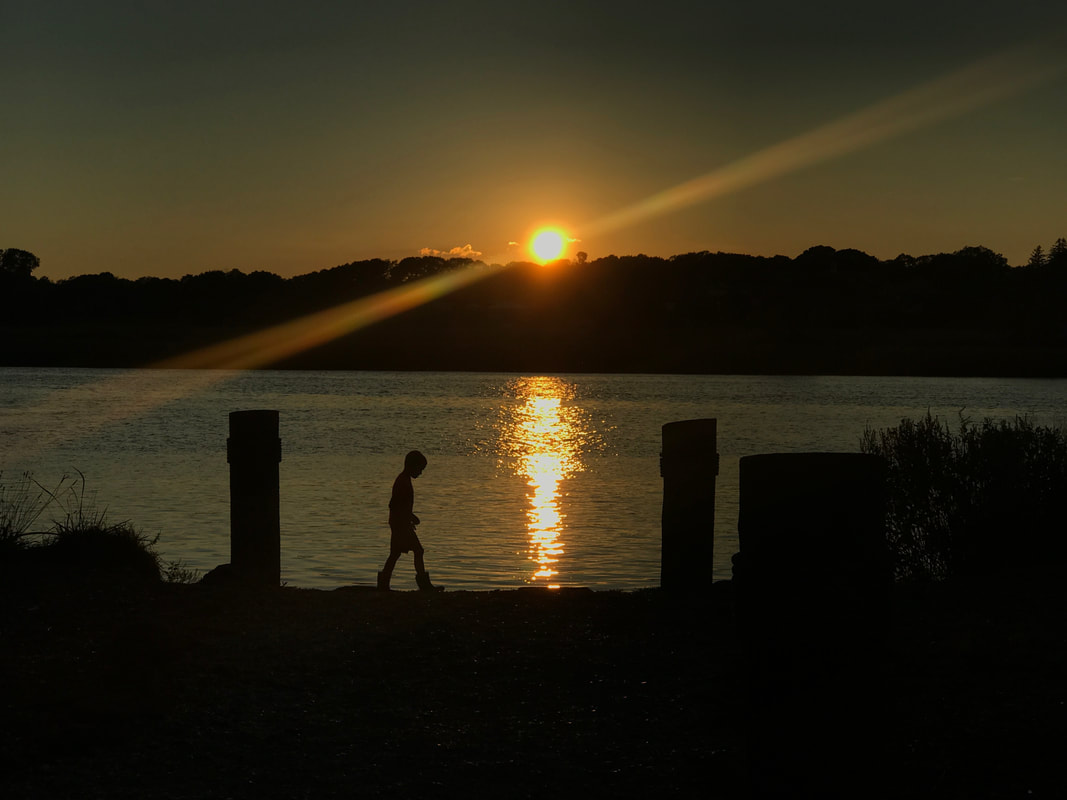
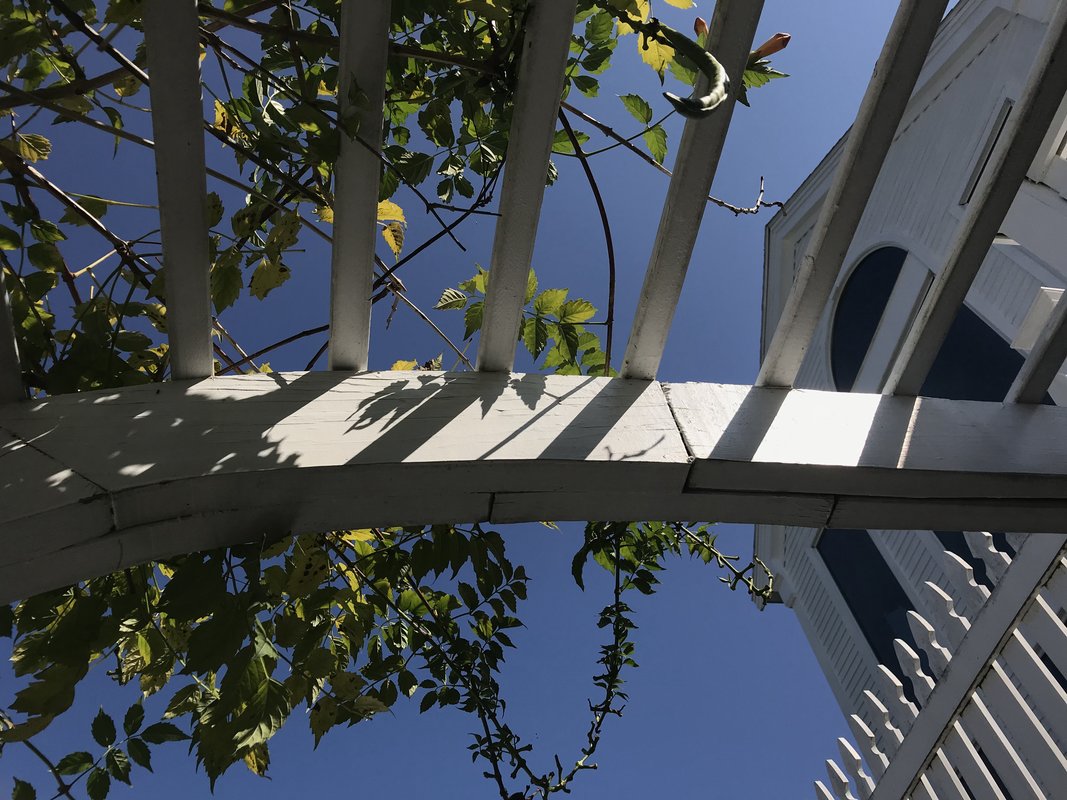
Wandering

RULES:
1: LOOK LEFT
2: LOOK RIGHT
3: TAKE 30 STEPS FORWARD
4: LOOK SLIGHTLY UPWARD
5: TURN AROUND
6: CHOOSE
1: LOOK LEFT
2: LOOK RIGHT
3: TAKE 30 STEPS FORWARD
4: LOOK SLIGHTLY UPWARD
5: TURN AROUND
6: CHOOSE
Berkley
Light

Black & White Light
Color


Color Adjusting-Before & After


Pinhole Cameras
|
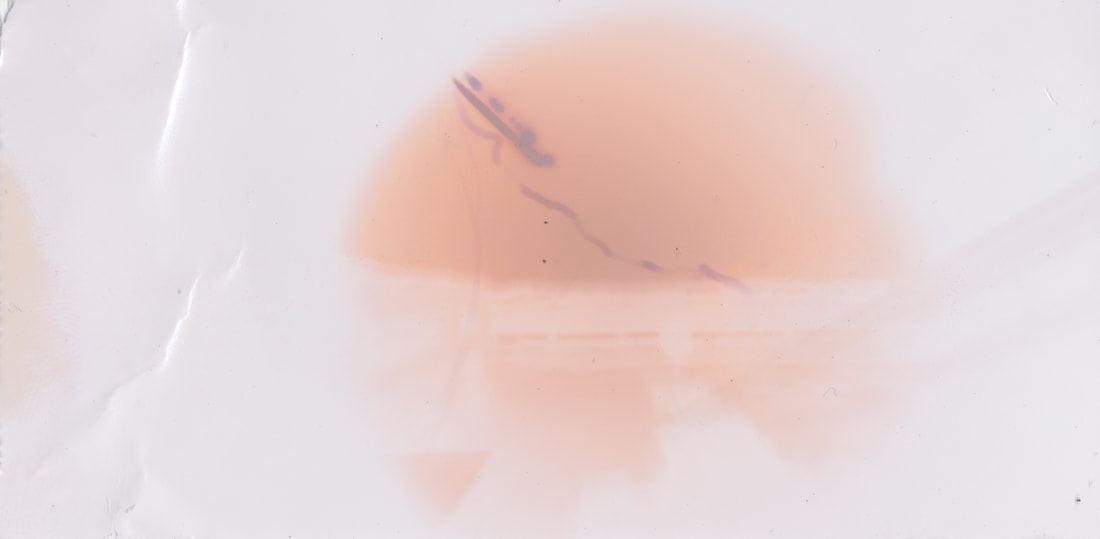
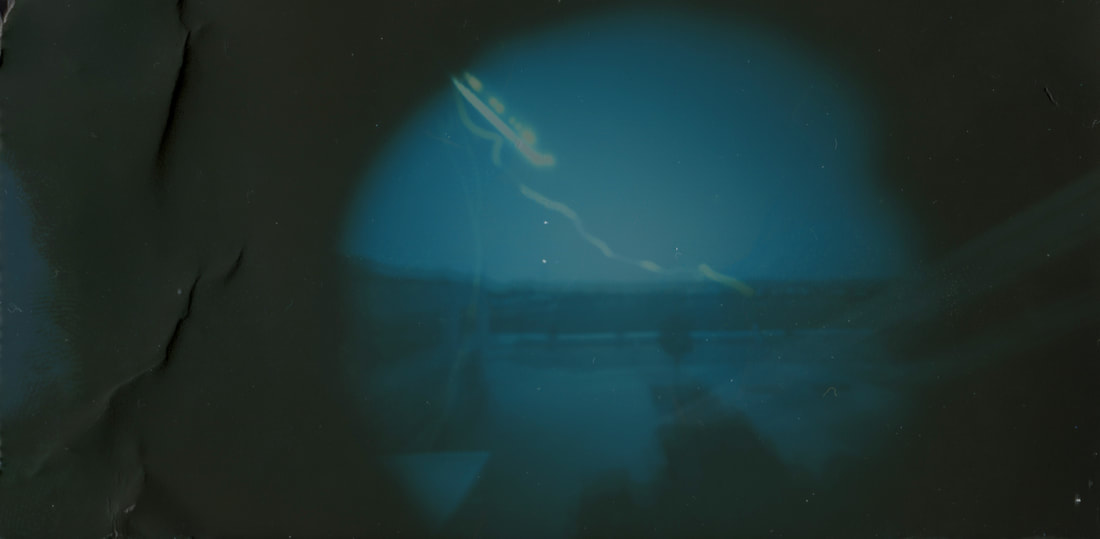
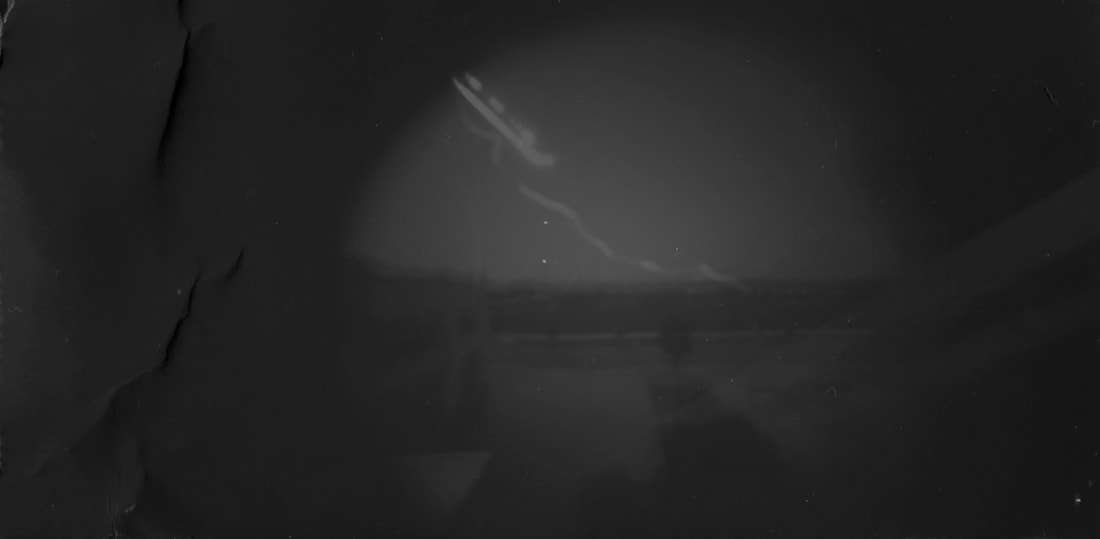
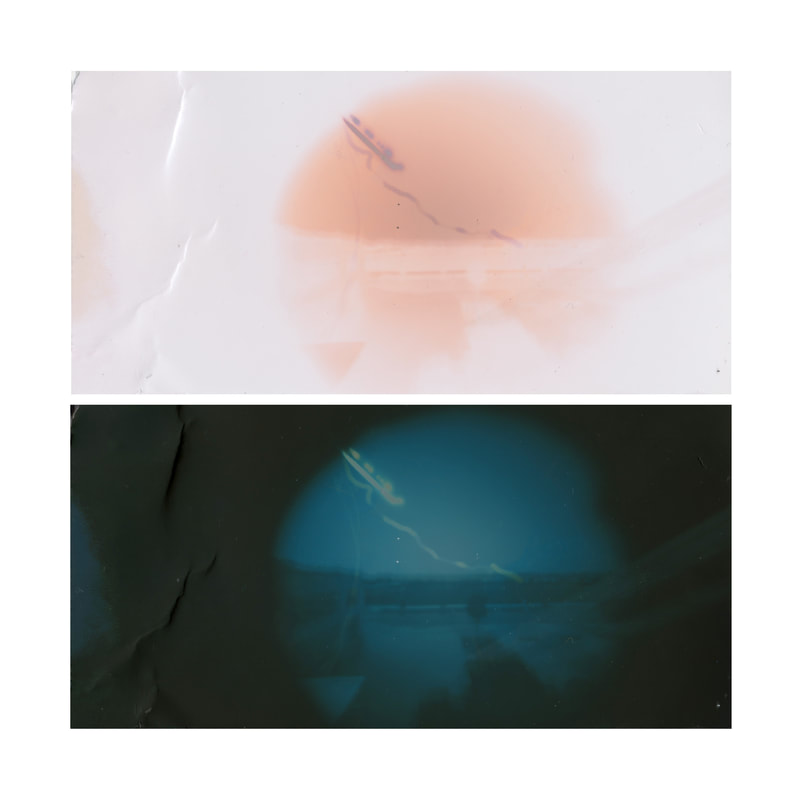
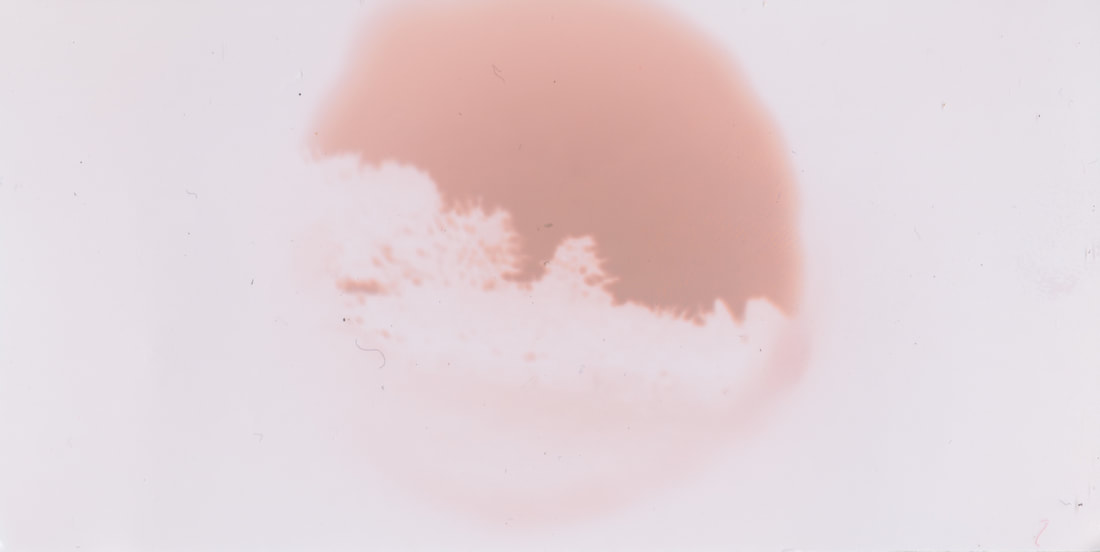
Camera Obscura is a darkened box with a convex lens or aperture for projecting the image of an external object onto a screen inside. To create the pinhole camera, we were given a small piece of paper and punched a tiny pinhole through the paper. We then placed that paper over the larger hole already punched through the altoid container and made it so that the only light that could reach the light sensitive paper was through that pinhole. After that, we covered the metallic inside of the altoid container with black electrical tap so that the light hitting the light sensitive paper would not be distracted by refracting and reflecting light. Lastly, we inserted the light sensitive paper inside of the altiod container and sealed the box shut until we placed our cameras in their spots. The shutter and aperture on my pinhole camera body was two days. The focal length of the cameras were 21.28mm. I placed my camera on the staircase closest to the PAC, aiming out the window into the front of the school towards County Street. The exposure time for my camera as to days. The light source for the camera was natural sunlight. The image appeared as blurry with a strike of curvy light aiming downward when I had taken it down. This curvy line represented the sunlight. The line was curvy was due to my pinhole camera beginning to change position as it began sagging off of the window.
To process my pinhole negative, I scanned my light sensitive paper onto the computer. I then edited the photo in photoshop and to clear up the photo I flipped the image horizontal and inverted it. I also converted my image to black and white. I expected my image to be more blurred and not as clear as it came out to be because of how it began to sag as the tape started to peel off of the window. If I could re-do the process I would have chosen a different location, possibly closer towards the school and aiming towards the building so i could get a more vivid image. |
Prime Lenses

Zoom Lens


Zoom Lens
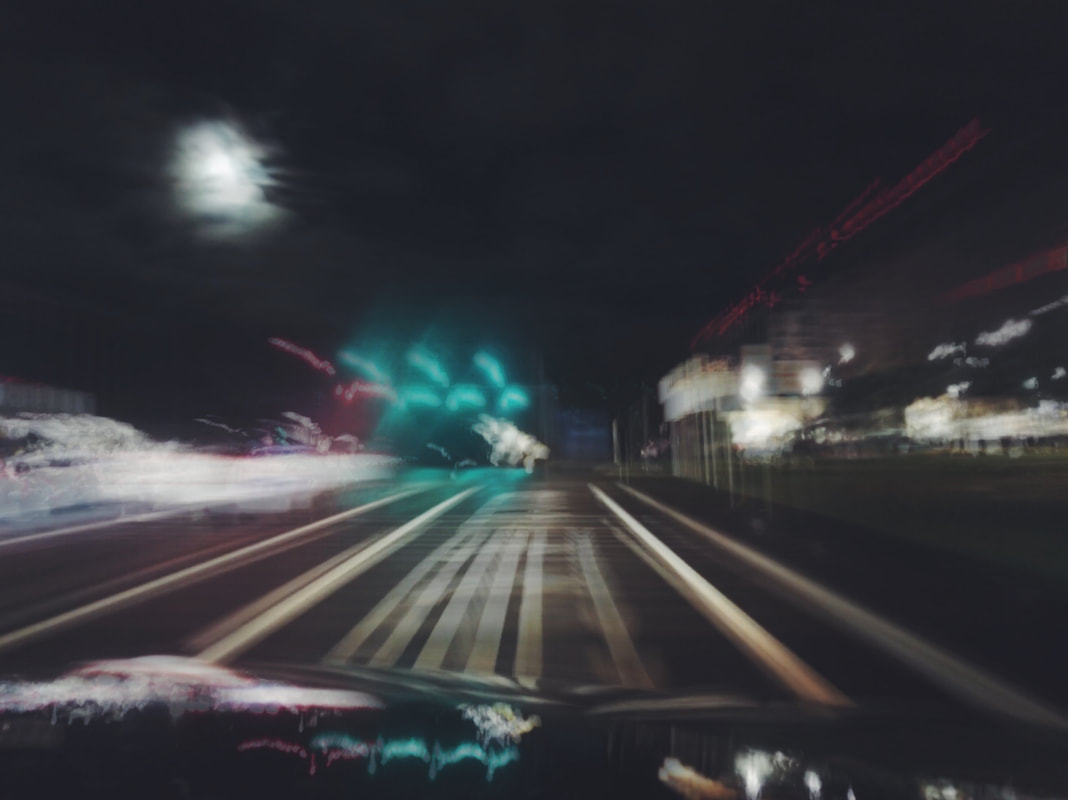
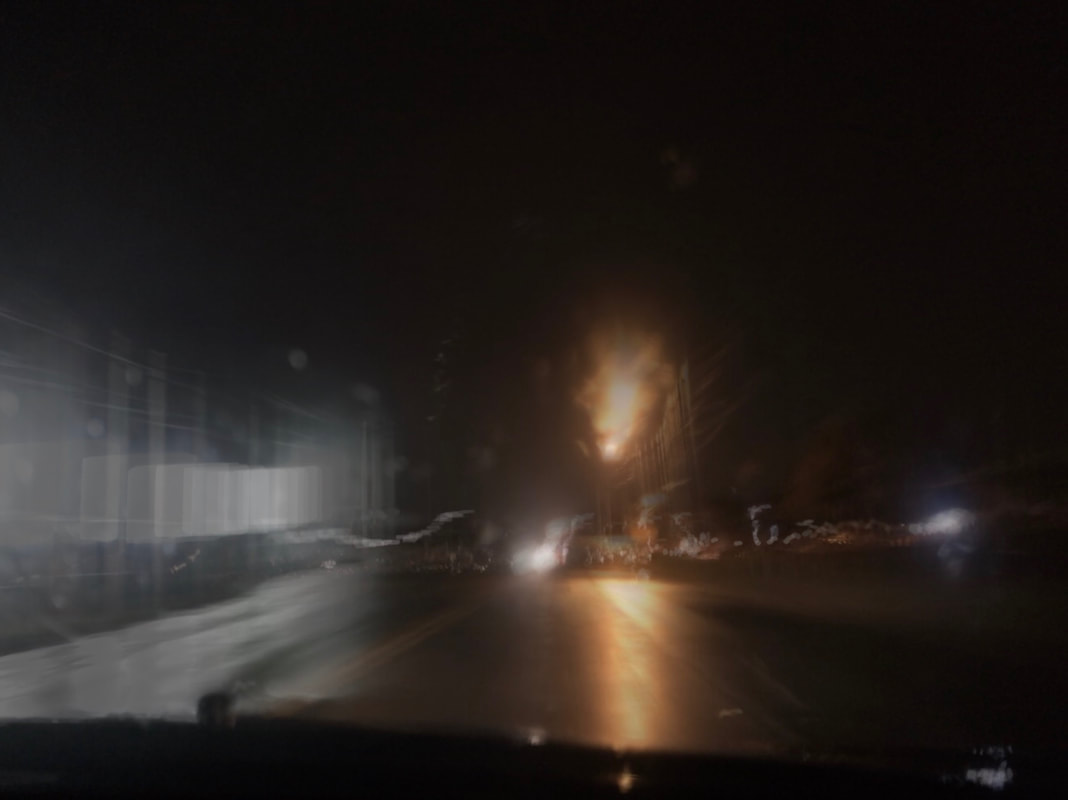
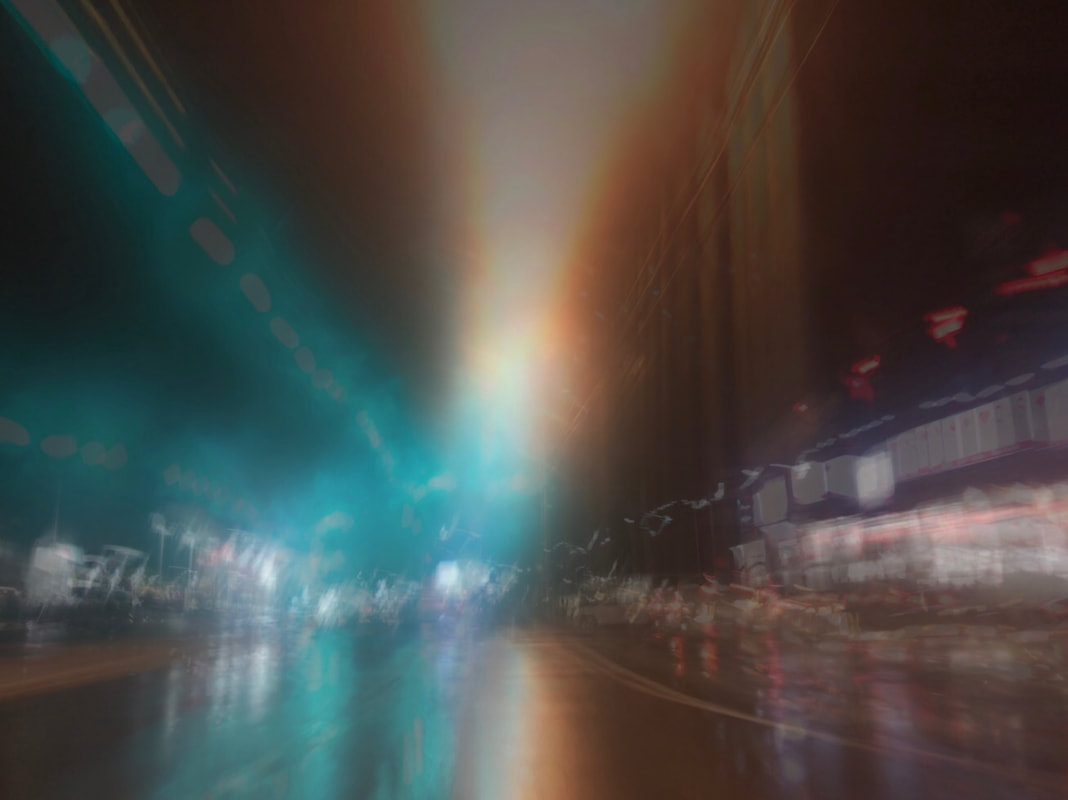
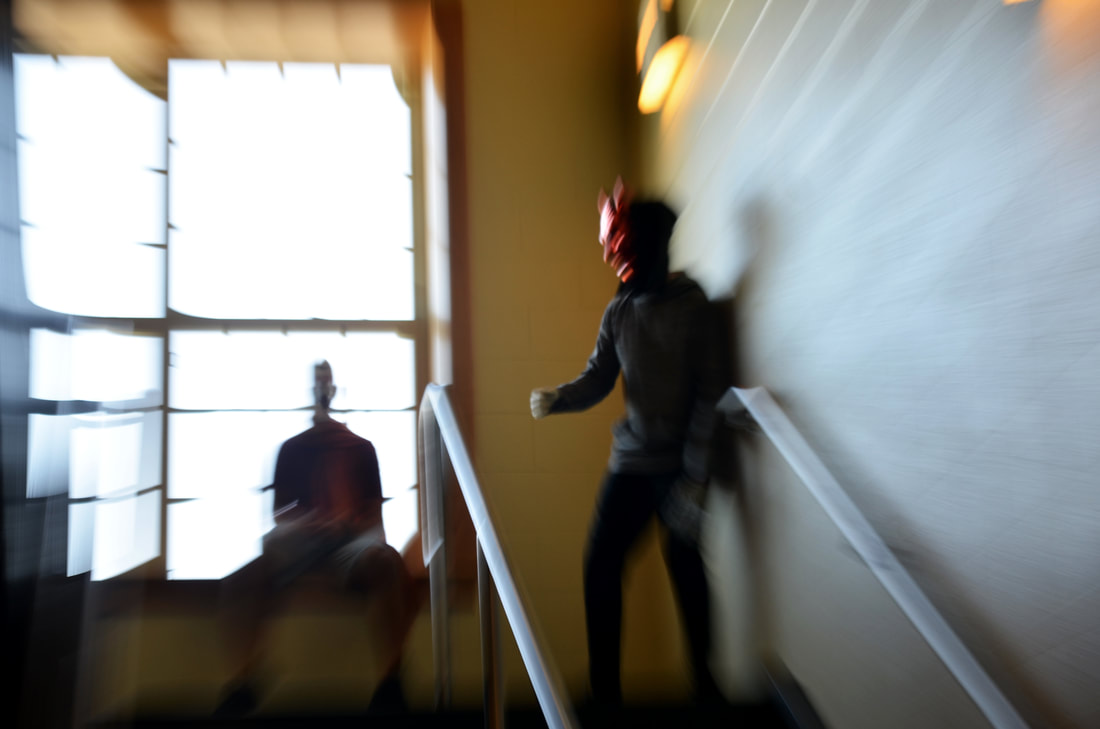
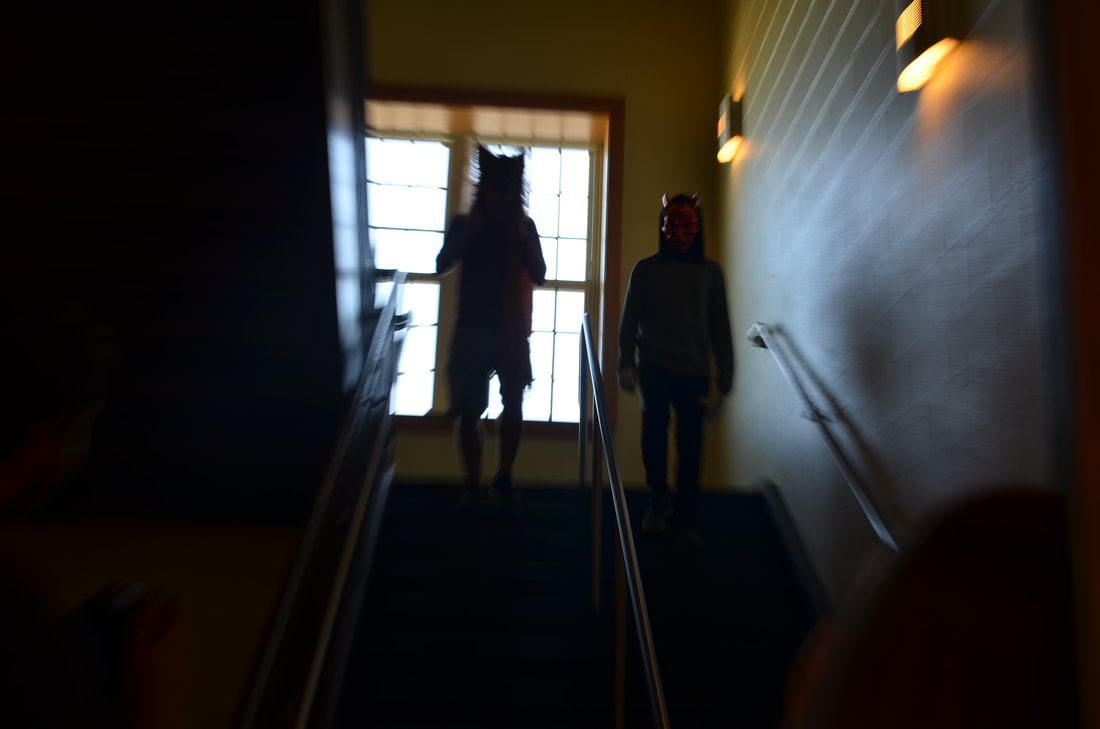
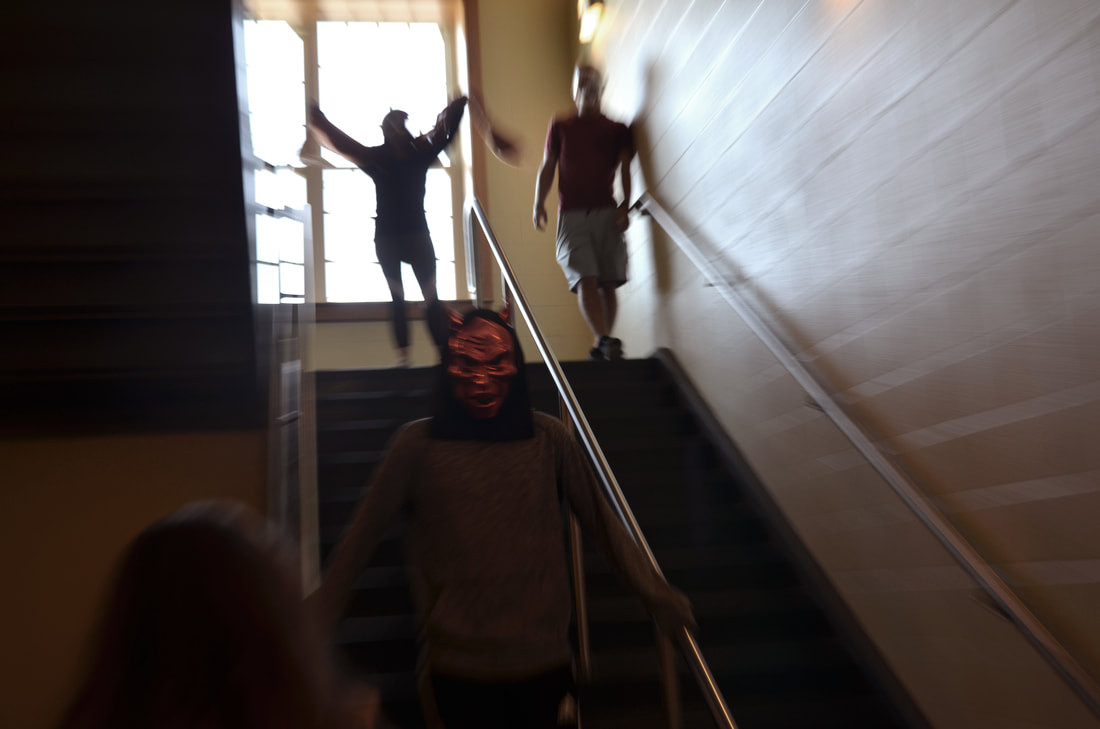
Night

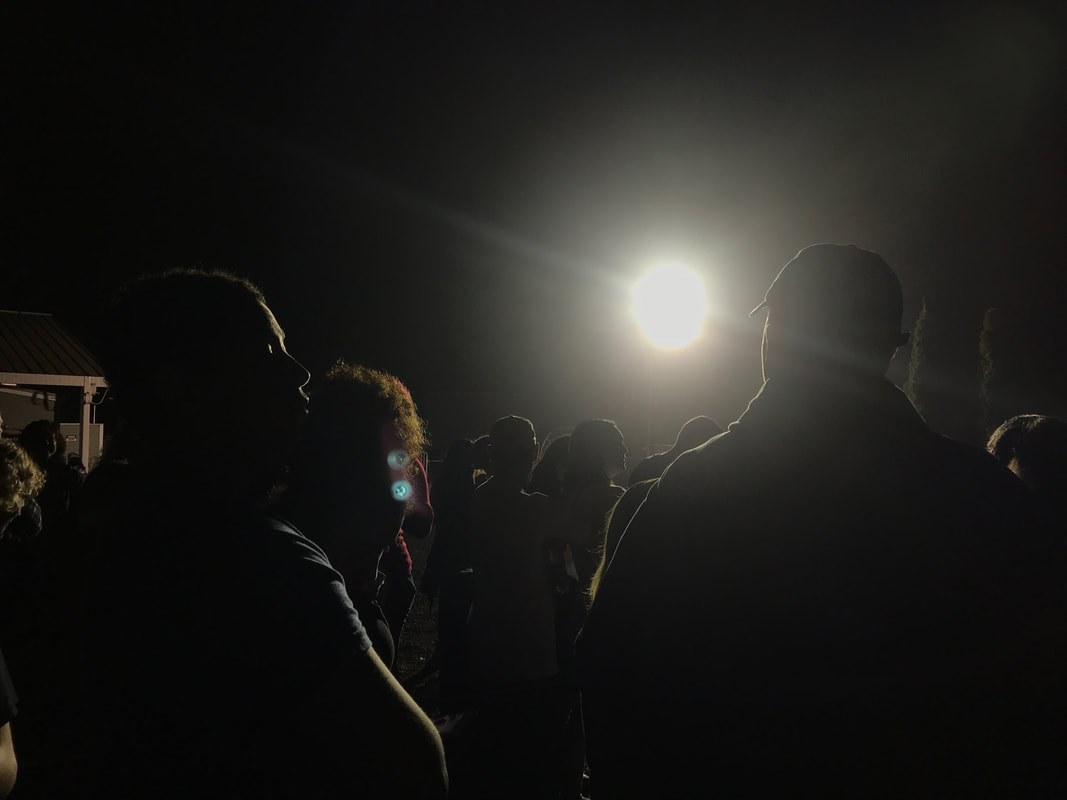
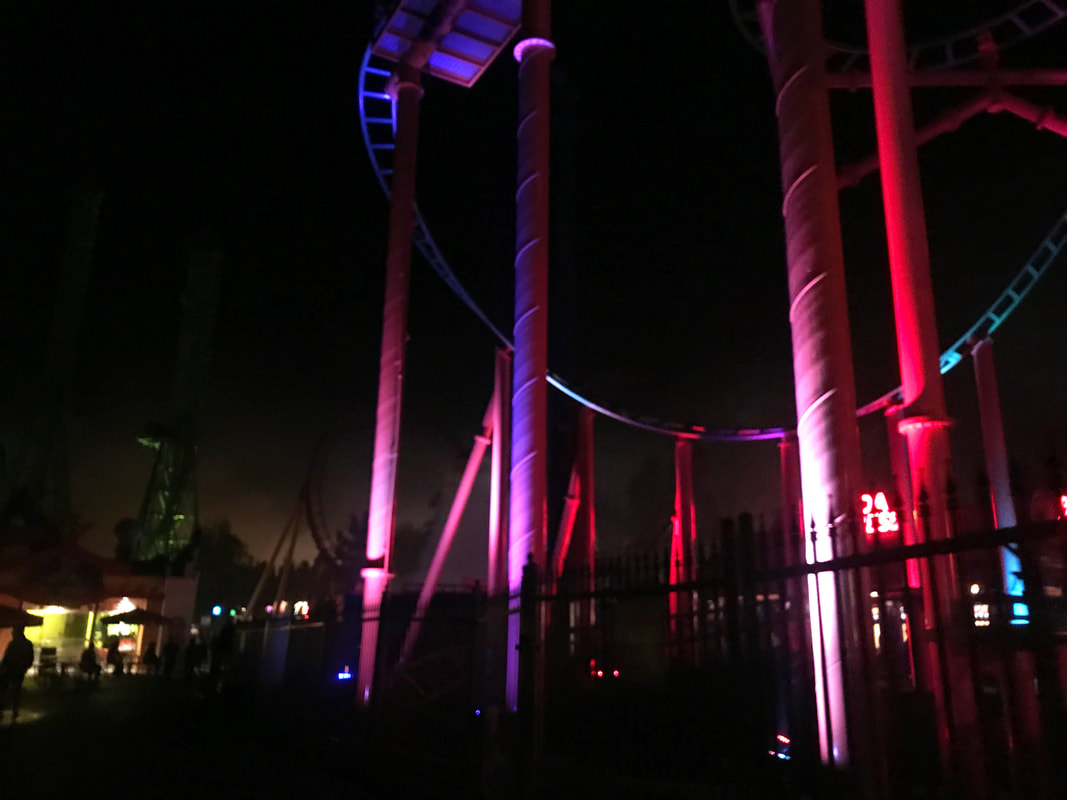
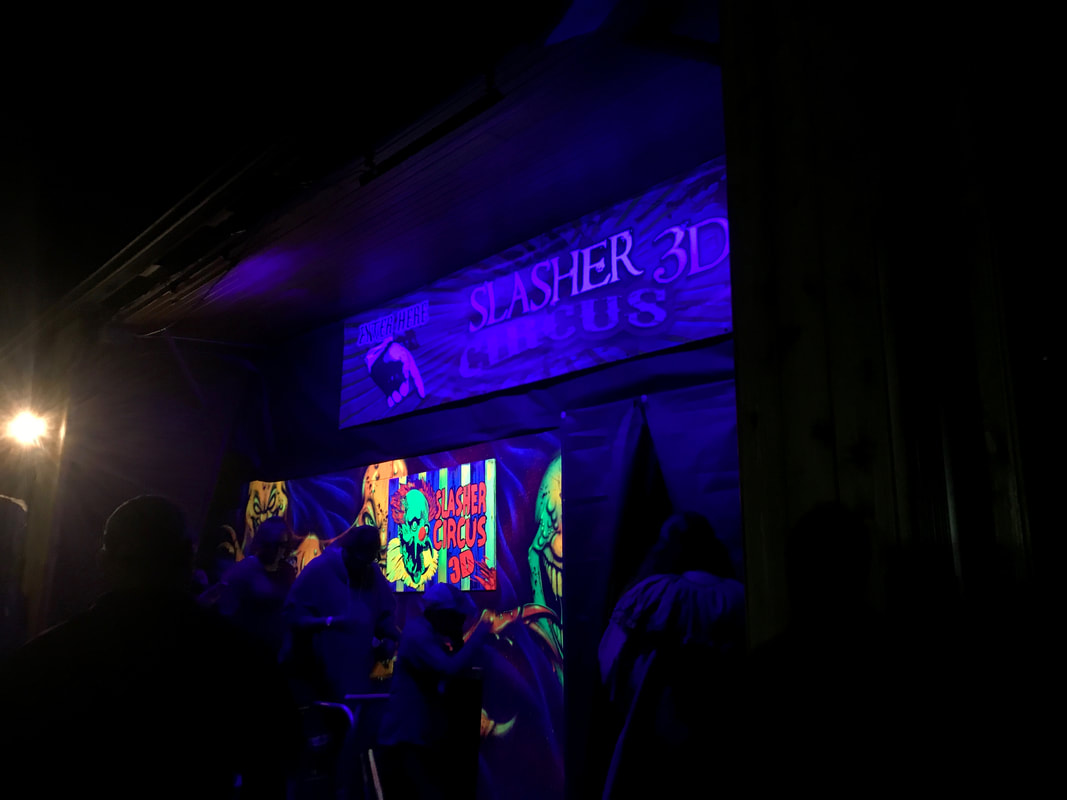
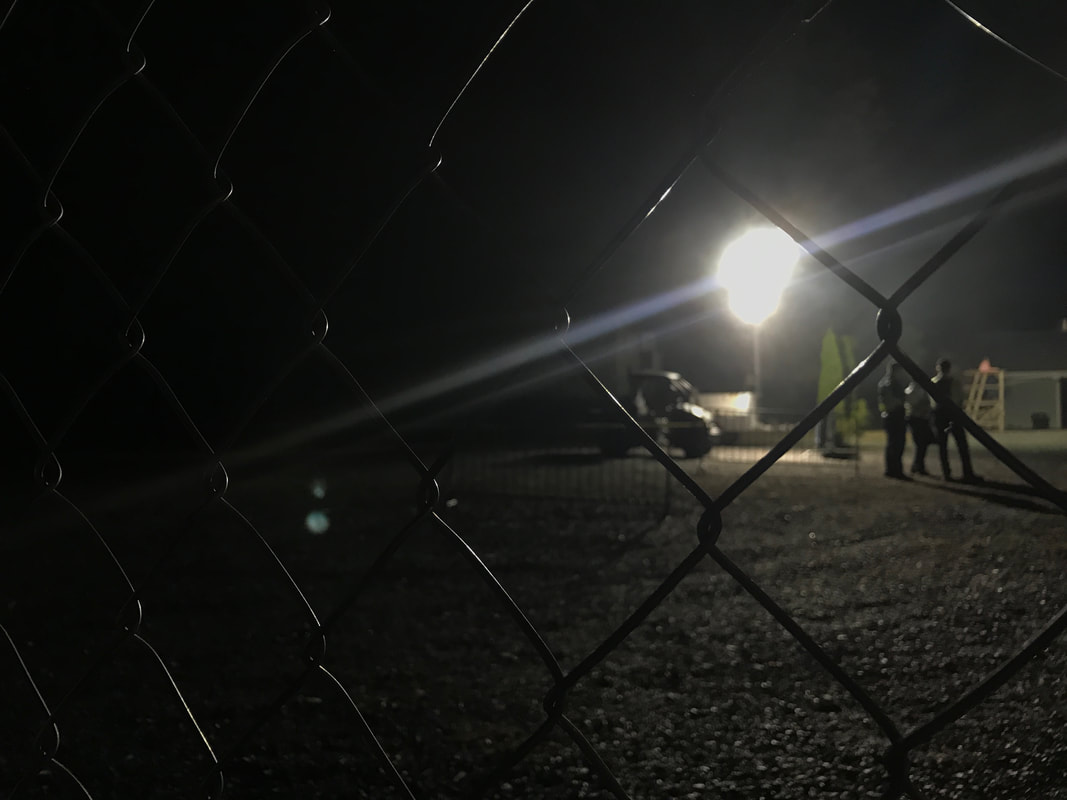
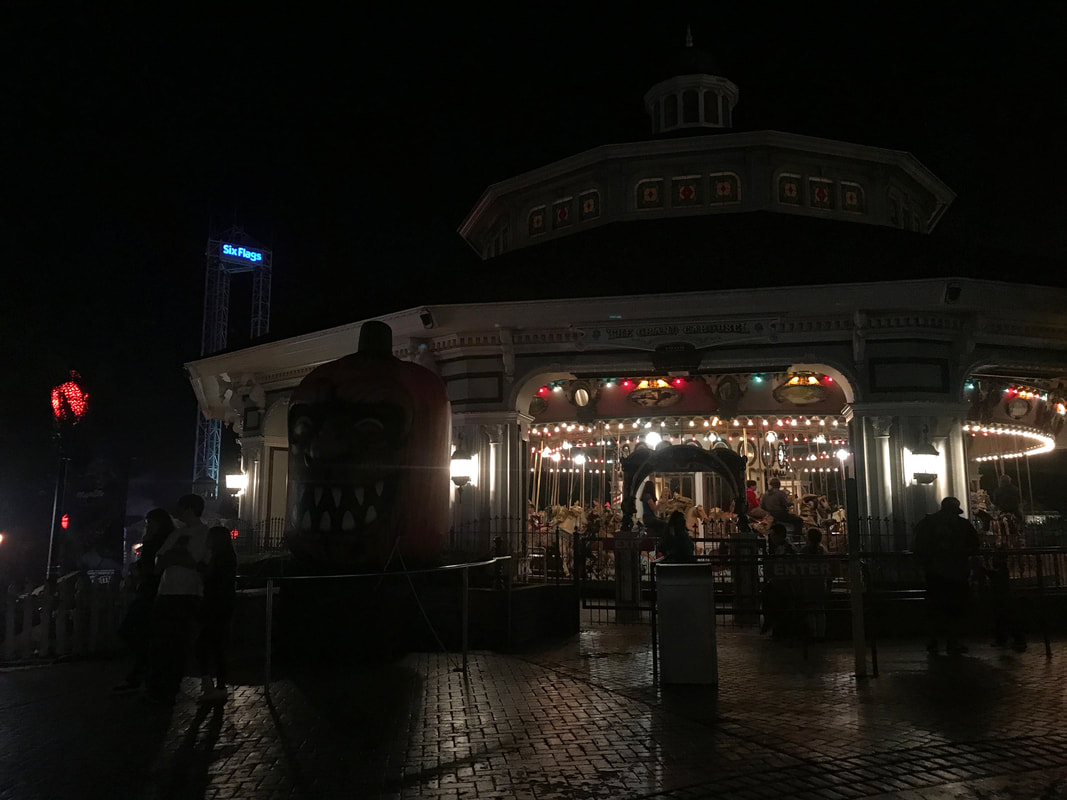
Spooky Photos
Out of School Pinhole Camera
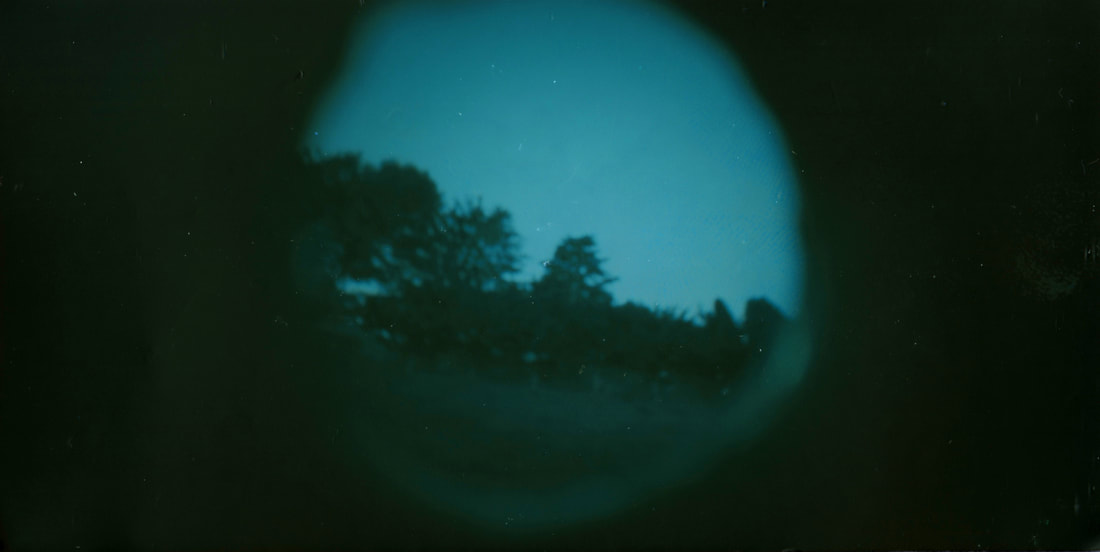
Written Reflection
I placed my pinhole camera in the back of my yard, sitting on a patio chair, facing upward toward the sky and trees. I left the camera out for two days. I put my pinhole camera up for two sunny days. There was no wind or rain to affect the camera to make it move around, causing it to be blurry. I tightly secured the altoid container to the chair so it would not move around and cause a blurry image. Since my last pinhole image started to sag downward, it came out to be blurry and not as clear as this second time around. My last pinhole image was blurry because of how it started to sag toward the end of the exposure. However, this time around I made sure to tightly secure the container to the chair and take it down before the storm so it would not become wet and blow around or possibly fall down. My first image was more blurry whereas this time around turned out to be more clear. Another difference between the two images is that the first image has the sun and the second image does not. My first image was worse due to the camera beginning to sag off of the window and the second image was better because it had been tightly secured to a chair and did not turn out to be blurry.