Photoshop Exercises
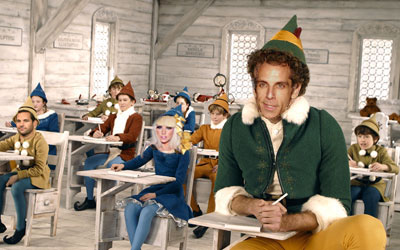
Selection Tools Brushes Exercise Elf Exercise
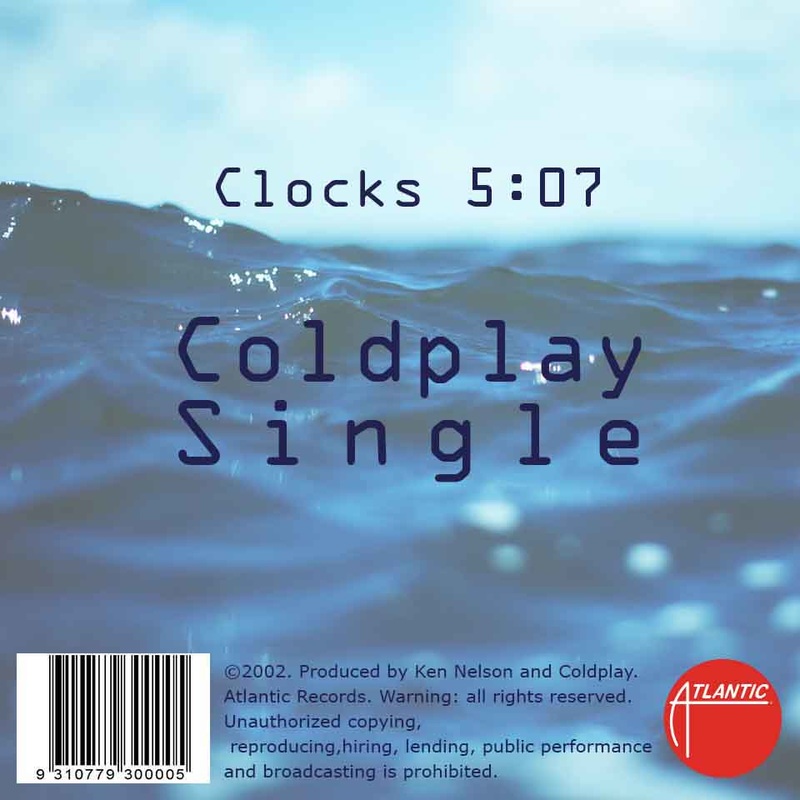
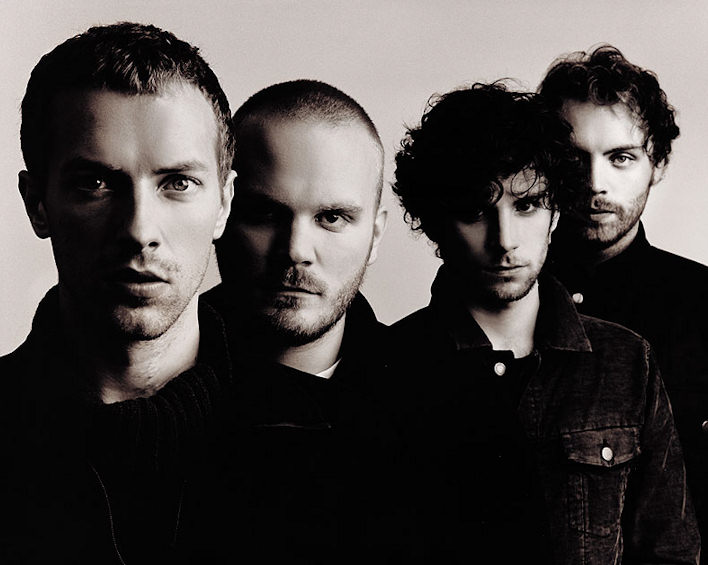
Album 1: Album Art, front & back covers & record label
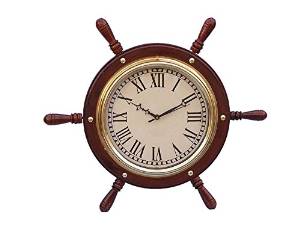
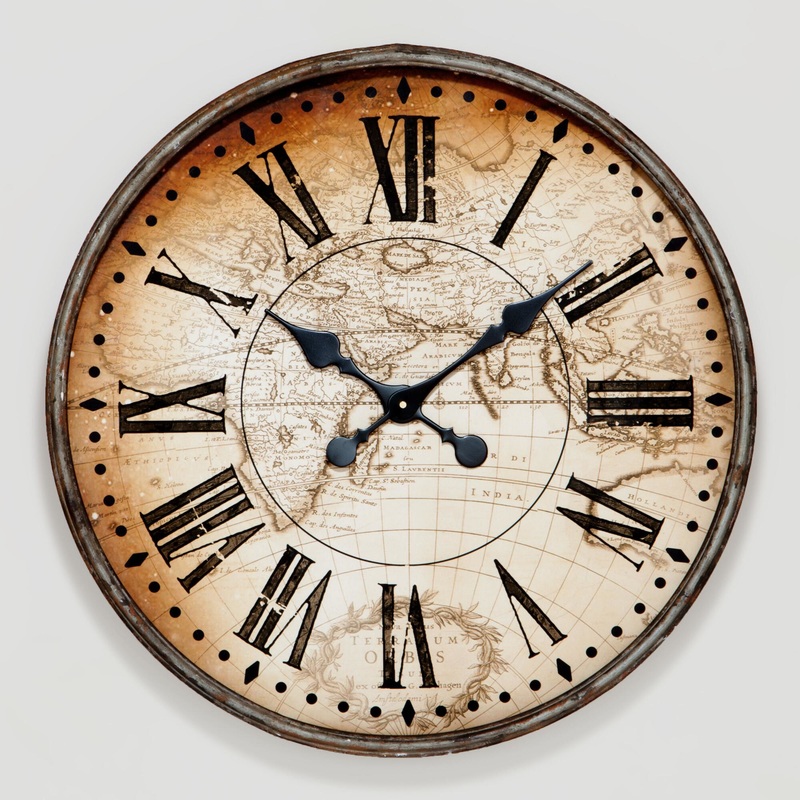
Original Photos: Album Art
|
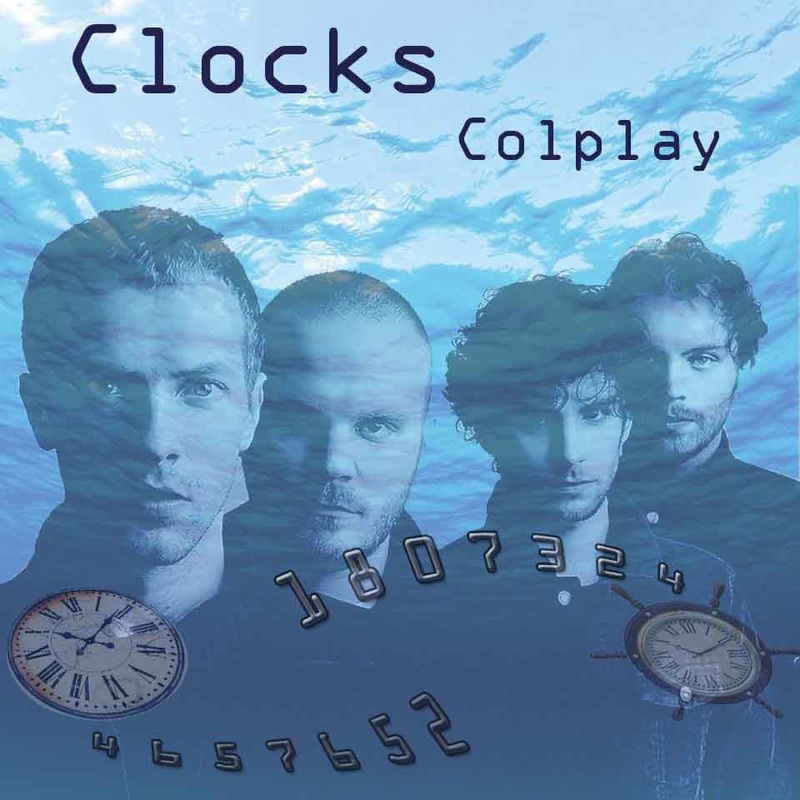
For the wheel clock, I messed around with skew and perspective to make it have more dimension to it. For the other clock, I also used the perspective and skew tool. I wanted to make this clock look more flat and not so one-dimensional. I also used layer styles (fx) also. To make the clocks, band, and numbers look like they're underwater, I played around with the opacity and used color balance under image adjustments to make it have more of a blue tint. I also made the text glow, have a drop shadow, bevel and emboss, and I also added stroke and contour to it to make it less boring and ordinary. I made the opacity of the ocean water 63% so it would be more of a washout kind of a background.
|

Album Two: Judy Is a Punk
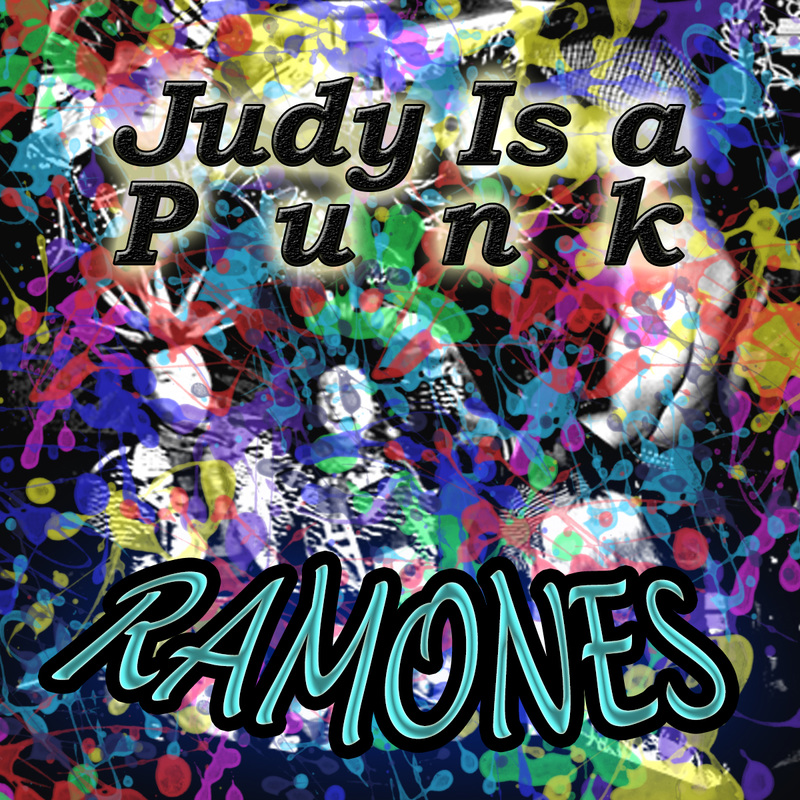
Image Modifications for Album Two
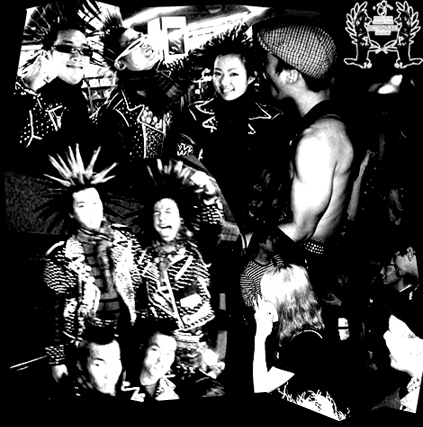
For this picture, I lowered the opacity and use some image modifications. For the Ramones title, i used the fx effects and messed with shape of the text by using the curve and arch tools. I also wanted to use a bright blue color to make the artist stick out and be more eye-catchng. For the "Judy Is a Punk" title, I used inner and outer glow with emboss also. I downloaded brushes from brusheezy.com. I wanted to use the splatter paint brush to correspond with the song also.
| song_reflection_adams_my_choice.docx |
"Pretend I am there"
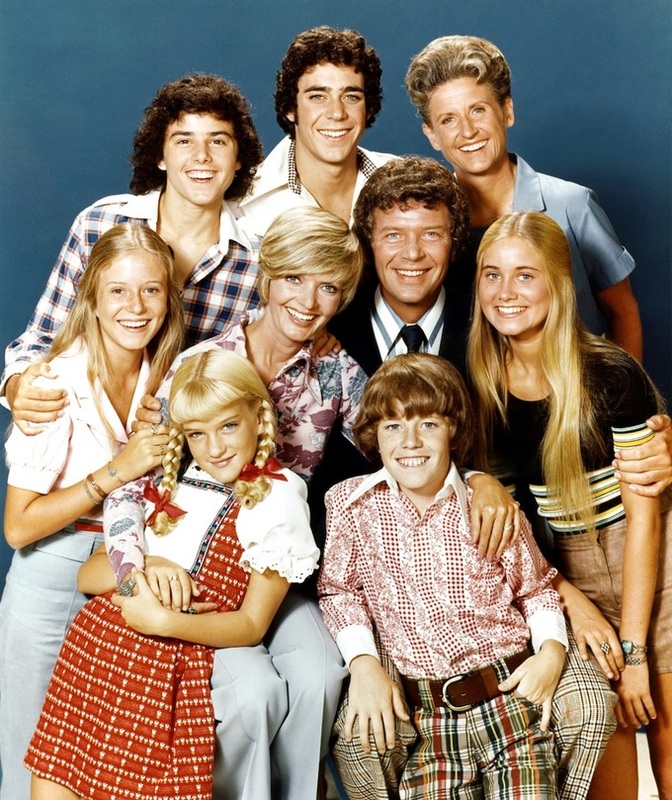

In the original Brady Bunch photo, I had to find a high resolution, large photo. When I edited myself in the picture, I noticed that the quality of the photo was very crisp compared to the picture of myself. So I used the smart sharpen tool on my face to match theirs more. I also noticed that Marcia, the character I edited myself on, has a yellowish skin color, so I messed with color balance and added a little more yellow and red to make it look realistic in the photo and so that I'd have a pink complexion like Marcia also. To make my brown fly always fit in with Marcia's light blonde hair, I lowered the opacity of the eraser and used it wherever needed so it can blend in completely. Since the shape of my face wasn't exact to hers, I used the warp tool to fit the shape of Marcia's exactly. I did this so my face wouldn't look just stretched vertically or horizontally.
